You can add equipment individually or in bulk, depending on the type and number of items you want to track.
Add equipment one at a time if items are unique or you only have a few to add. You can also create equipment in bulk if you want to create multiples of similar or identical items.
Adding Equipment Individually
Add equipment individually if the item is the first of its kind, or if all items are unique.
For example, specific chargers or one of a kind pieces of furniture.
-
Log in to dashboard.nexudus.com if you aren't already.
-
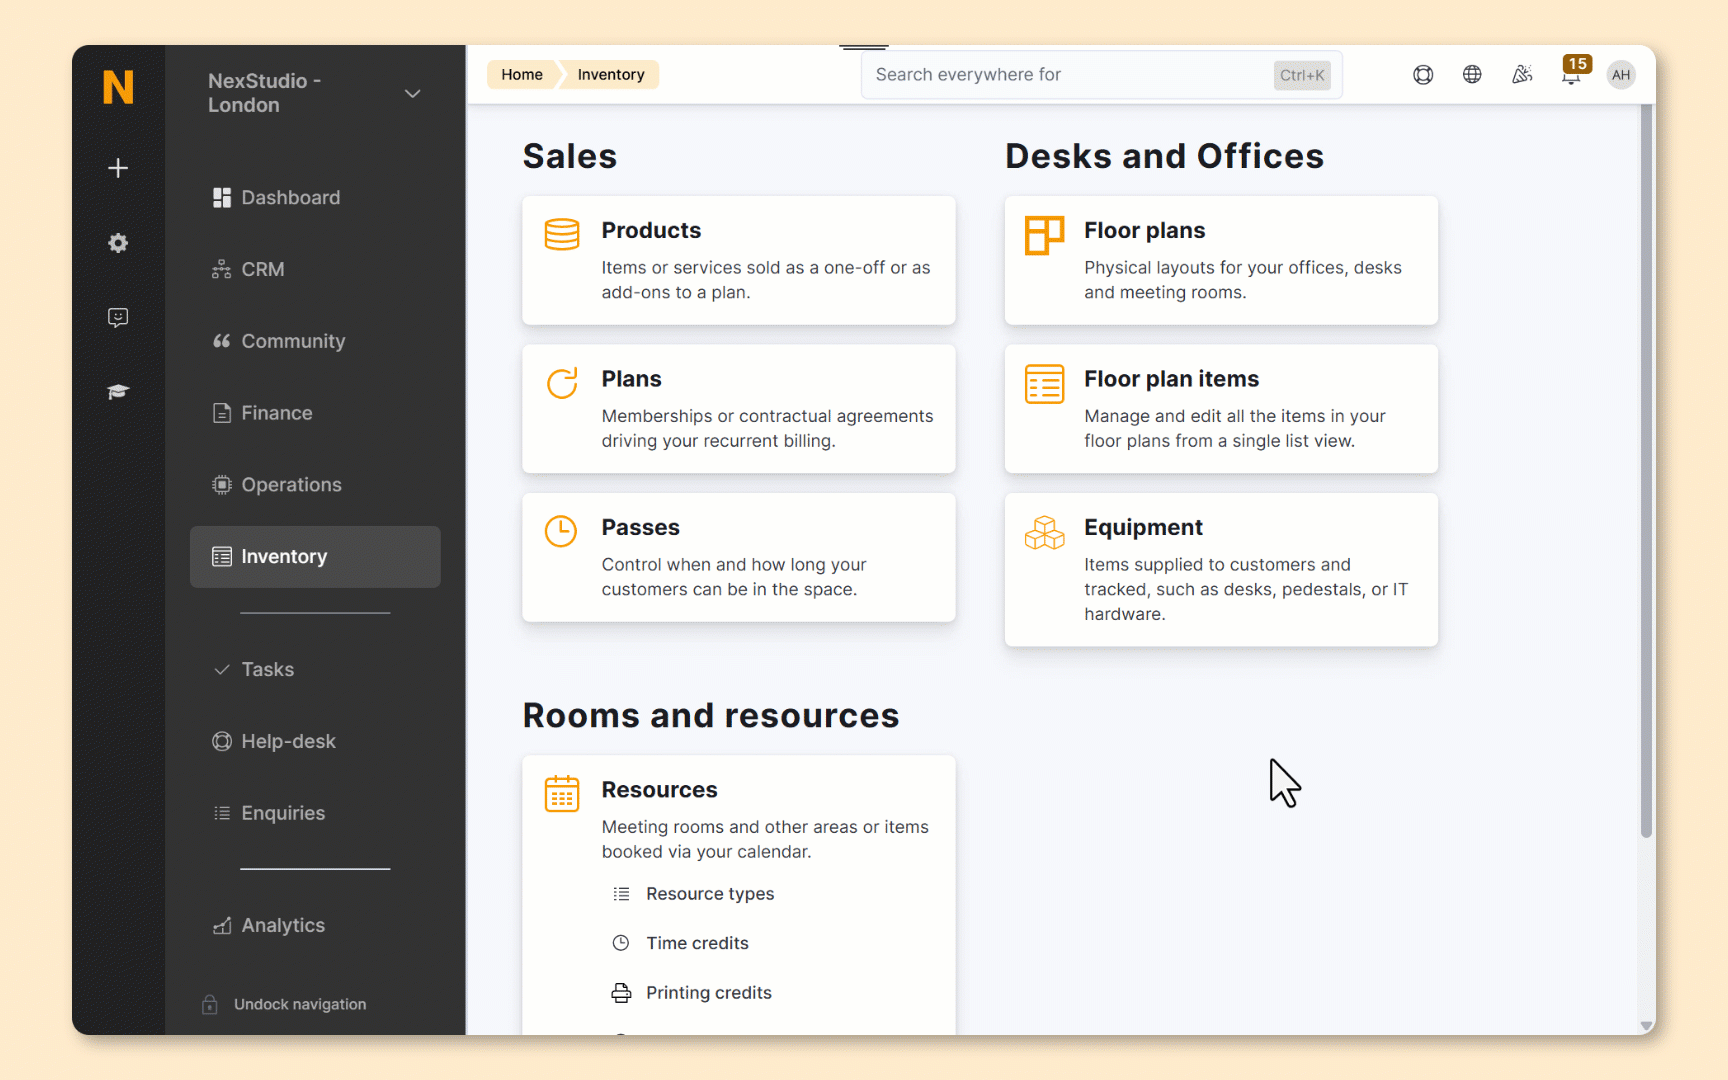
Click Inventory > Equipment.
-
Click on Add equipment.
-
Name your equipment.
-
Add a Description of your equipment.
-
Add a unique reference for your equipment in the SKU field.
- Add an estimated Value of your equipment.
If you'd like to insure your equipment, check out Insuring Your Equipment.
- Click on Select file to upload an image from your device if you want to add a photo for the equipment.
- Assign your equipment to a location, resource, or floor plan unit to anchor it within your space.
Want to track who's using your equipment at all times? Assign it to specific customers.
Click the Save Changes button.
All set! Your equipment is now part of your inventory. You can repeat the process for any other equipment. Once you're happy with your equipment inventory, the next step is to assign the equipment.
Adding Equipment in Bulk
Add equipment in bulk if you want to create a large number of similar or identical pieces of equipment.
For example, 100 identical office chairs. Instead of manually adding every single one of them, add 1 chair and then create 99 copies with the same name and settings in one go.

If you create 49 copies of a desk with the SKU of DSK-1, the copies are automatically numbered DSK-2, DSK-3, DSK-4, etc. up to DSK-50.
If you create 200 copies of an access fob with the SKU of AC20, the copies are automatically numbered AC21, AC22, AC23, etc. up to AC220.
-
Log in to dashboard.nexudus.com if you aren't already.
-
Click Inventory > Equipment.
-
Tick the checkbox next to the piece of equipment that you want to copy.
-
Click Create in bulk in the Bulk actions menu.
-
Add the number of copies you want to create.
Click Yes, do it to confirm.
All set! Your equipment copies are now in your inventory. Repeat the process for any other equipment you need to add.
Once you're happy with your equipment inventory, the next step is to assign the equipment.