Once you've created your event, you can easily add free or paid event tickets. Adding event tickets allows customers to RSVP from the Members Portal and admins to add attendees from the Admin Panel.
Adding event tickets is a two-step process. Its important to both add event tickets and define their availability, especially if you plan to make your tickets available on the Members Portal and Passport app. Defining availability controls how many tickets are available, when they're published, and who can buy them.
Step 1. Adding ticket details
The first step is to create your event ticket and add its details.
Log in to dashboard.nexudus.com if you aren't already.
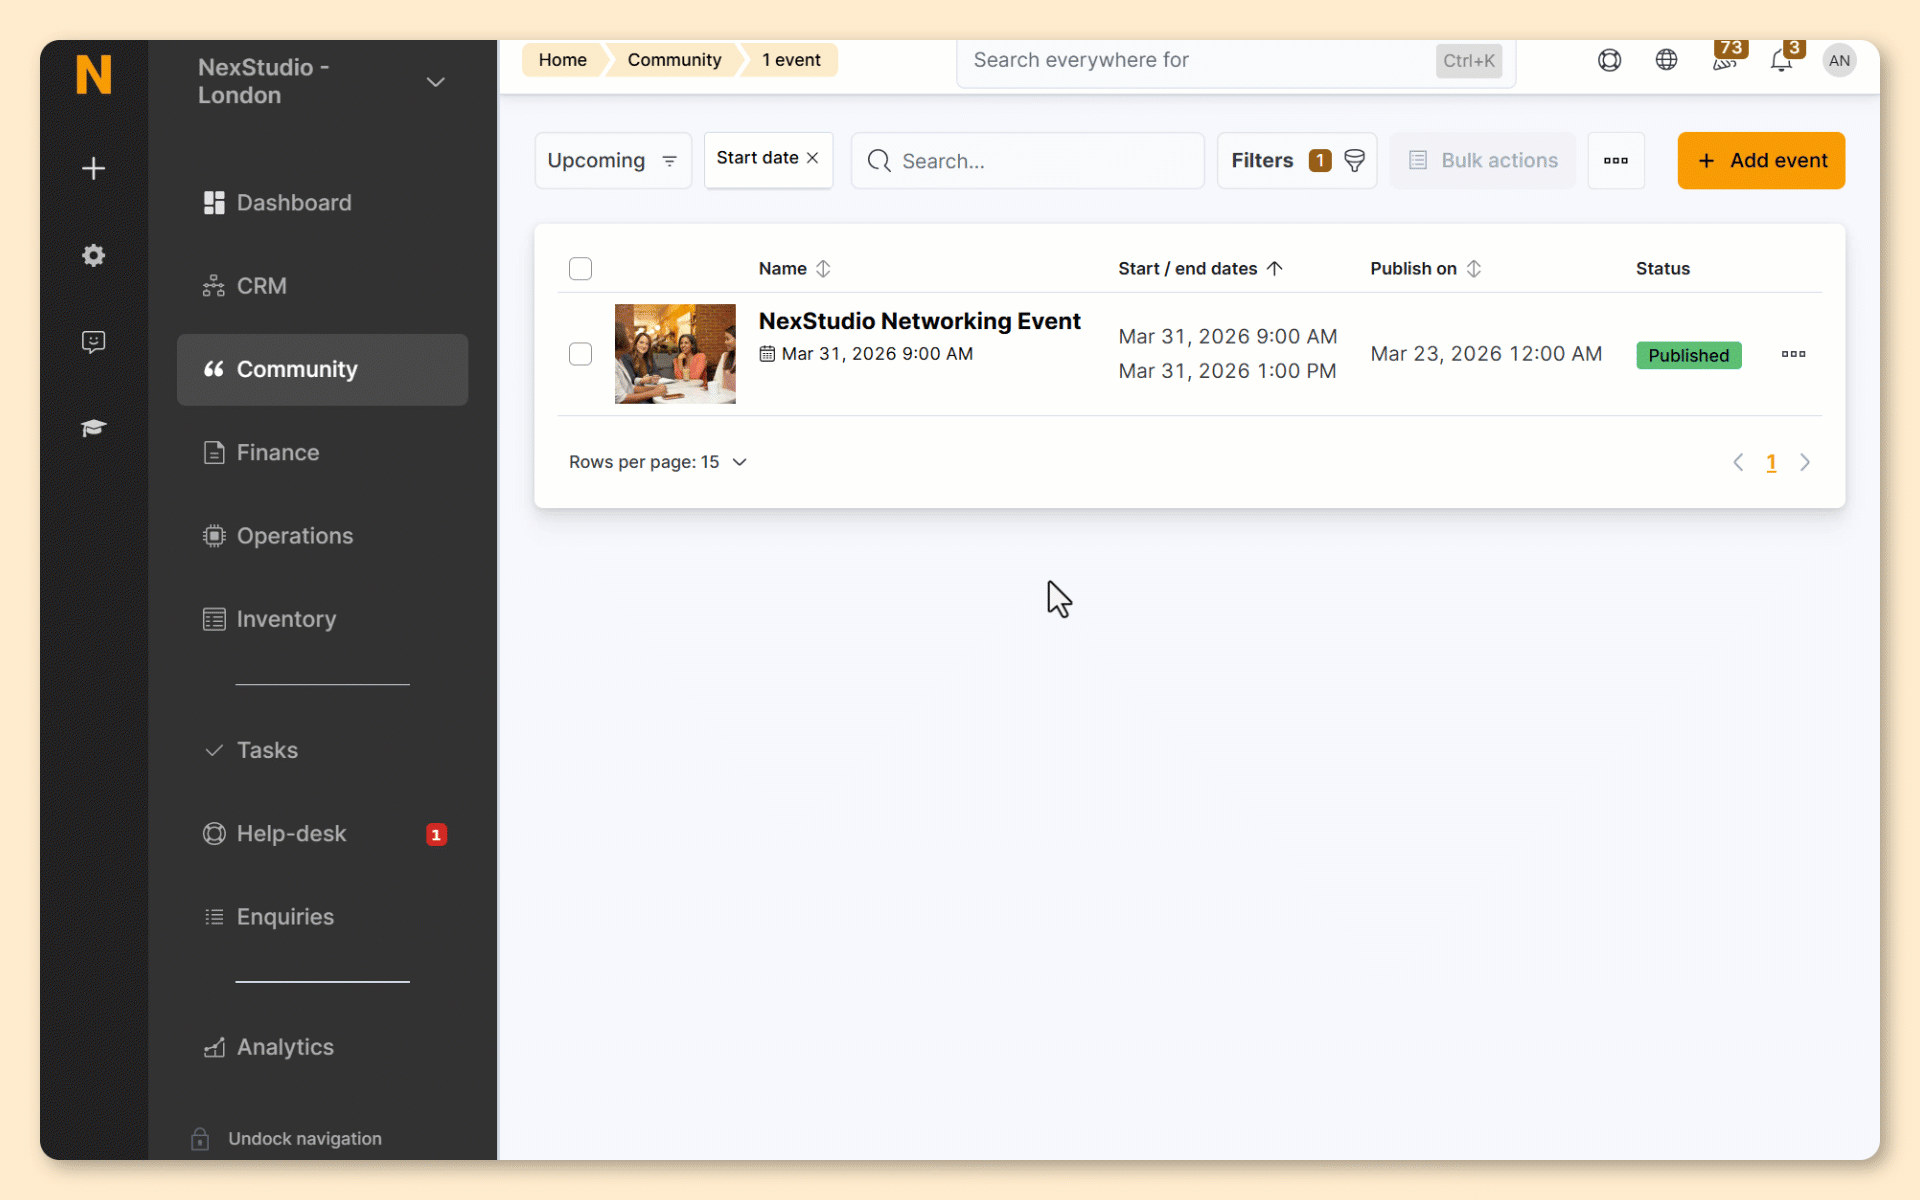
- Go to Community > Events list.
- Click on the relevant event.
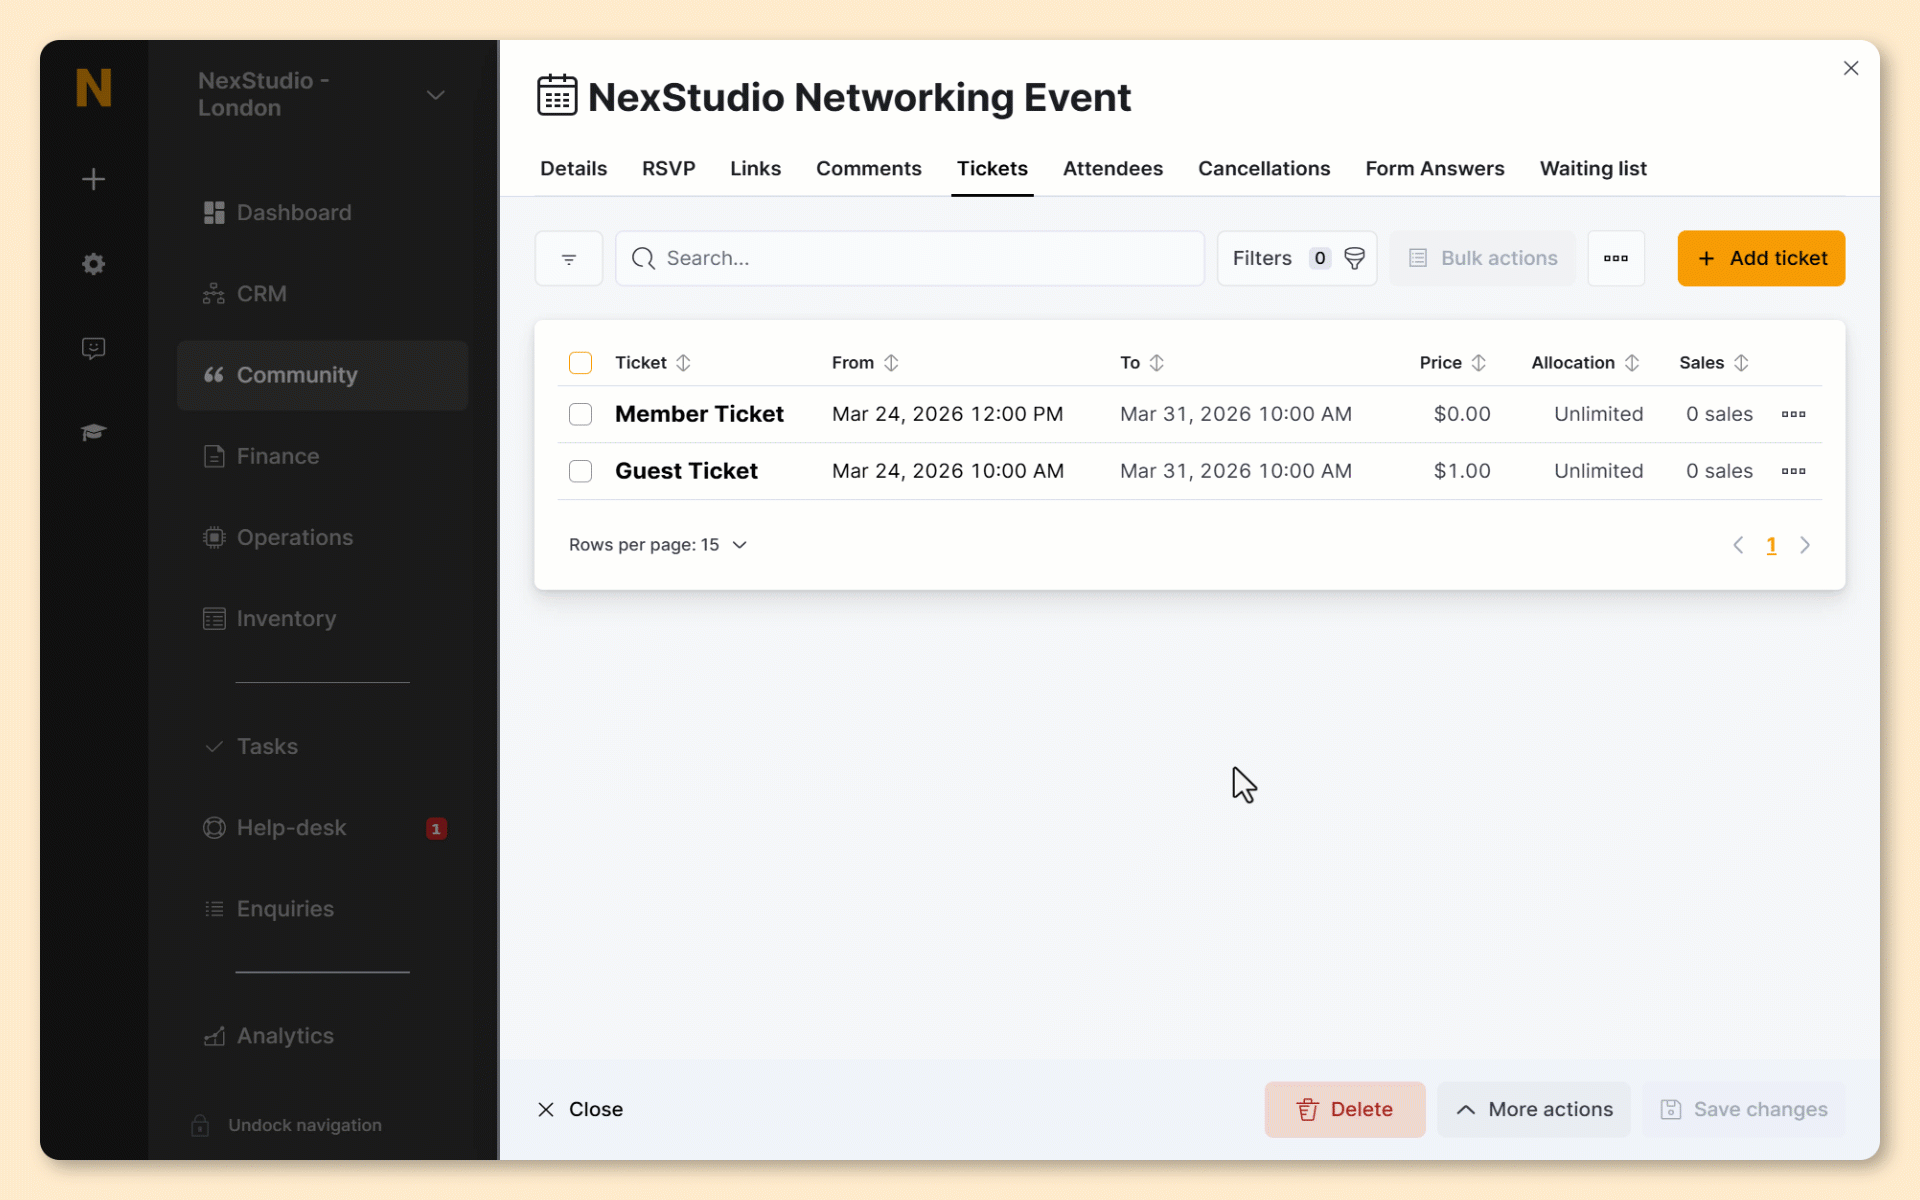
- Click on the Ticket tab.
- Click Add ticket.
- Name your ticket.
- Add a Description for the ticket.
- Add Ticket notes as needed.
- Keep Let customers buy this ticket from the portal and the app toggled off until you define ticket availability.
- Define the Unit price for the ticket.
- Define the position to display this ticket.
- Select a Tax rate and a Financial account.
If your Invoices and tax settings require all sales to have a defined financial account and tax rate, you'll need to define these even if the ticket is free.
Click the Save Changes button.
All set! You've successfully added your ticket. The next step is to define the ticket's availability.
Step 2. Defining event ticket availability
Once you've created your event ticket, the next step is to define its availability.
- Select the relevant ticket from the event if you haven't already.
- Click on the Availability tab.
- Define the Event capacity if you want to limit how many tickets of this type are available.
- Define the Tickets per attendee if you want to limit how many tickets each customer can purchase.
- Select the customer groups who can purchase this ticket from the This ticket is available to list.
You have the option to make the ticket available to:
- all customers
- only contacts
- only members
- members with specific plans
- members of specific teams
- specific customers
- Under Available to / from dates, define the time period this ticket will be available on the Members Portal and Passport app.
- Click on the Details tab.
- Toggle on Let customers buy this ticket from the portal and the app.
Click the Save Changes button.
All set! Your ticket will be available on the Members Portal and Passport app on the date and time you defined.
You can repeat the process for every other type of ticket you want to make available for your event.