You can create in-person and virtual events in a few clicks on the Admin Panel.
Adding In-person Events
Physical events are simply events taking place somewhere in your space.
-
Log in to dashboard.nexudus.com if you aren't already.
-
Click Community > Events calendar.
-
Click Add event.
-
Name your event.
-
Select a location for your event.
If you select your network location, all locations will display the event. -
Select an event Category from the drop-down list.
-
Select the event's Start / end dates.
-
Select the customer groups who are able to attend the event from the Make this event available to list.
You have the option to make the event available to:
- all customers
- only contacts
- only members
- members with specific plans
- members of specific teams
- specific customers
- Add a short and a long description for the event.
Event summary is visible under the event name on the Members Portal.
Event full description is visible when a customer clicks on the event in the Members Portal.
- Click Select file and select an image from your device if you want the event to have an image on the Members Portal.
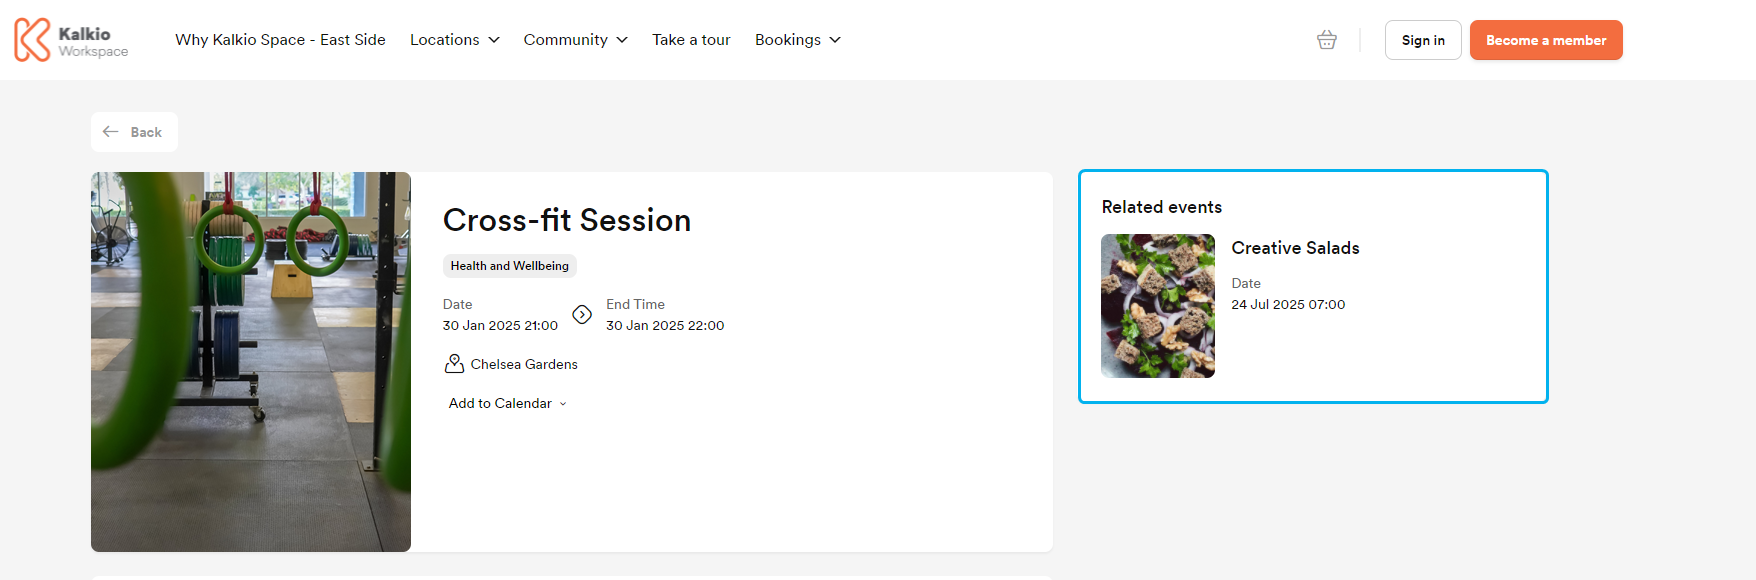
Large image - displayed on the events list and on the event's details page
Small image - displayed in the related events section of your event is part of the same category as another
- Select a date for your event to be published on the Members Portal.
- Toggle on all the publishing settings you need.
- Add a venue address and a venue location in the Location section.
This helps attendees know where they should go.
- Select a resource from the Resource drop-down list if you want to link the event to one of your resources.
The selected resource will automatically become unavailable for bookings for the entire duration of the event.
- Select if the event will be repeated more than once.
Click the Save button.
You can now add tickets for your event.
Adding Virtual Events
You can also create virtual events that don't need to take place in your space.
-
Log in to dashboard.nexudus.com if you aren't already.
-
Click Community > Events calendar.
-
Click Add Event.
-
Name your event.
-
Select a location for your event.
If you select your network location, all locations will display the event. -
Select one or several event categories from the Event Categories drop-down list.
-
Select the customer groups who are able to attend the event from the Make this event available to list.
You have the option to make the event available to:
- all customers
- only members
- only contacts
- members with specific plans
- members of specific teams
- specific customers
- Add a short and a long description for the event.
Event summary - visible under the event name on the Members Portal.
Event full description - visible when a customer clicks on the event in the Members Portal.
- Click Select file and select an image from your device if you want the event to have an image on the Members Portal.
Large image - displayed on the events list and on the event's details page.
Small image - displayed in the related events section of your event is part of the same category as another.
- Select a date for your event to be published on the Members Portal.
- Toggle on all the publishing settings you need.
- Select if the event will be repeated more than once.
- Select whether you want your virtual event to include a Zoom conference call or a webinar link.
Conference calls - allow all participants to use their camera and microphone during the virtual event.
Webinars - only allow panelists to use their camera and microphone.
Bear in mind that the main host and panelists details are managed directly from your Zoom account.
- Add alternative hosts to the Zoom event.
Alternative hosts are able to start the conference call or the webinar on your behalf. If you don't add any alternative host, you will need to start the Zoom event.
Click the Save button.
You can now add tickets for your event.