This validaton rule requires customer to purchase a product if they want to book a specific resource.
For example, you want all customers to purchase a day pass if they don't have one already to book one of your meeting rooms.
You need the following details to create this validation rule:
-
The ID of the resource that shouldn't be booked without a specific product purchase.
-
The ID of the product that should be purchased to book the resource.
Check out Finding Resource IDs and Finding Product IDs to get them.
-
Log in to dashboard.nexudus.com if you aren't already.
-
Click Settings > Validation rules.
-
Click Add rule.
-
Click on Manual entry.
-
Name your validation rule.
-
Add a Description for your rule to let other admins know what it does at a glance.
-
Toggle on This rule is active.
-
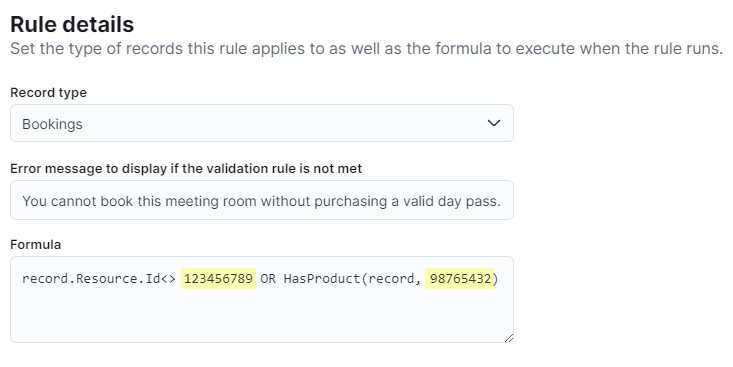
Select Bookings in the Record type.
-
Add the Error message to display if the validation rule is not met.
-
Add the following code snippet to the Formula field.
record.Resource.Id<> 123 OR HasProduct(record, 432)
-
Replace 123 with your resource ID.
-
Replace 432 with your product ID.
Your rule should look similar to the one, with your resource and product IDs instead of 1234456789 and 98765432.
Click the Save Changes button.
All done! We recommend you test your validation rule by trying to book a resource on the Members Portal with a customer account that didn't purchase the required product. If you get the error message you've defined, your rule is ready to go!