You can create static and dynamic custom pages directly from the web template editor on the Admin Panel.
You can build two types of custom pages:
- Static custom pages are ideal if you have no web development experience and just want to create a page using our built-in editor.
- Dynamic custom pages let you build interactive content and require you to know React, JSON, HTML, and CSS.
Creating a Static Custom Page
Static custom pages are ideal if you want to display information on your Members Portal and you have no web development experience.
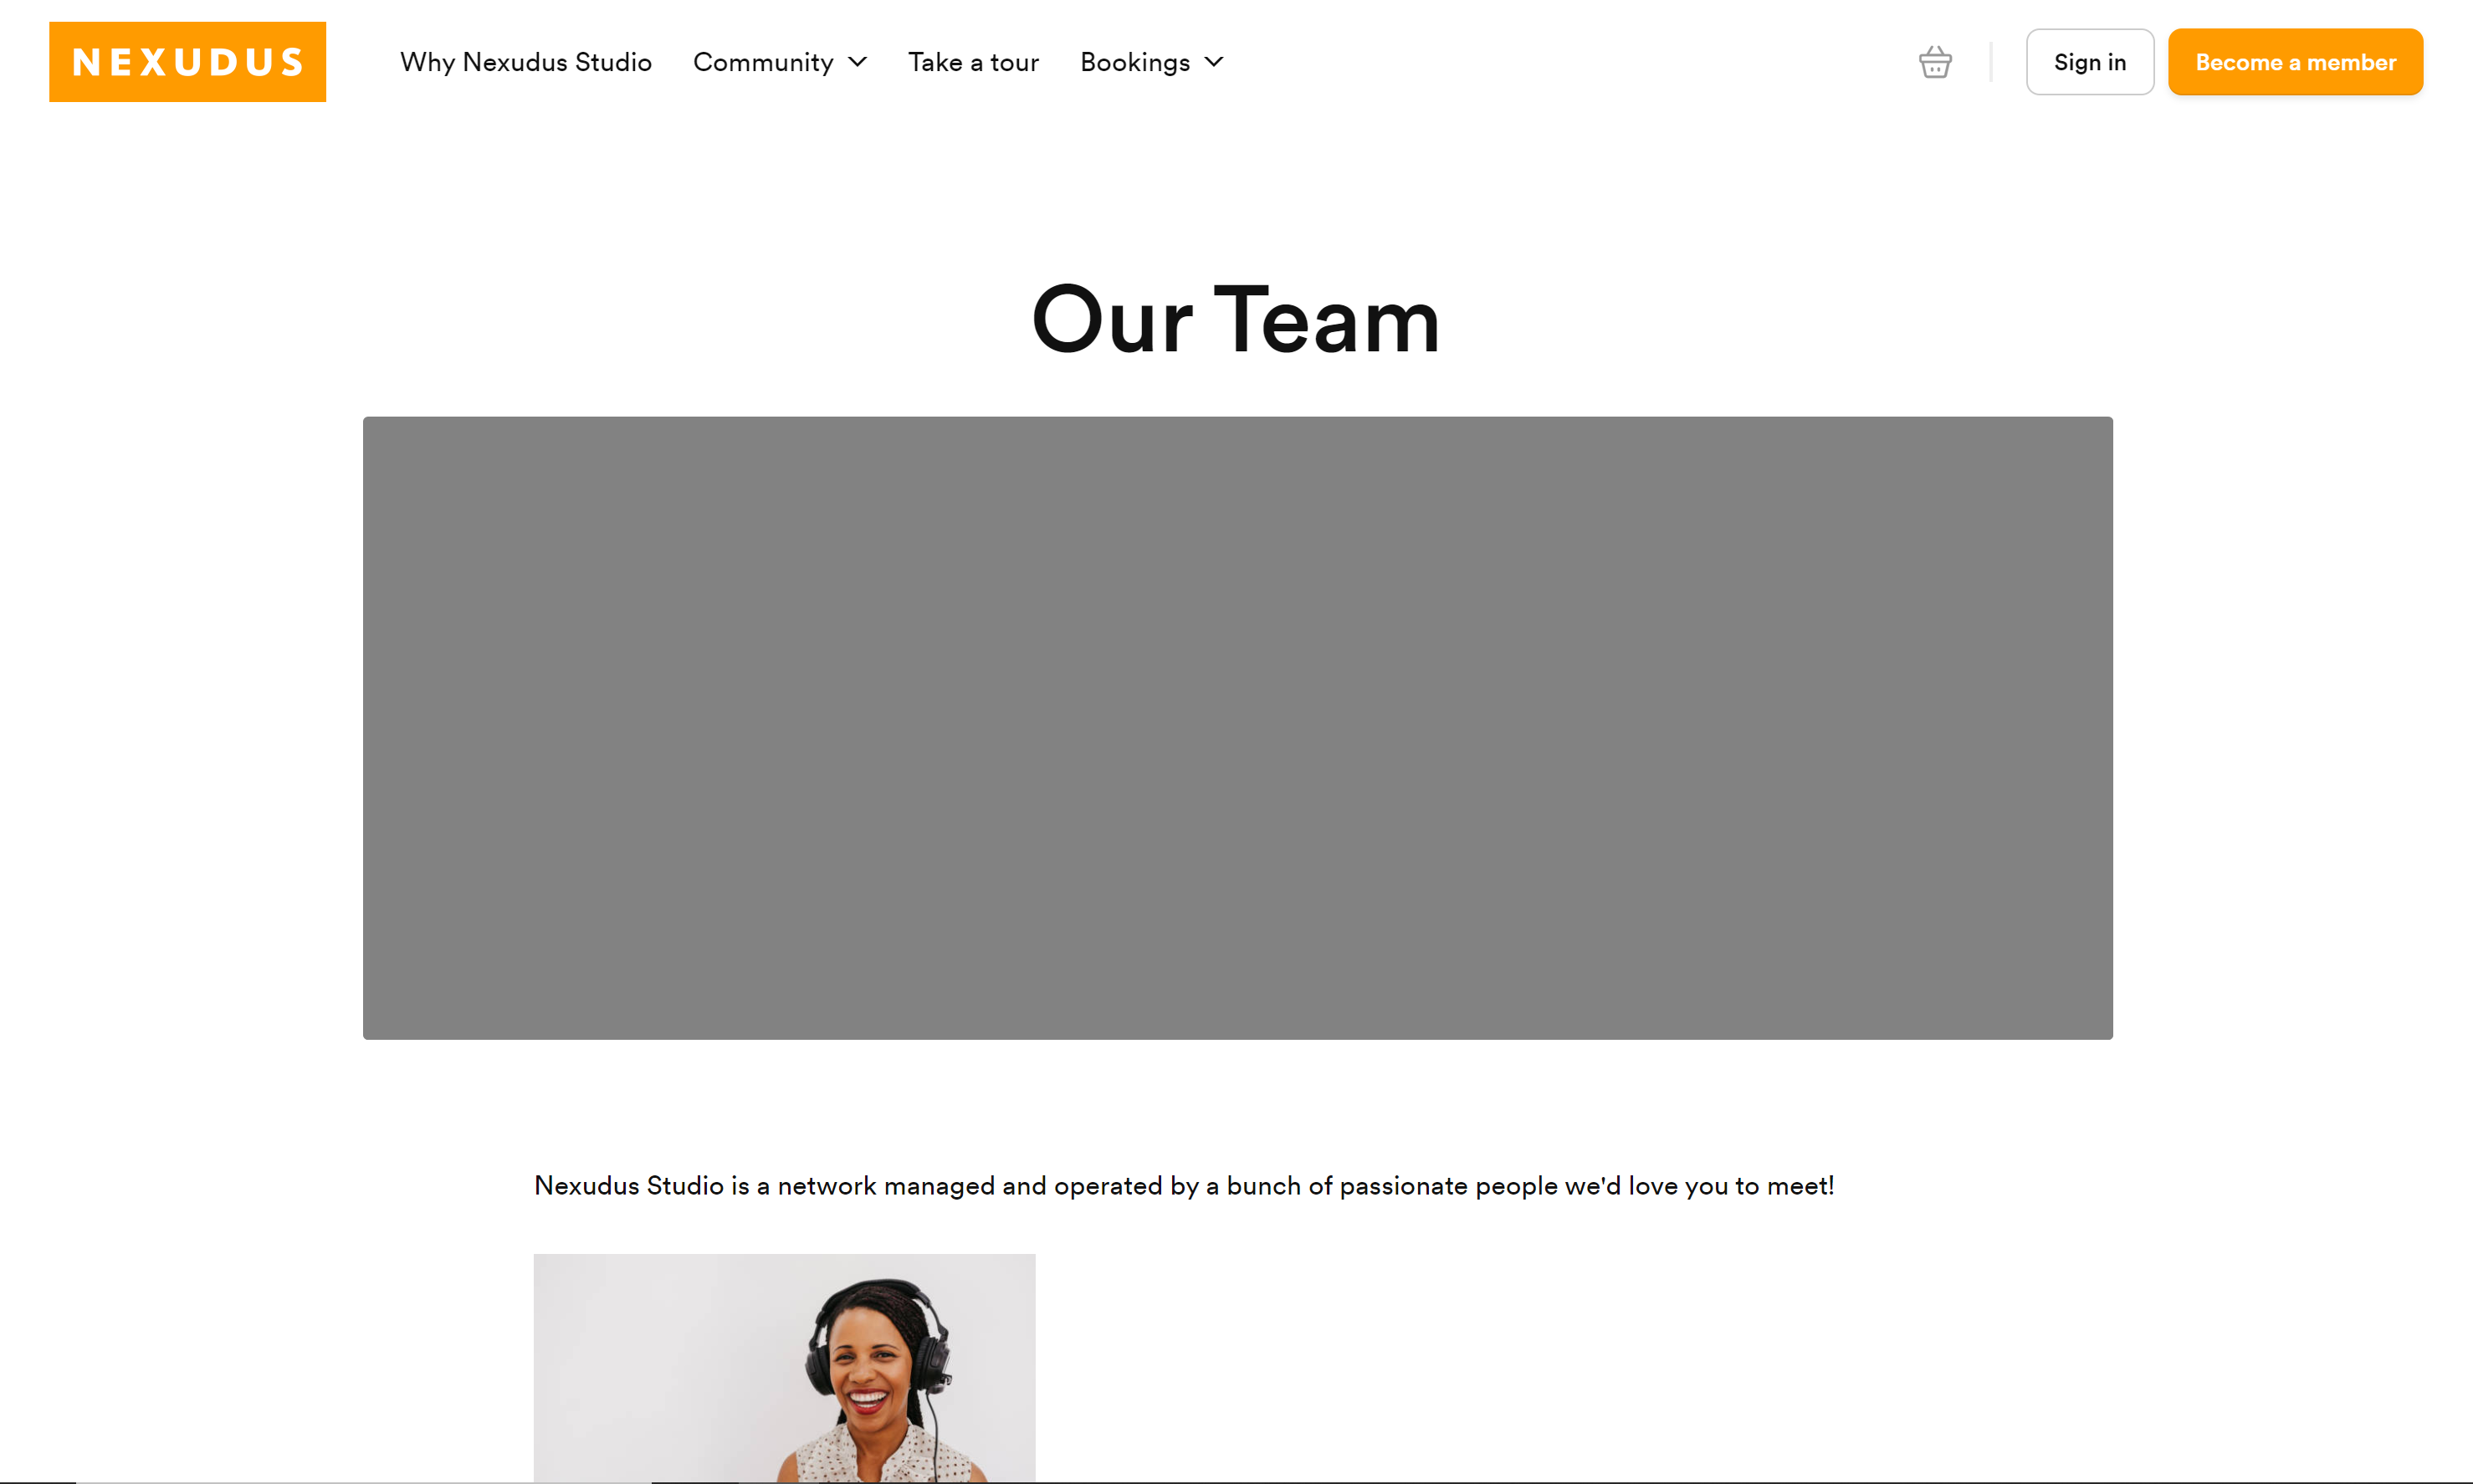
For example, you can create a custom page dedicated to your team with their photo and a bio or a page dedicated to the values and rules of your space.
-
Log in to dashboard.nexudus.com if you aren't already.
-
Click on Pages & components.
-
Click Add file.
-
Name your file and add .htm at the end of the name.

-
Press Enter on your keyboard.
Your custom page's record pops up.
Now that you created your page, you'll need to tweak a few of its settings and add your content.
Check out the custom page fields table.
-
Add a Title for your custom page.
-
Edit the Permalink for your custom page.
-
Add your custom page's content in the Contents field.
-
Click on Select file to include an image between the page's title and content.
-
Toggle on This page is active.
-
Select Public in the Visibility section.
-
Click the Save button.
Your page is now published on your Members Portal under the Community menu.
Creating a Dynamic Custom Page
Dynamic custom pages are ideal if you want an interactive page on your Members Portal and you have web development experience.
For example, a page where customers can select from different options and be taken to a different page based on the option they select.
- HTML/CSS
- JSON
- React
-
Log in to dashboard.nexudus.com if you aren't already.
-
Click on Pages & components.
-
Click on Add file.
-
Name your file and add .js, .jsx, .htm or .css at the end of the file name.
Your custom page's record pops up.
Now that you created your page, you can start adding your code to the file. You can easily save your edits by clicking on the Save button.
The page is active by default, but you can easily disable it by clicking on the File details tab in the top right corner of the page.
Custom Page Fields
All custom pages include the fields listed below.
| Field name | Details |
|---|---|
| Name | Name of your file in the website template editor. |
| Title | Name of the page on your Members Portal. |
| Permalink | Suffix added at the end of your Members Portal URL that leads to your custom page. For example, if your domain is coworking.com and your permalink is ourteam, the URL of your custom page will be https://coworking.com/pages/ourteam. |
| Contents | Content of your custom page as it is displayed on your Members Portal. |
| Image | Image added between your custom page's Title and Contents. |
| This page is active | Toggle that defines whether or not your custom page is currently active on your Members Portal. |
| Visibility | Defines who can access your custom page from your Members Portal. |