Why use your own AWS IoT endpoint and certificates
While Nexudus can easily issue an AWS IoT endpoint and certificates for you under our own AWS account.
Create your AWS IoT Endpoint for Pressac
- Log in to your AWS IoT console.
- Create a new policy based on the following JSON:
{
  "Version": "2012-10-17",
  "Statement": [
    {
      "Effect": "Allow",
      "Action": "iot:Connect",
      "Resource": "*"
    },
    {
      "Effect": "Allow",
      "Action": "iot:Publish",
      "Resource": "*"
    },
    {
      "Effect": "Allow",
      "Action": "iot:Subscribe",
      "Resource": "*"
    }
  ]
}
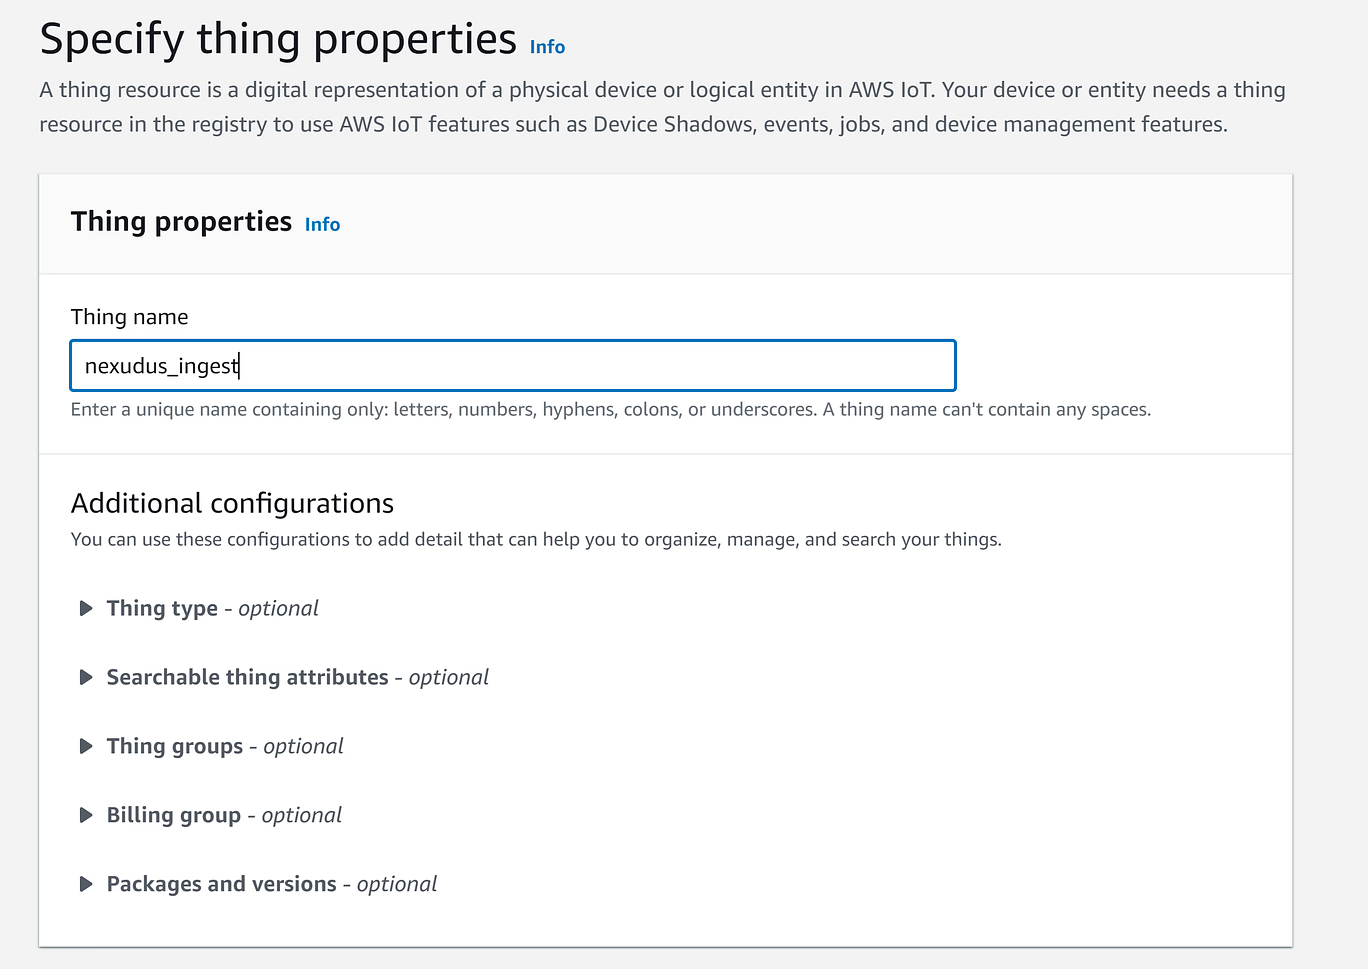
Create a new thing, making sure to name it nexudus_ingest
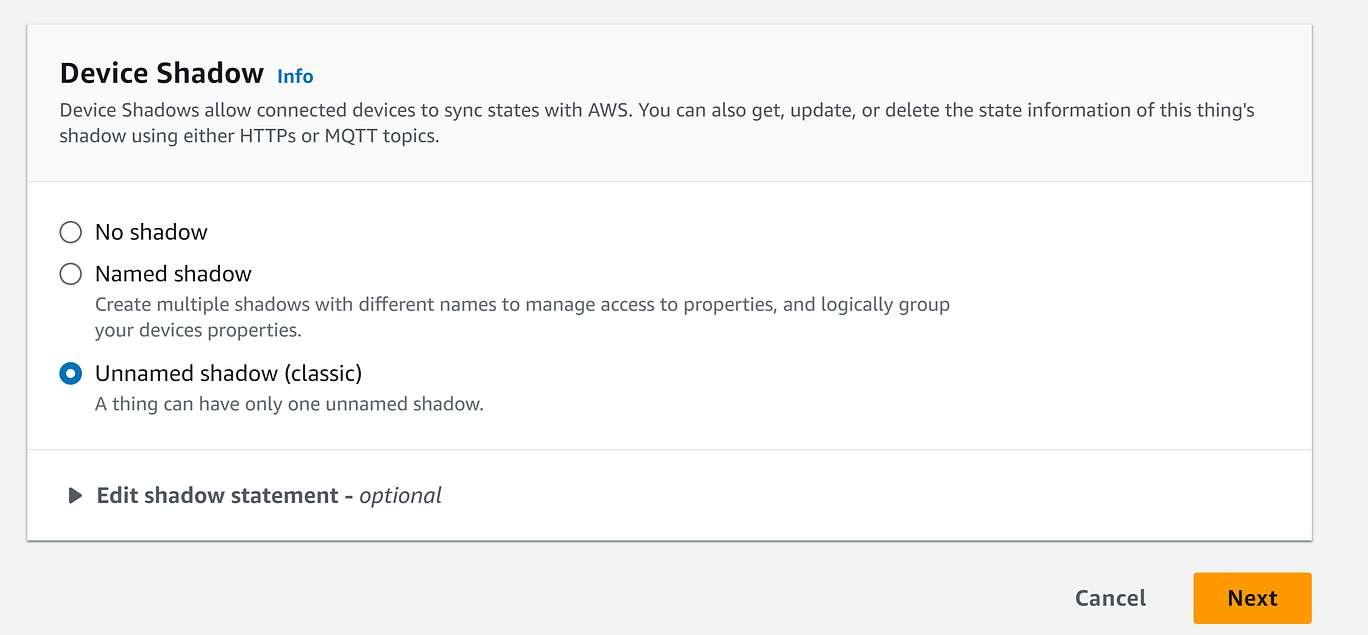
Make sure your thing device shadow is set to Unnamed shadow and click Next.
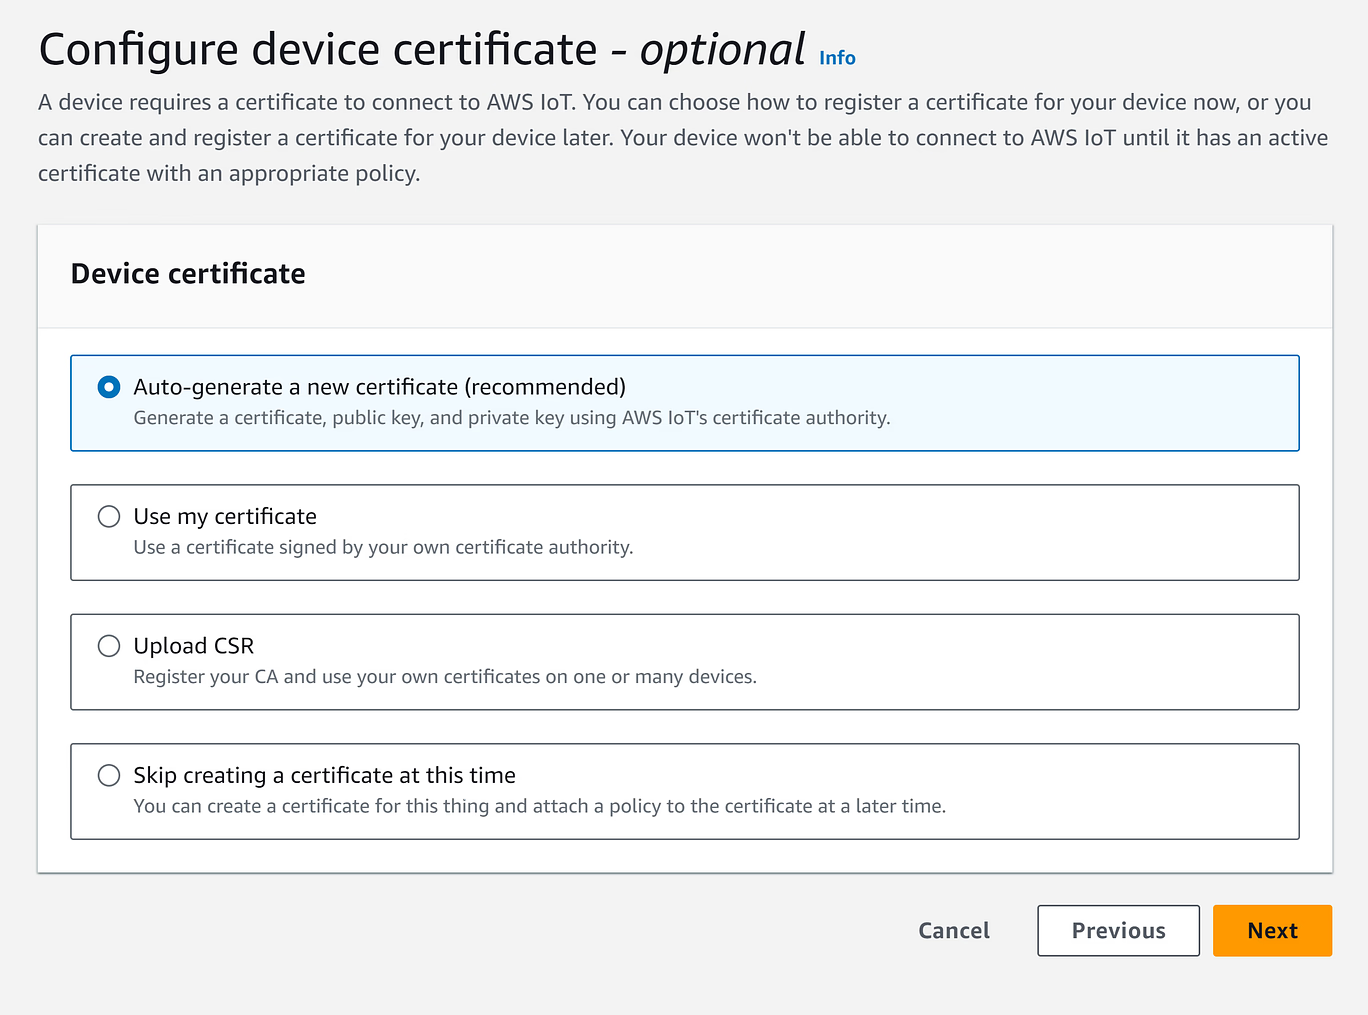
Configure device certificates to automatically renew and click Next.
Click Create thing.
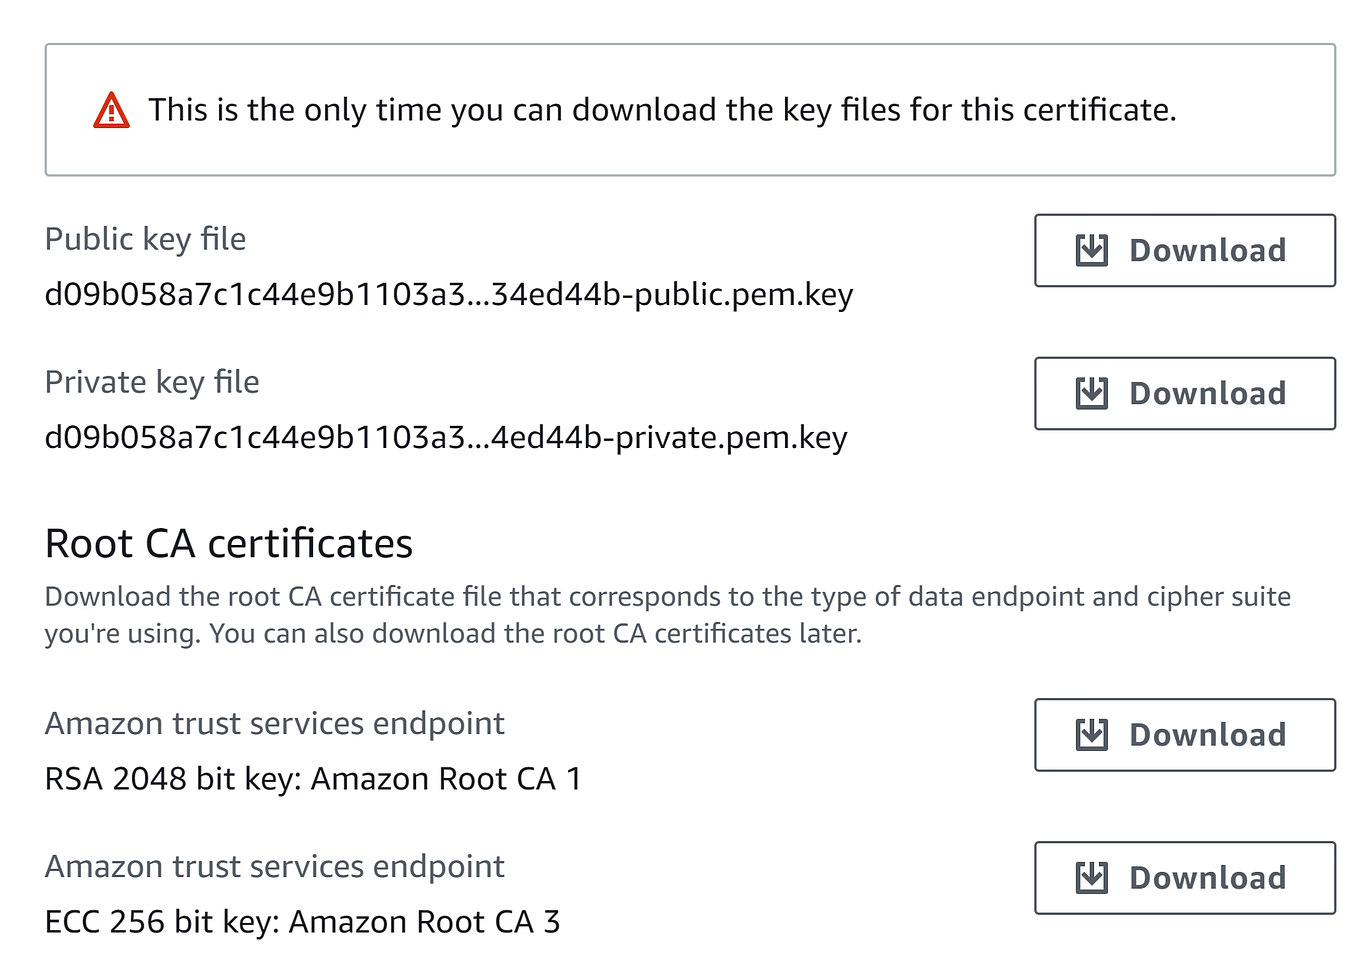
The next step is to download the public key, private key, and Root CA1 certificates.
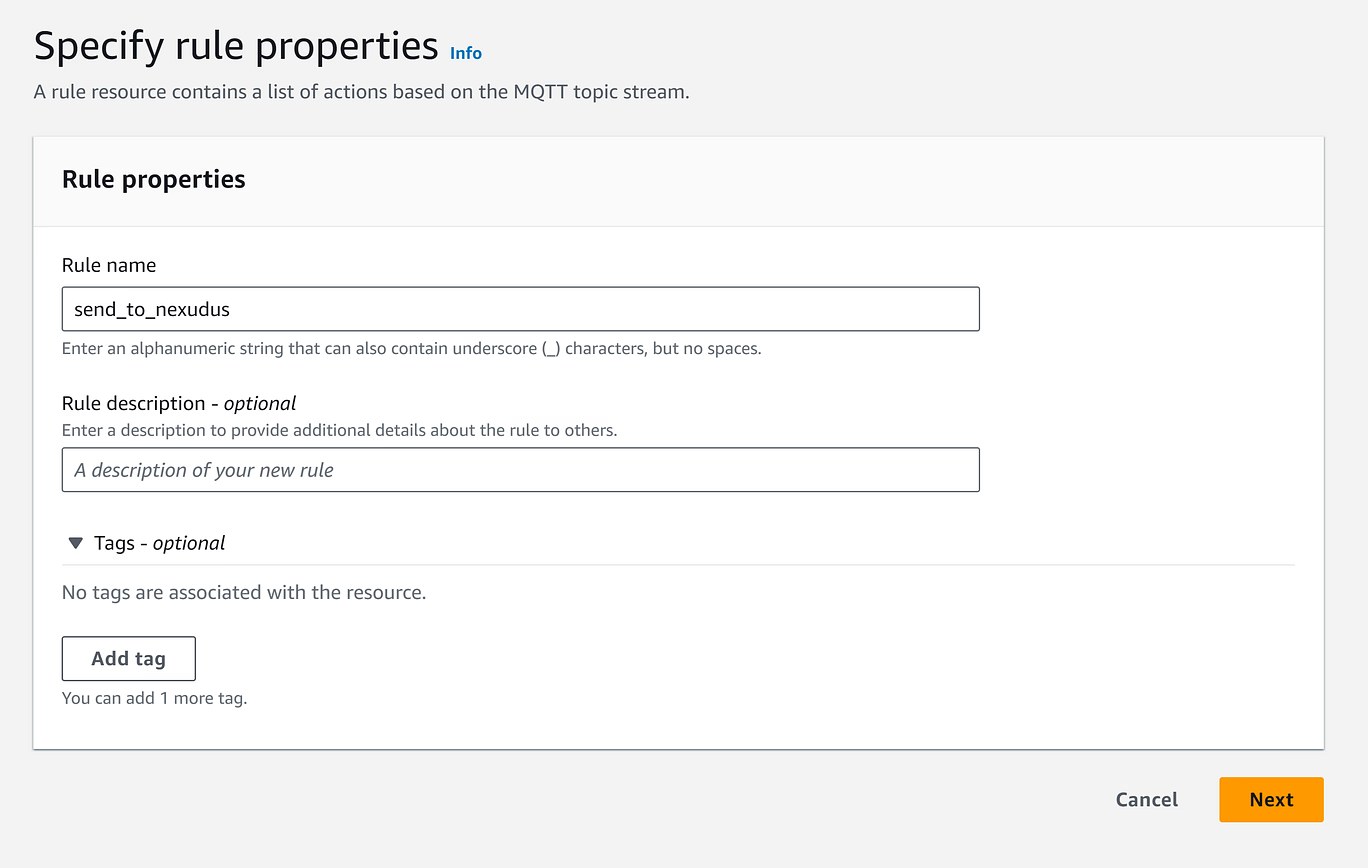
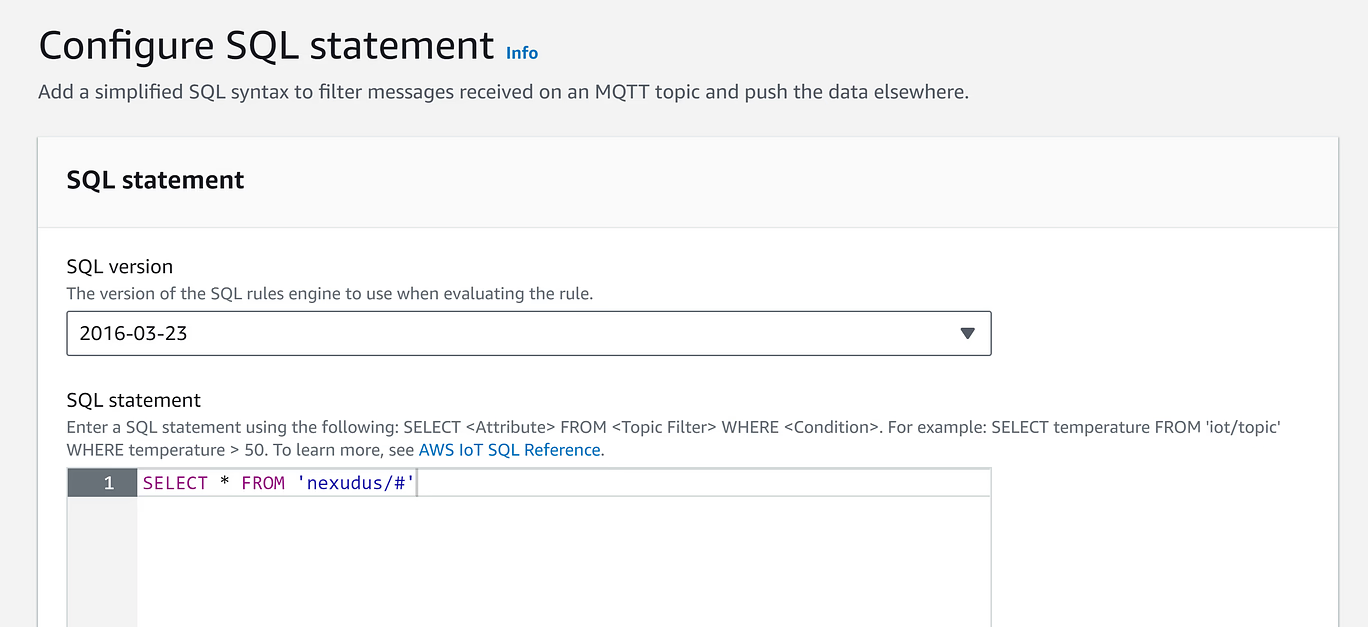
Following that you can add a new message routing rule named send_to_nexudus with the details below.
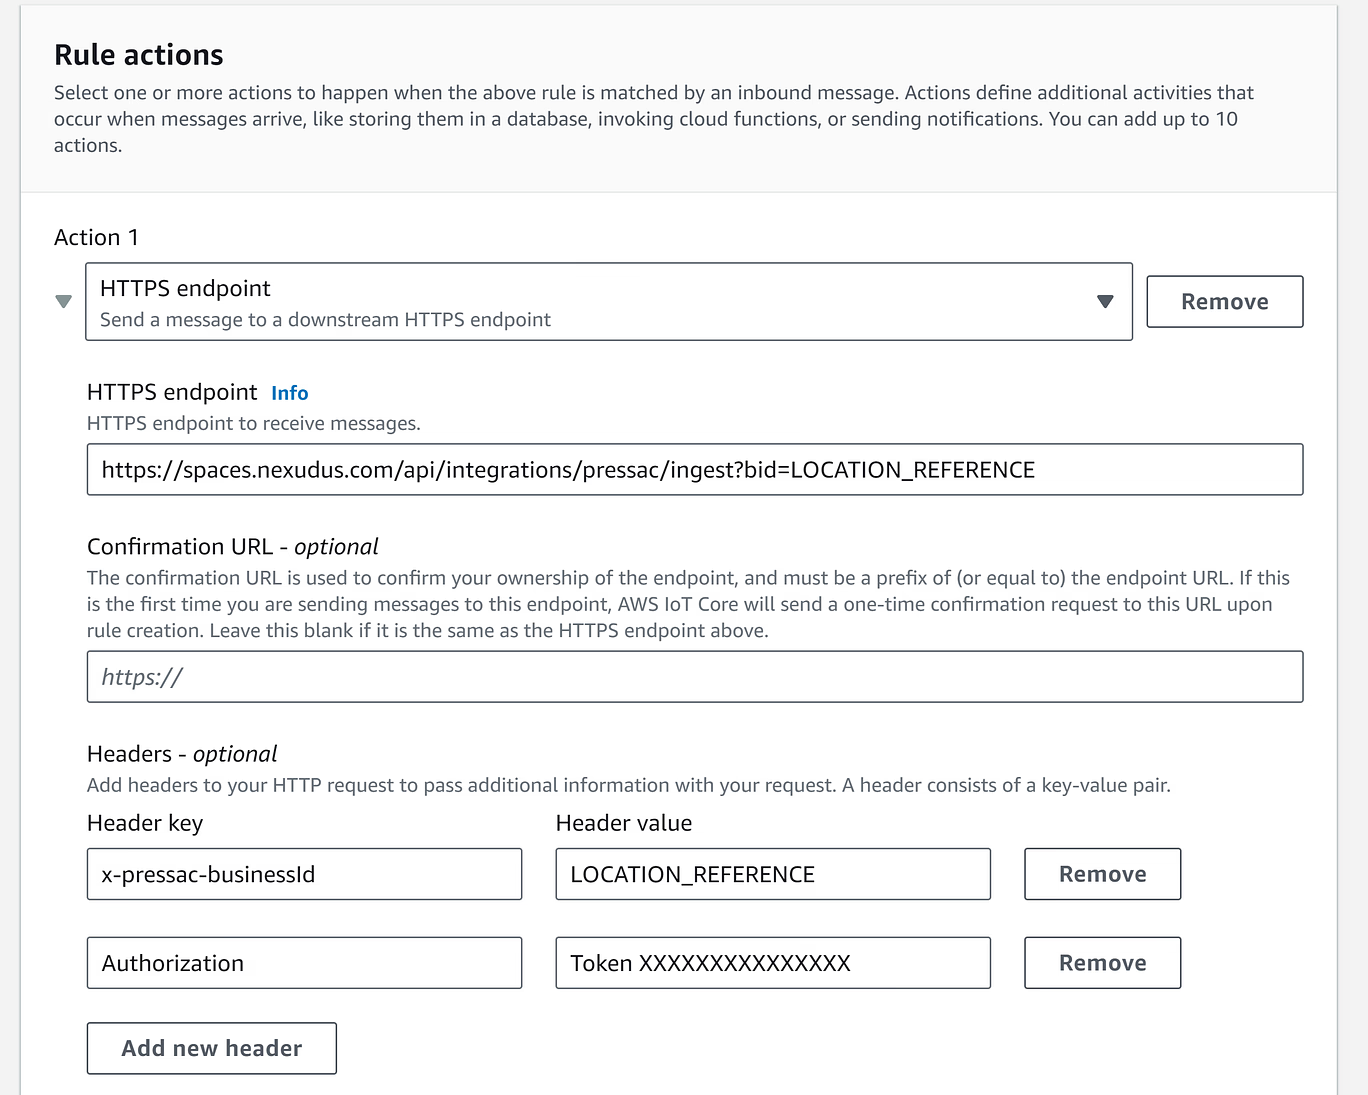
LOCATION_REFERENCE is your location https://dashboard.nexudus.com/settings/0/0/0. If you operate more than one location, use the top-most location in your network.You can also use the Data connector URL in https://dashboard.nexudus.com/settings/integrations/pressac as the **HTTP Endpoint ** below.
The token below shown as "XXXXXX" is your Pressac shared secret from https://dashboard.nexudus.com/settings/integrations/pressac.
Go to the Destinations section and select the new HTTP destination, which should be pending validation.

Find the validation token in your logs at https://dashboard.nexudus.com/settings/6/2/0 under the heading "Your AWS destination confirmation token is XXX". Make sure you are browsing the correct location based on the "LOCATION_REFERENCE" you used earlier. Use the code to "confirm and activate" the new destination.
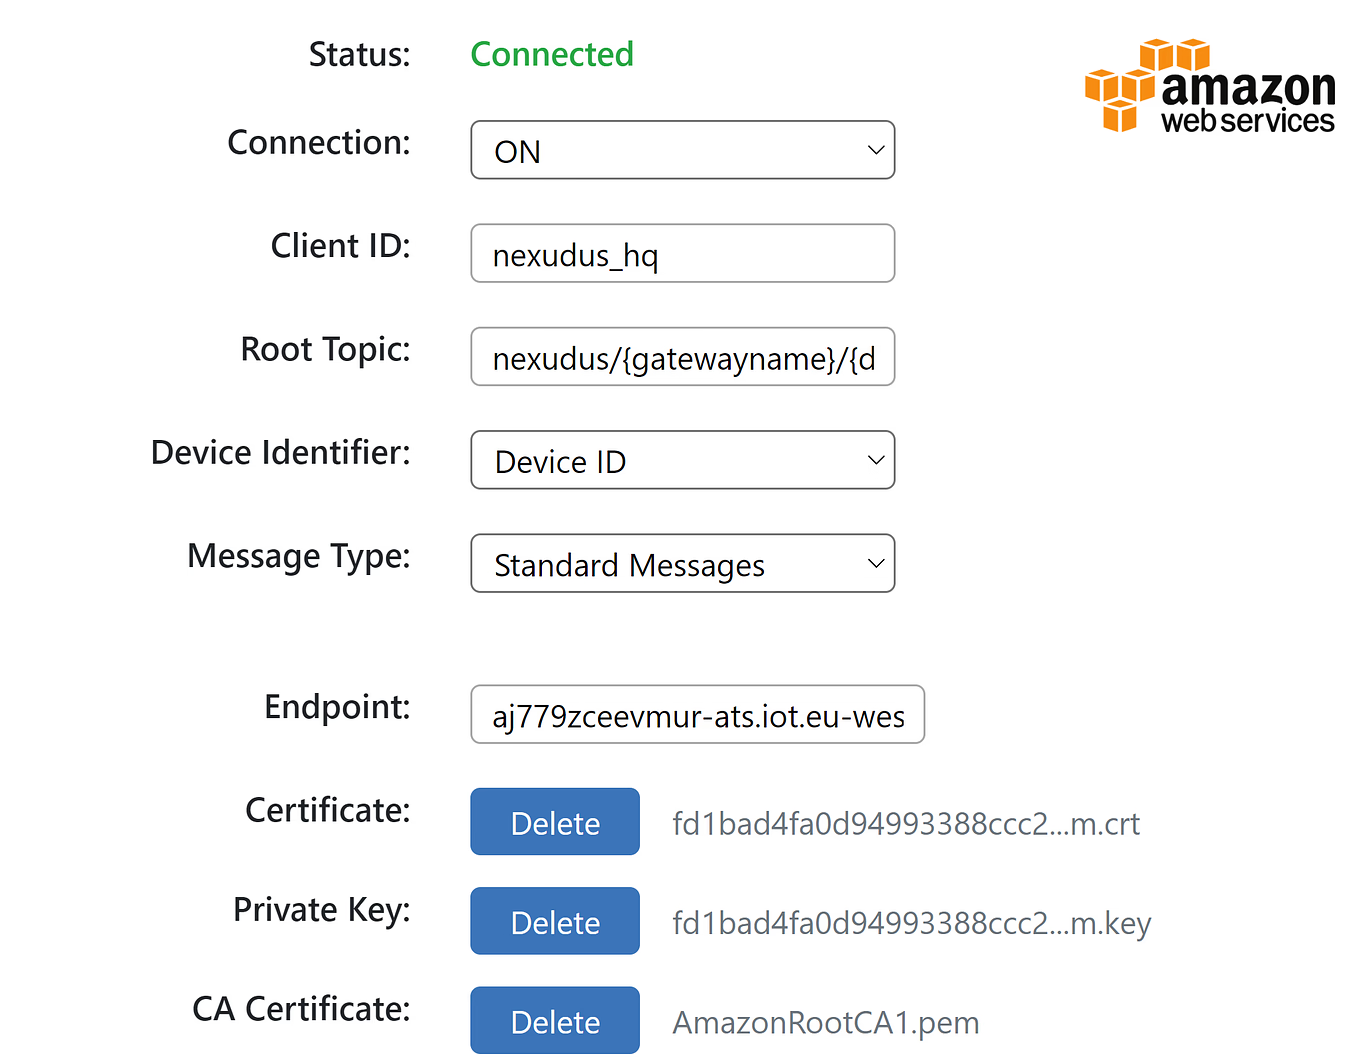
Lastly, in your Pressac gateway, enable the AWS IOT service with the following details
Root Topic
nexudus/{gatewayname}/{devicename}
Endpoint (if using Nexudus' AWS account)
aj779zceevmur-ats.iot.eu-west-1.amazonaws.com