What You Need to Integrate Calendly
For more details on the different subscription plans available, check out Calendly's website.
You also need the following details to connect Calendly to Nexudus.
A One-on-One Event Type Dedicated to Tours in Calendly
This one-on-one event type helps you define the schedule you want to set up for tours.
For example, you want tours to only be available on Mondays and Fridays and last
two hours at a time. Calendly event types let you adjust the tour availability and duration of each time slot.
If you need help creating an event type, follow Calendly's instructions.
Once you have your one-on-one event in Calendly, copy its link and save it somewhere. You'll need it to enable the integration on the Admin Panel.

A Calendly Access Token
You also need an access token that you can generate in your Calendly account.

Follow Calendly's instructions to generate your access token. Copy and save the token, you'll need it to enable the integration on the Admin Panel.
Save them somewhere safe and never share them outside of Calendly or Nexudus.
Integrating Calendly
-
Log in to dashboard.nexudus.com if you aren't already.
-
Click Settings > Integrations > Calendly.
-
Enable the Calendly integration toggle.
-
Add your Calendly access token in the Personal API token field.
-
Add your Calendly event link in the Tour Calendly event URL field.
-
Click the Save Changes button.
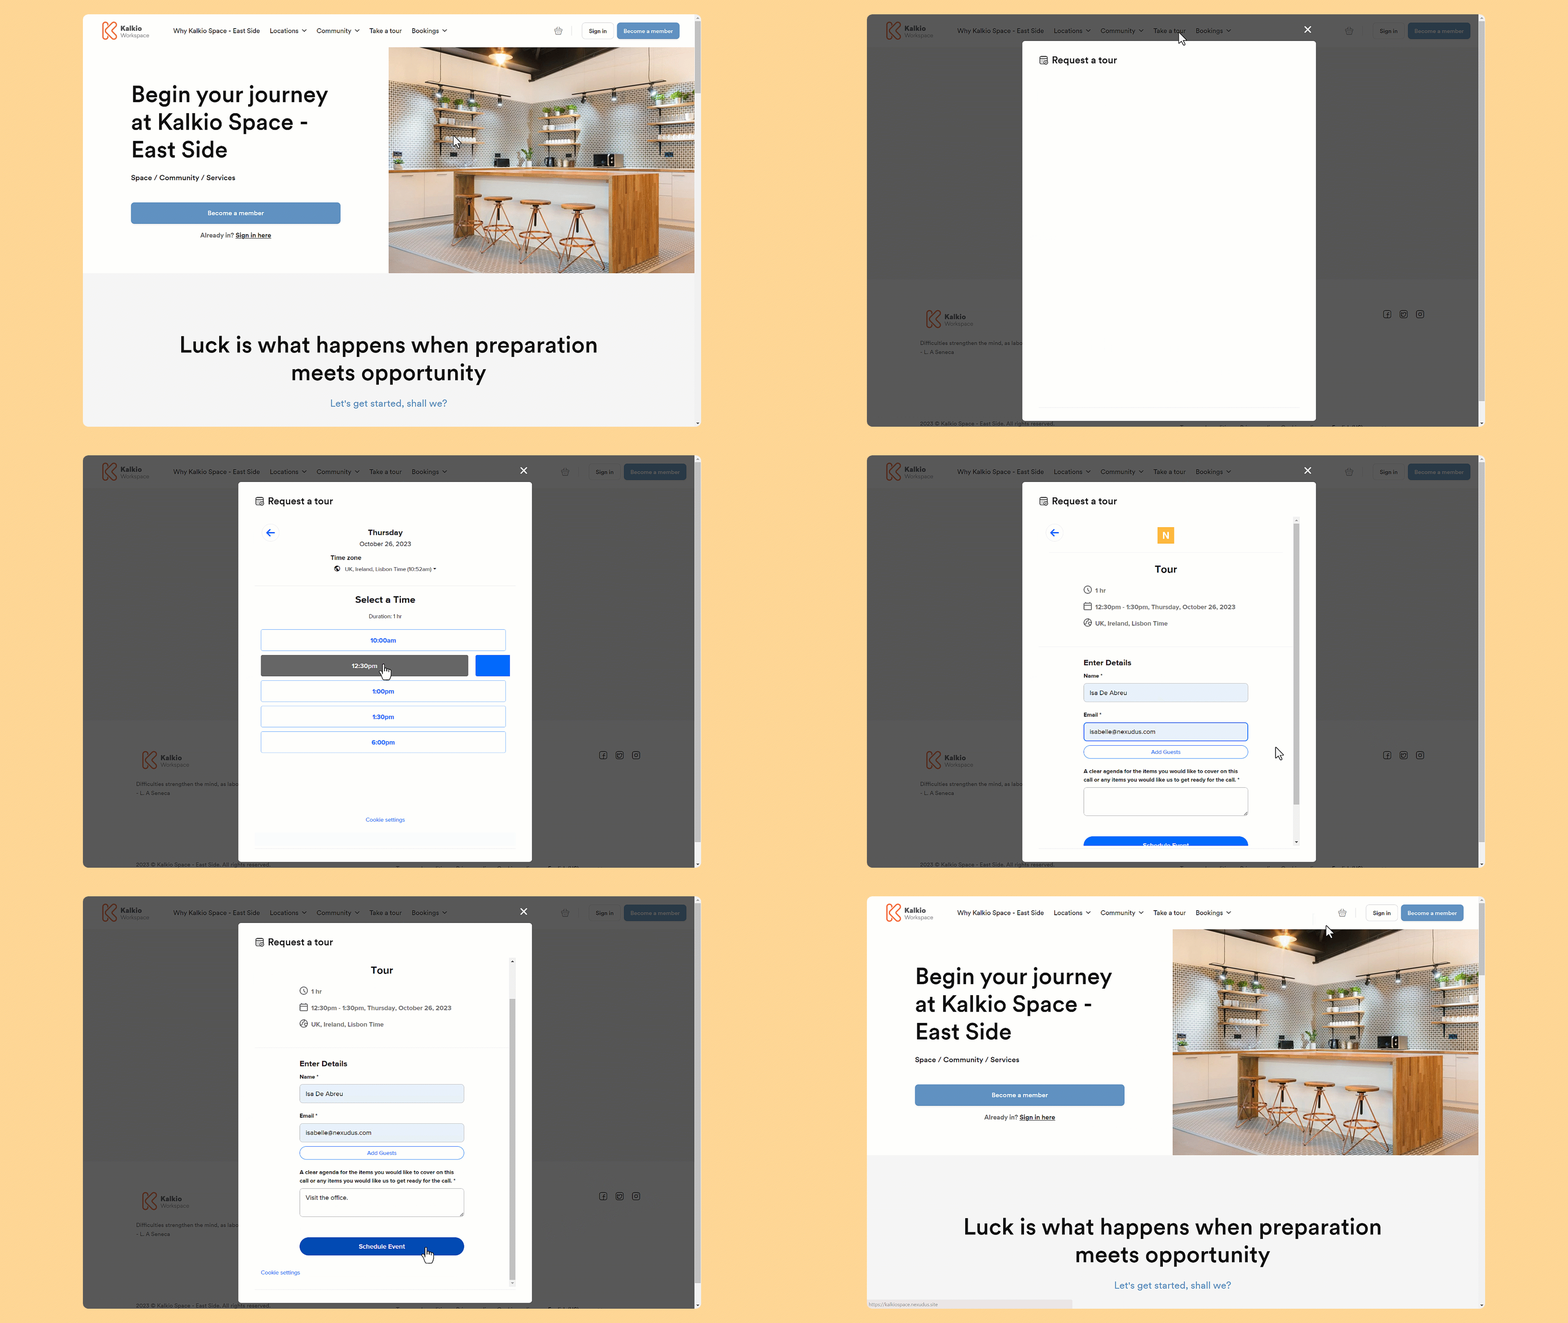
All set! Your Calendly event should now replace the Nexudus tour calendar when users click on Take a tour.
