What you need to integrate D12S
-
A D12S project and registered sensors
You need D12S project with registered sensors. Disruptive Technologies provides a handy guide that takes you through all the steps required to set up your account — Getting started with your first sensor kit.
Just make sure you register all the sensors you initially want to connect to Nexudus before starting the integration process. It'll save you time!
-
A strong and unique shared secret
You need this shared secret to authenticate the data transfers between D12S and Nexudus. You can use any type of secret key generator to create your shared secret.
Do not share it with anyone and save it somewhere safe.
Integrating D12S
The integration is a two-step process:
1. Create a Data Connector in D12S
2. Enable D12S in Nexudus
Step 1. Create a Data Connector in D12S
The first step of the integration process is to create a data connector on the D12S admin dashboard. You'll need the details of the data connector in the next step to connect your Nexudus account to your D12S admin dashboard.
-
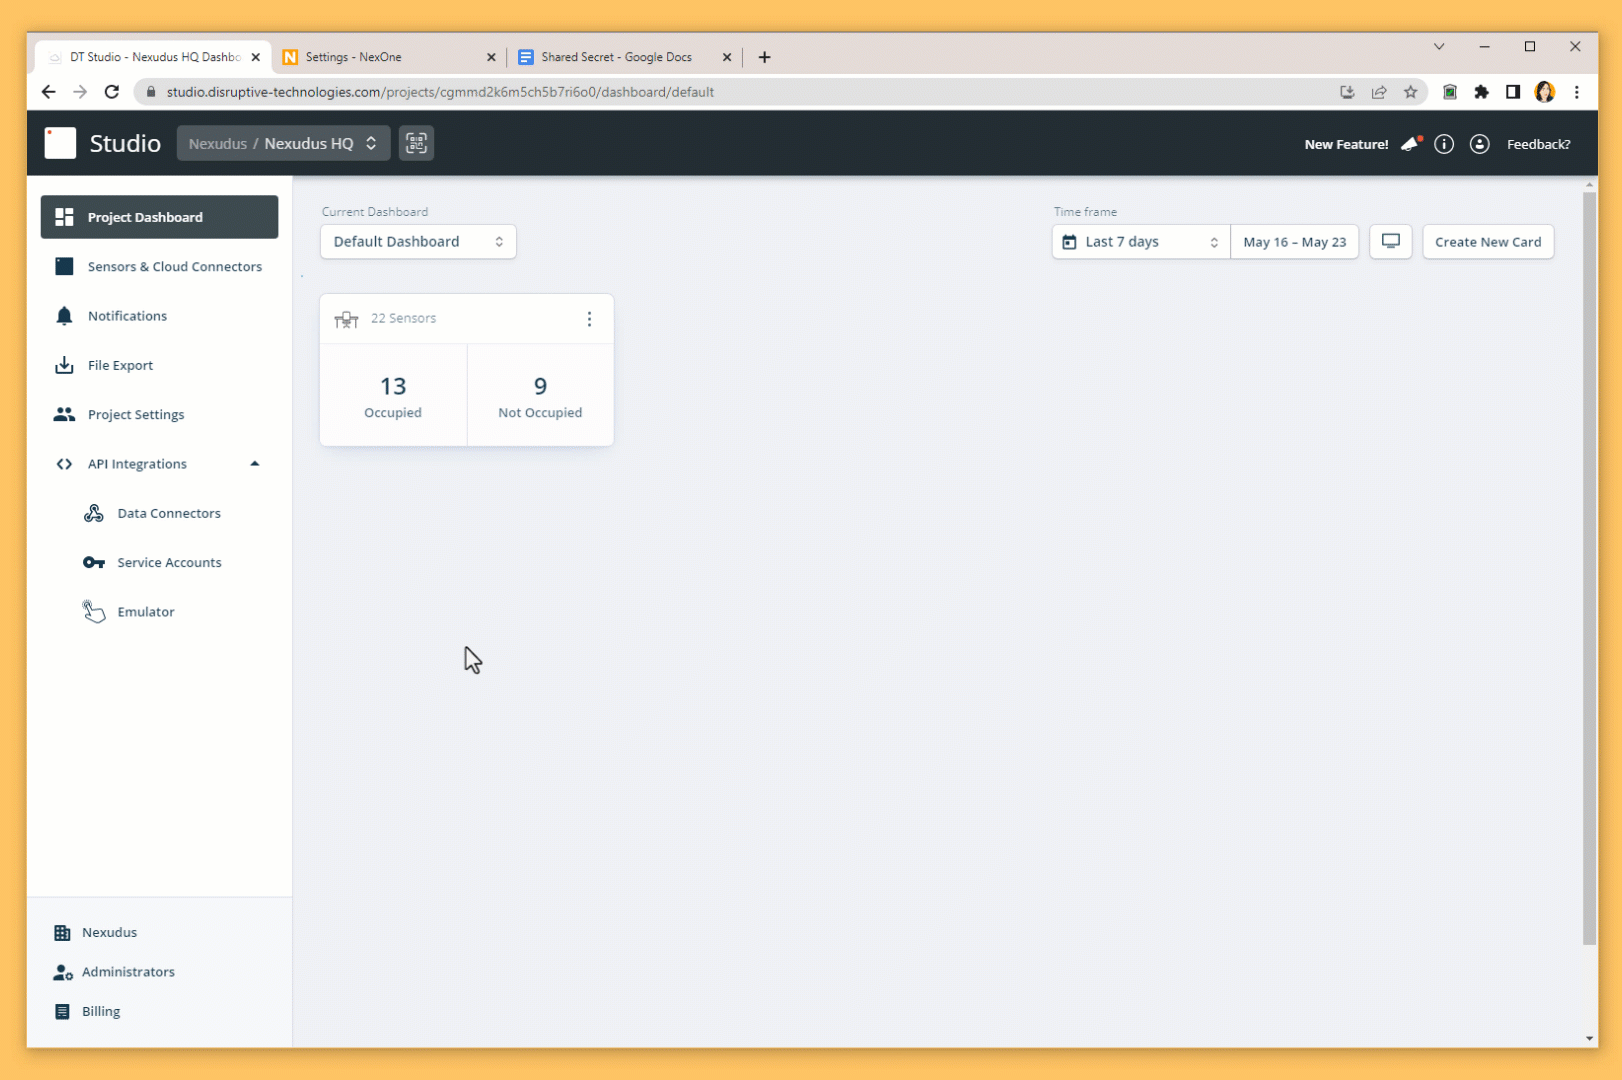
Log in to studio.disruptive-technologies.com.
-
Select the project you want to connect to Nexudus.
-
Click API Integrations > Data Connector in the navigation menu on the left.
-
Click on Create data connector.
-
Name the data connector using the Display field.
-
Add the following URL to the Endpoint URL field.
https://spaces.nexudus.com/api/integrations/d12s/ingest
- Add your shared secret to the Signature secret field.
- Scroll down the page and click Save new data connector.
Once you've created your data connector for Nexudus, you can move to Step 2.
Step 2. Enable D12S in Nexudus
The last step of the integration is enabling the D12S integration on the Admin Panel.
-
Log in to dashboard.nexudus.com if you aren't already.
-
Enable the D12S sensors integration toggle.
-
Add your D12S project ID in the Project ID field.
-
Add your D12S data connector shared secret in the Shared secret field.
-
Click the Save Changes button.

All done! Your D12S integration is now live. You can start using the sensors data within Nexudus using the sensors feature to trigger specific actions. You can also use the sensors' data in custom home dashboards to help your team stay on top of things such as space temperature and occupancy.