What you need to integrate HubSpot
A HubSpot account
All you need to enable this integration is a HubSpot account. Your HubSpot account must be set up to let you map out the connections you want to establish with Nexudus. This includes having the relevant pipelines ready and contacts in your account.
You can use a single HubSpot account in all your locations or use a separate one per location. Regardless of how many HubSpot accounts you use, you need to repeat the integration process for each of your locations.
Integrating HubSpot
The HubSpot integration is a three-step process.
Step 1. Connecting HubSpot to your Admin Panel
You first need to connect your HubSpot account to the relevant location in Nexudus.
-
Log in to dashboard.nexudus.com if you aren't already.
-
Click on Connect.
-
Log in to your HubSpot account using your usual email and password.
-
Choose the HubSpot account you want to connect to your location.
-
Click on the checkbox button to let Nexudus access your HubSpot account.

You are redirected back to the Admin Panel.
Step 2. Defining which HubSpot record should be synced to Nexudus
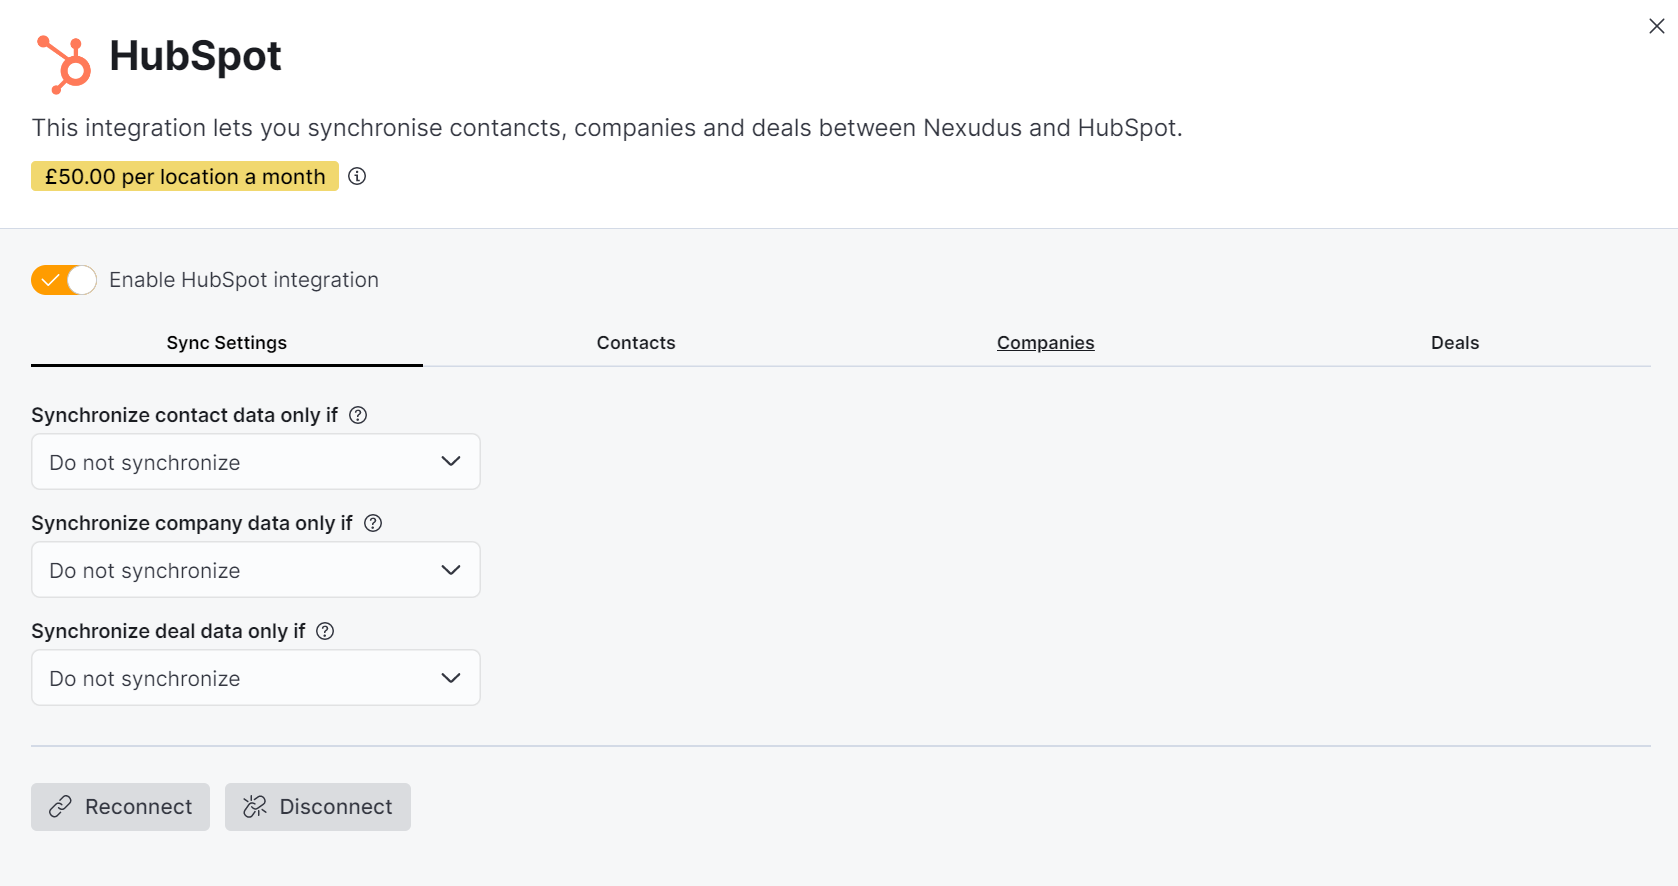
Now that you've connected your HubSpot account to Nexudus, you need to define when to sync HubSpot data in Nexudus.
Because your HubSpot account may handle large numbers of deals, contacts, and companies on a regular basis, we give you the option to sync them in Nexudus only when a specific update or condition is met in HubSpot.

-
Click on the Synchronize contact data only if drop-down list and select the HubSpot contact property that should trigger sync to Nexudus.
-
Select the property value(s) that should trigger the sync to Nexudus.
-
Click on the Synchronize company data only if drop-down list and select the HubSpot company property that should trigger sync to Nexudus.
-
Select the property value(s) that should trigger the sync to Nexudus.
-
Click on the Synchronize deal data only if drop-down list and select the HubSpot deal property that should trigger sync to Nexudus.
-
Select the property value(s) that should trigger the sync to Nexudus.
-
Click the Save Changes button.
Now that you've defined when HubSpot data should be synced in Nexudus, you can move to the last step of the integration.
Step 3. Mapping the data you want to link between Nexudus and HubSpot
Mapping the properties or fields you want to sync between Nexudus and HubSpot is the last and most crucial step of the integration. Mapping lets you match HubSpot properties to corresponding fields in Nexudus and vice versa.
Any update to a contact, company, or deal property in HubSpot automatically pushes the update to the corresponding customer, company, or opportunity field in Nexudus. Any update to a customer or company field in Nexudus automatically pushes the update to the corresponding property in HubSpot.
Matching Nexudus fields and HubSpot properties may have slightly different names.
For example, Company name in Hubspot becomes Name for a team in Nexudus. The Job title property for a contact in HubSpot is equivalent to the Position field for a customer in Nexudus.

You can map as many HubSpot properties as you need, based on how much data you want to sync between the two platforms.
-
Click on any of the Contacts, Companies, or Deals tab.
-
Look up a HubSpot property you want to map in Nexudus using the search bar.
-
Click on the Not Mapped icon next to the relevant HubSpot property.
-
Select the matching Nexudus field.
-
Repeat the process for any other Hubspot property you want to link to a field on the Admin Panel.
-
Click the Save Changes button.
You're all set! We recommend testing your integration by:
- Updating a field in Nexudus and see if the corresponding property is updated in HubSpot
- Updating a deal, pipeline, or stage in HubSpot and see if the updates are pushed to Nexudus