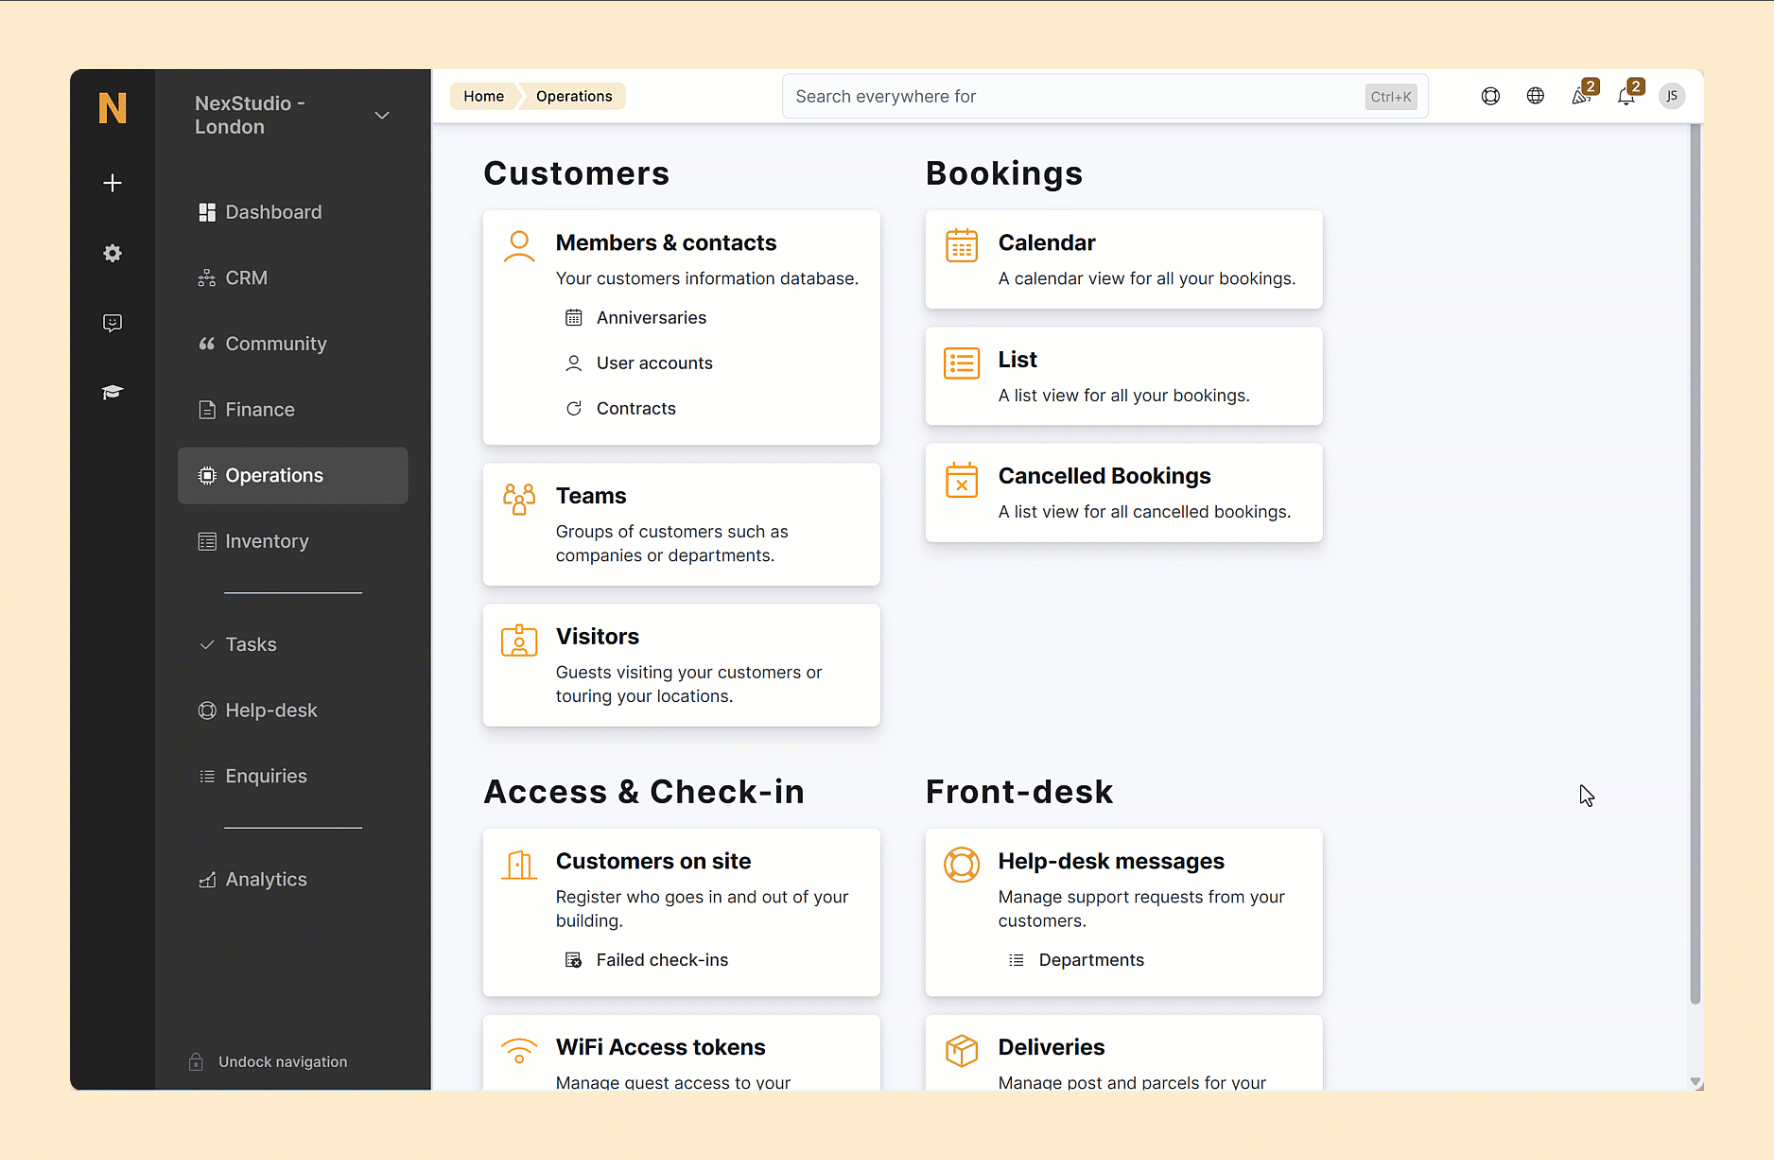
You can manage deliveries your customers get sent to your space under Operations > Deliveries.
The Deliveries page lets you add deliveries, assign them to customers and process collections with or without a customer signature.
Consider using NexDelivery, our free delivery management app.
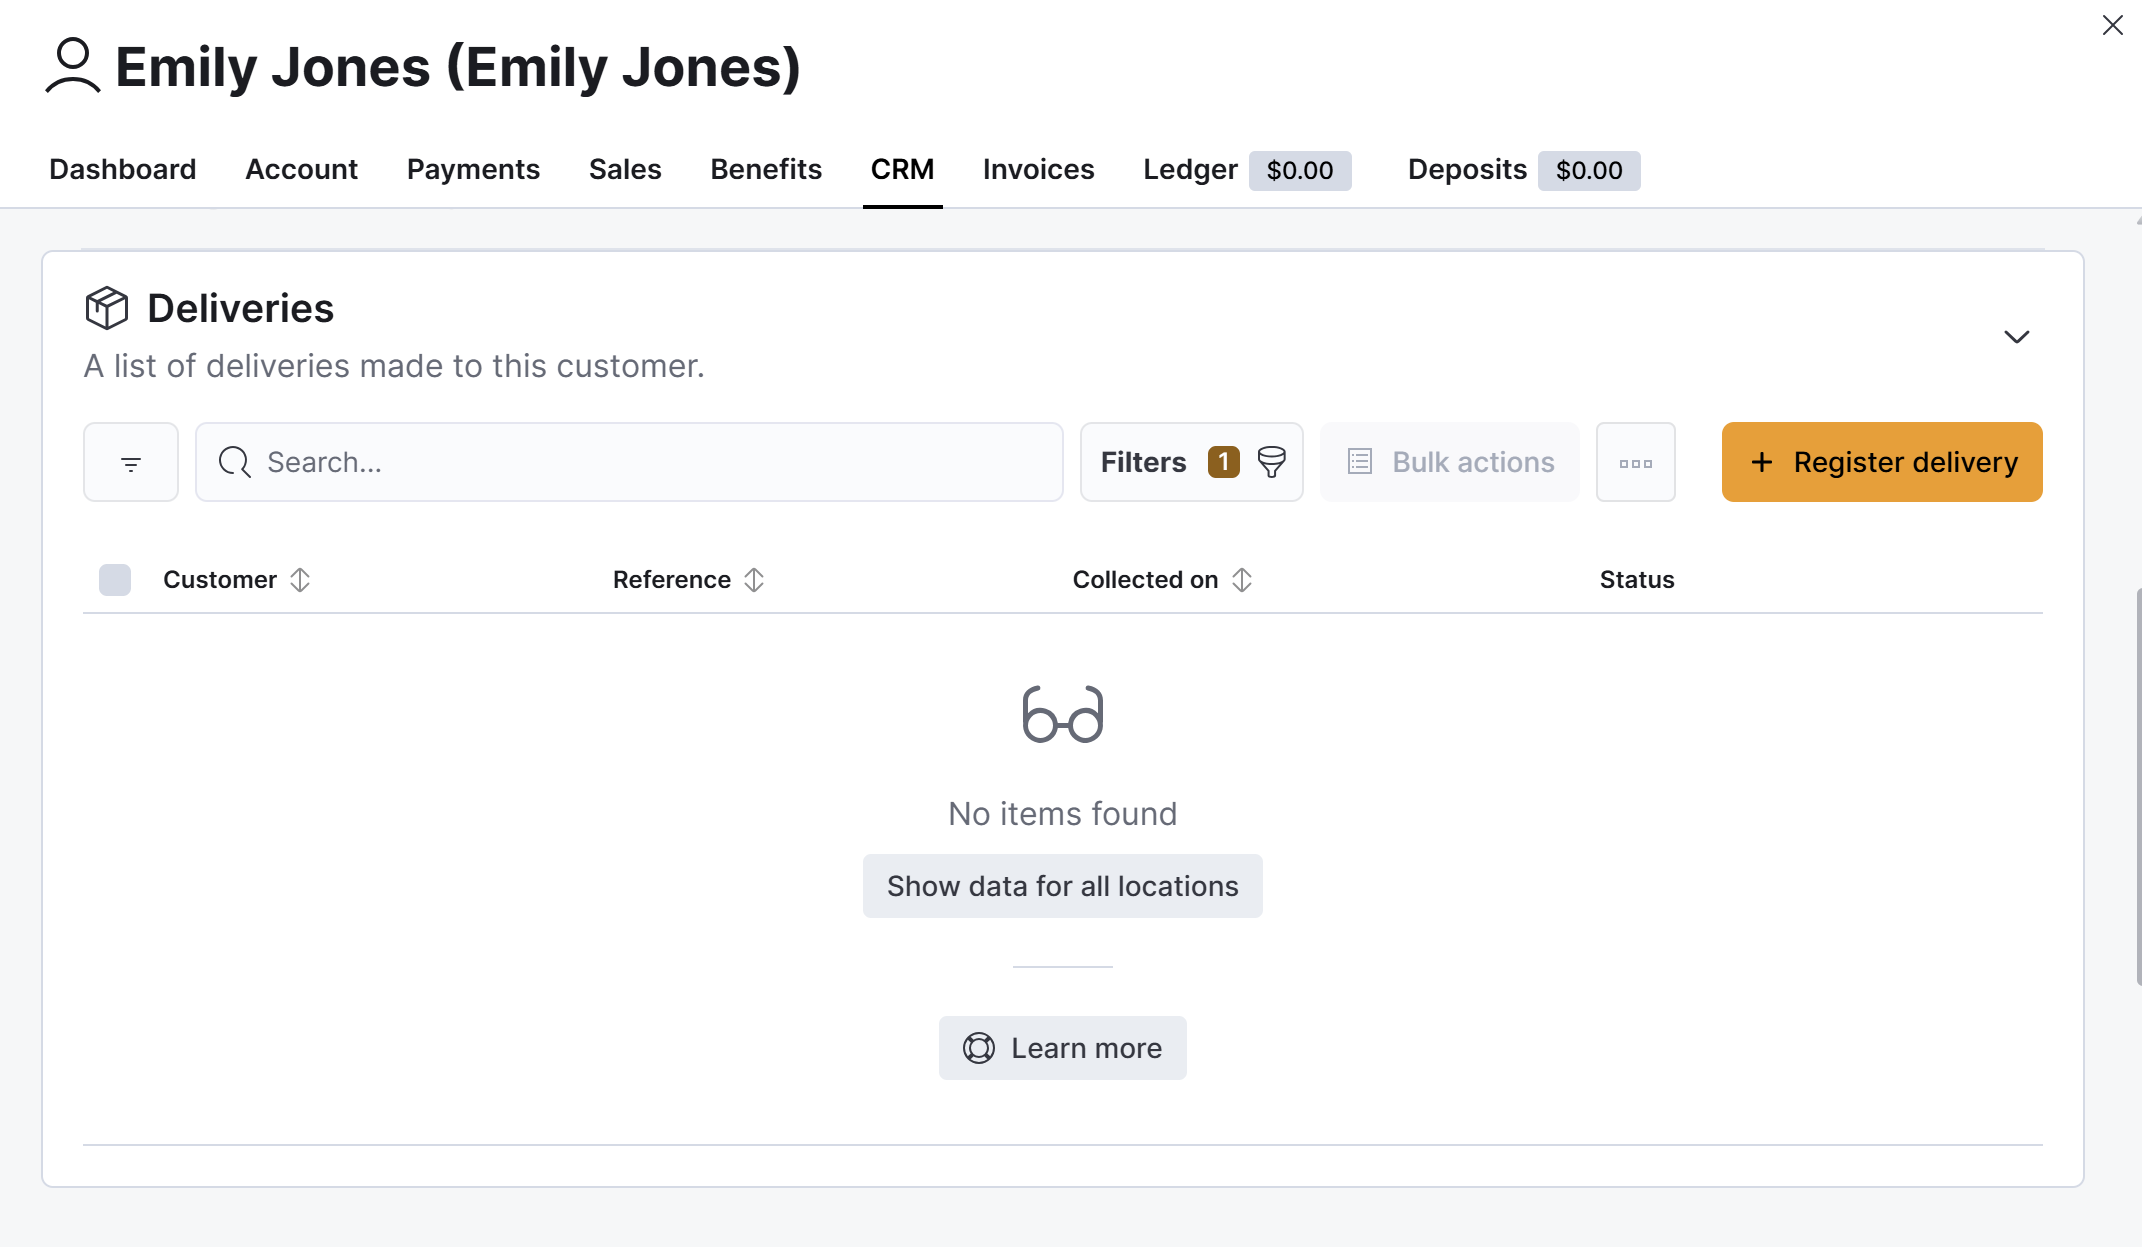
You can add deliveries one of two ways on the Admin Panel: from the Deliveries page or directly from a customer's record.
Adding deliveries from the Deliveries page
-
Log in to dashboard.nexudus.com if you aren't already.
-
Click Operations > Deliveries.
-
Click on Register delivery.
-
Select a Delivery type.
You can choose one of the following types of deliveries:
- Mail for any kind of letter or document.
- Parcel for any kind of package or box.
- Publicity for any king of flyer or marketing material.
- Checks for any kind of
- If you have an image of the delivery, you can click on Select file and upload it.
For example, a PDF that includes the package photographed from separate angles to help the customer assess its size or a PDF that contains scans of a letter.
The system automatically tries to match the delivery label details to an existing customer.
Otherwise, click on Type details manually.
- Select the customer that received a delivery.
- Add or edit the Reference for the delivery.
- Add a Delivery location to let your customer know where they should collect their delivery.
-
Add any Notes you'd like to include in the email notification the customer will receive.
-
Upload a picture of the Delivery label by clicking Select file and picking a file on your device.
-
Click the Save Changes button.
Adding deliveries from the customer's account
-
Log in to dashboard.nexudus.com if you aren't already.
-
Select the relevant customer.
-
Click on the CRM tab and then on the Deliveries section.
-
Click on Register delivery.
-
Select a Delivery type.
You can choose one of the following types of deliveries:
- Mail for any kind of letter or document.
- Parcel for any kind of package or box.
- Publicity for any king of flyer or marketing material.
- Checks for any kind of
- If you have an image of the delivery, you can click on Select file and upload it.
The system automatically tries to match the delivery label details to an existing customer.
Otherwise, click on Type details manually.
- Add or edit the Reference for the delivery.
- Add a Delivery location to let your customer know where they should collect their delivery.
-
Add any Notes you'd like to include in the email notification the customer will receive.
-
Click the Save Changes button.
When you add deliveries in Nexudus, the relevant customers automatically receive an email notification letting them know their delivery is ready for collection.

You can edit this notification's template via Settings > Email template editor on the Admin Panel.