You can control every aspect of your message macros from their dedicated page on the Admin Panel.
General Details
This section lets you control the main details of each message macro.
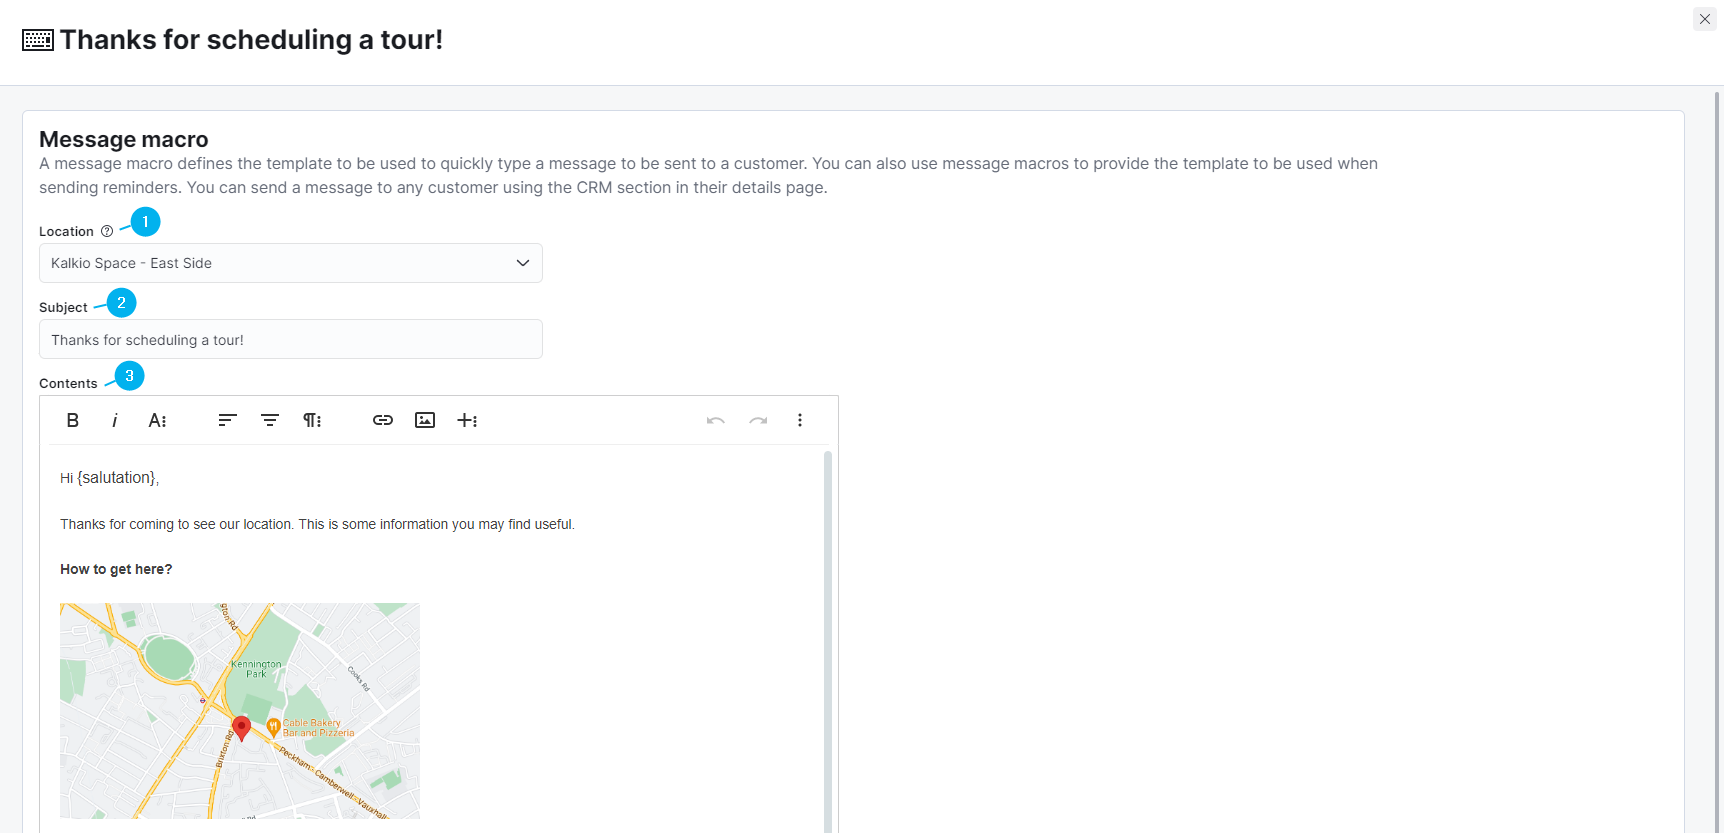
1. Location
This drop-down list lets you choose the location where you create the macro.
2. Subject
This field defines the default subject of the message macro. You can edit this subject before sending the macro to a customer.
3. Contents
This field is where you can add the body of your message macro. You can easily format it with our built-in formatting tools that let you add tables, links, images and even edit the macro's HTML code.
This applies to all images and documents such as PDFs.
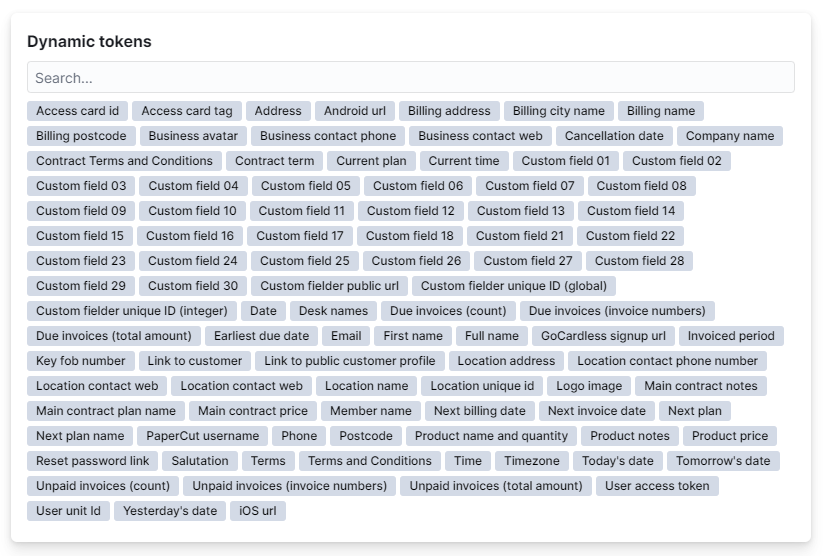
Message Tokens
This section of the message macro settings lets you insert dynamic tokens in your message macro. The message tokens dynamically customize the macro based on the details of the customer receiving the message.
For example, if you add the Salutation message token after the greetings in your message macro, the customer's first name will automatically be retrieved by Nexudus and added to the greetings.
Check out article on Notifications Tokens.