While we recommend making use of the Members Portal to onboard virtual office customers, you may require to manually onboard some or all customers.
Onboarding virtual office customers from the Admin Panel is a simple process:
- Sign up for the plan
- Defining beneficiaries
- Complete identity checks
Step 1. Sign up for the plan
As an admin, you can quickly sign up any new or existing customer to a virtual office plan. If you’re signing up a new customer, make sure to create their account first.
Log in to dashboard.nexudus.com if you aren't already.
- Click Finance > Contracts.
- Click on Add contract.
- Select the relevant Customer.
- Select the relevant virtual office Plan.
- Check the contract dates and price, adjust as needed.
Click the Save Changes button.
- Click Yes, do it when prompted to create a new profile for the customer.
The new contract is automatically paused until the beneficiaries are added and identity checks are completed.
Step 2. Defining beneficiaries
Adding beneficiaries is a critical step of the onboarding. Beneficiaries are usually the individuals that own the business or people with significant decisional power within the company registering its address.
Before defining beneficiaries, make sure you have the following details for every beneficiary you want to add:
- Full name
- Date of birth
- Address
- Phone number
- Click on the Beneficiaries section.
- Click on Add beneficiary.
- Add the beneficiary's details in the matching fields.
Click the Save Changes button.
Repeat the process for every beneficiary you wish to add before moving to the next step.
Once you start the identity check process, you cannot add or remove beneficiaries until every identity check has been completed.
Step 3. Complete identity checks
Identity checks will look slightly different depending on whether you check identity manually or via Stripe Identity.
- Click on the Identity check tab.
- Click on Generate identity check.
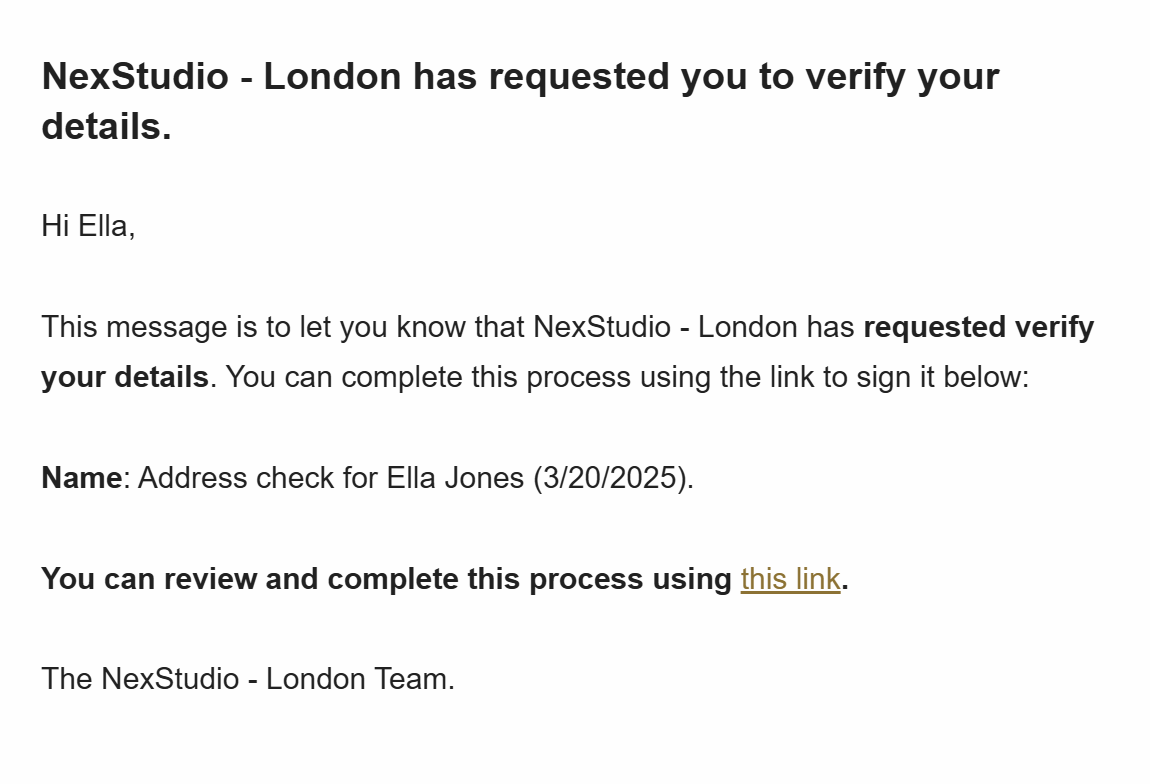
Beneficiaries are automatically prompted to complete the identity and/or address checks via email.
For Stripe Identity checks, you don't need to action anything. As soon as the listed beneficiaries upload their identity document, the check is automatically triggered.
For all address checks and manual identity checks, you'll need to manually review the documents and approve them once the customer has uploaded them.
- Click on the Identity check tab.
- Click on the relevant beneficiary.
- Click on the Address check or the Identity check tab, depending on the document you want to verify.
- Click on Mark as verified.
Click the Save Changes button.
Repeat the process for all submitted documents that require manual verification.
Once all beneficiaries have their identity and/or address checks verified, the contract will automatically activate. If the start date on the contract is set to a future date, it will start on that date.