Once you've created your CRM board, you can start adding CRM stages to it. Each stage represents a step opportunities will move through and works with two main components: Auto assignment and Auto action.
-
Log in to dashboard.nexudus.com if you aren't already.
-
Click CRM > CRM Boards.
-
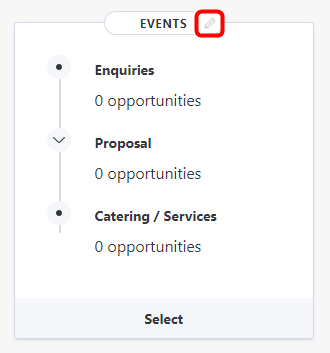
Click the pencil icon next to the name of the CRM board that you'd like to edit.
-
Click Add New Stage.
-
Name your stage.
-
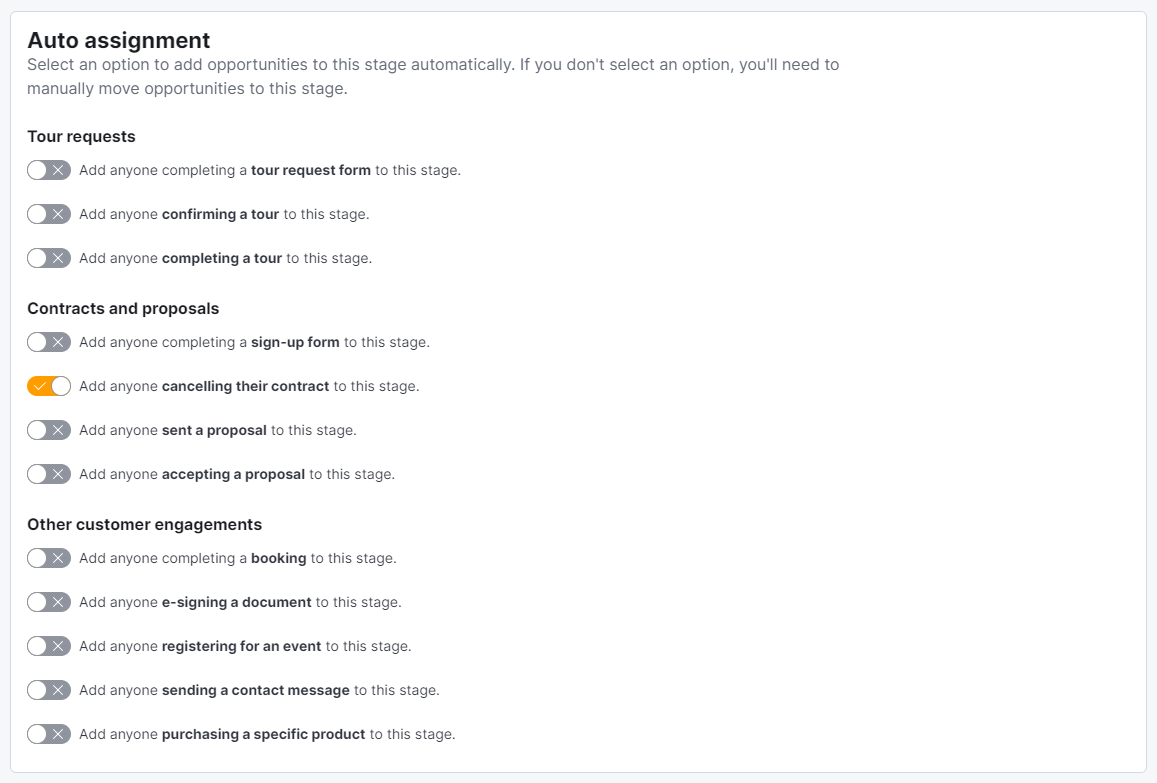
Select who to automatically add to the stage under the Auto assignment section.
- Select the action you want to trigger when a new opportunity is added to this stage from the Actions section.
For example, send a message macro and trigger a task list or deactivate the opportunity's account and mark them as Lost.
Click the Save Changes button.
Your new CRM stage now appears in the Stages section of your CRM Boards. Repeat the same process for every other CRM stage you want to add to your CRM board.