What you need to integrate Parakey
✅ A Parakey subscription
Our integration works with both the Core and Core Plus subscriptions.
✅ Add-ons activated in Parakey
You also need to request Parakey to activate add-ons in your account. This is a paid service that then allows you to proceed with the integration.
✅ Keys in Parakey
You need to set up keys in your Parakey account. These keys contain sets of locks that are then be linked to passes and resources in Nexudus. Keys can only be created and edited in Parakey.
Consider the following points before creating keys in Parakey:
- How many keys you need to create
We recommend you create one key per pass and per resource you have in your Nexudus inventory.
For example, if you have 4 passes and 8 resources in your inventory, you need to create 12 keys in Parakey.
- Which doors customers need to unlock
When creating a key, think about all the doors your customers will need to unlock in order to access a specific resource or area of your building. From there, include the relevant locks to your key.
For example, customers booking a resource need access to the resource lock as well as any other door they need to unlock to get to the resource, such as the main entrance door or a floor door.
Once you've figured out how many Parakey keys you need and which locks each of them should include, check out Parakey's article on how to set up keys.
You only need to create keys in Parakey. Nexudus automatically adds keys to customers as they purchase linked passes, book resources, or rent desks and offices. Nexudus also automatically removes keys from customers as their passes expire, their contracts are cancelled, or their bookings end.
Step 1. Add the Nexudus native integration in Parakey
Adding Nexudus as a native integration add-on is the first step of the process. It's also the step where you decide whether you want your customers to use the white-label app to unlock doors or Parakey's own app.
-
Go to Settings > Integrations.
-
Under Native Integrations, click Add.
-
Click on Nexudus.
-
Select Nexudus app.
-
Toggle on Also add Nexudus users as Parakey users if you want your customers to be able to use both your white-label app and Parakey's own app to unlock doors.
-
Copy the Access token that pops up on the screen and save it somewhere safe.
You will need that token in the second step of the integration process.
Step 2. Register Parakey as a custom ACS in Nexudus
The second step of the integration process is to register Parakey as a custom ACS in Nexudus. Make sure you have the access token you've generated in the first step of the integration process handy. You'll need it to complete this second step.
Log in to dashboard.nexudus.com if you aren't already.
- Click on Settings > Integrations > Custom ACS.
- Add Parakey under the custom ACS Name.
- Add the following URL under Webhook URL.
https://api.parakey.co/integrations/native/nexudus/webhook
- Add the access token you've copied from the first integration step under Webhook Bearer.
- Add the following URL under keys API endpoint.
https://api.parakey.co/integrations/native/nexudus/accesses
- Add the access token you've copied from the first integration step under keys API Access Token.
Click the Save Changes button.
All set! Several new sections should have popped up under the initial integration form.
Step 3. Connect Parakey keys to resources, plans, and passes in Nexudus
The third and last step of the process is to link your Nexudus inventory items to their corresponding keys in Parakey.
Resources
Just select the corresponding key for each resource in the Access group / Lock / Entry column. Leave the option blank for resources that you don't want to connect to Parakey.
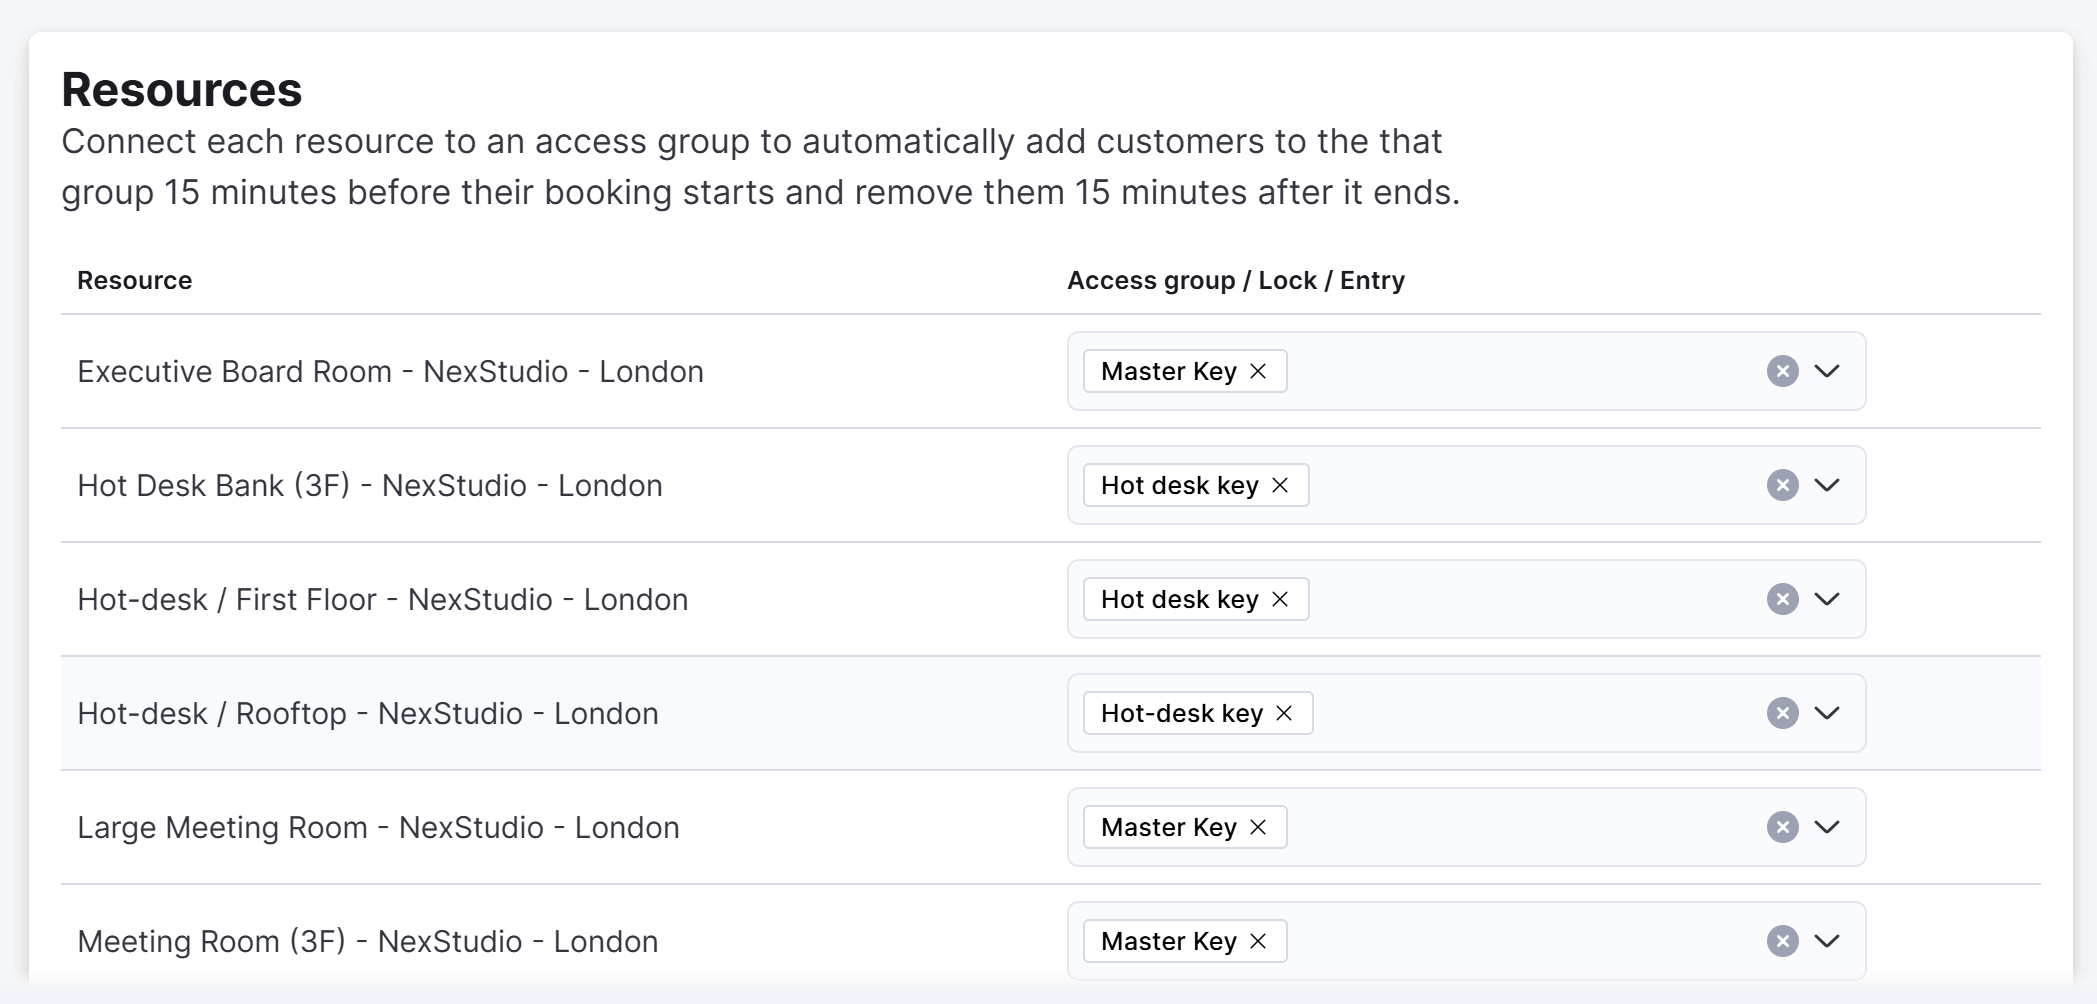
Linking a key to a resource means that any customer booking that resource automatically gets access to the locks included in that Parakey key.
Nexudus automatically assigns the relevant key to customers 15 minutes before their bookings start. We also remove their access as soon as their bookings end.
Passes
Just select the corresponding key for each pass in the Access group / Lock / Entry column. Leave the option blank for passes that you don't want to connect to Parakey.
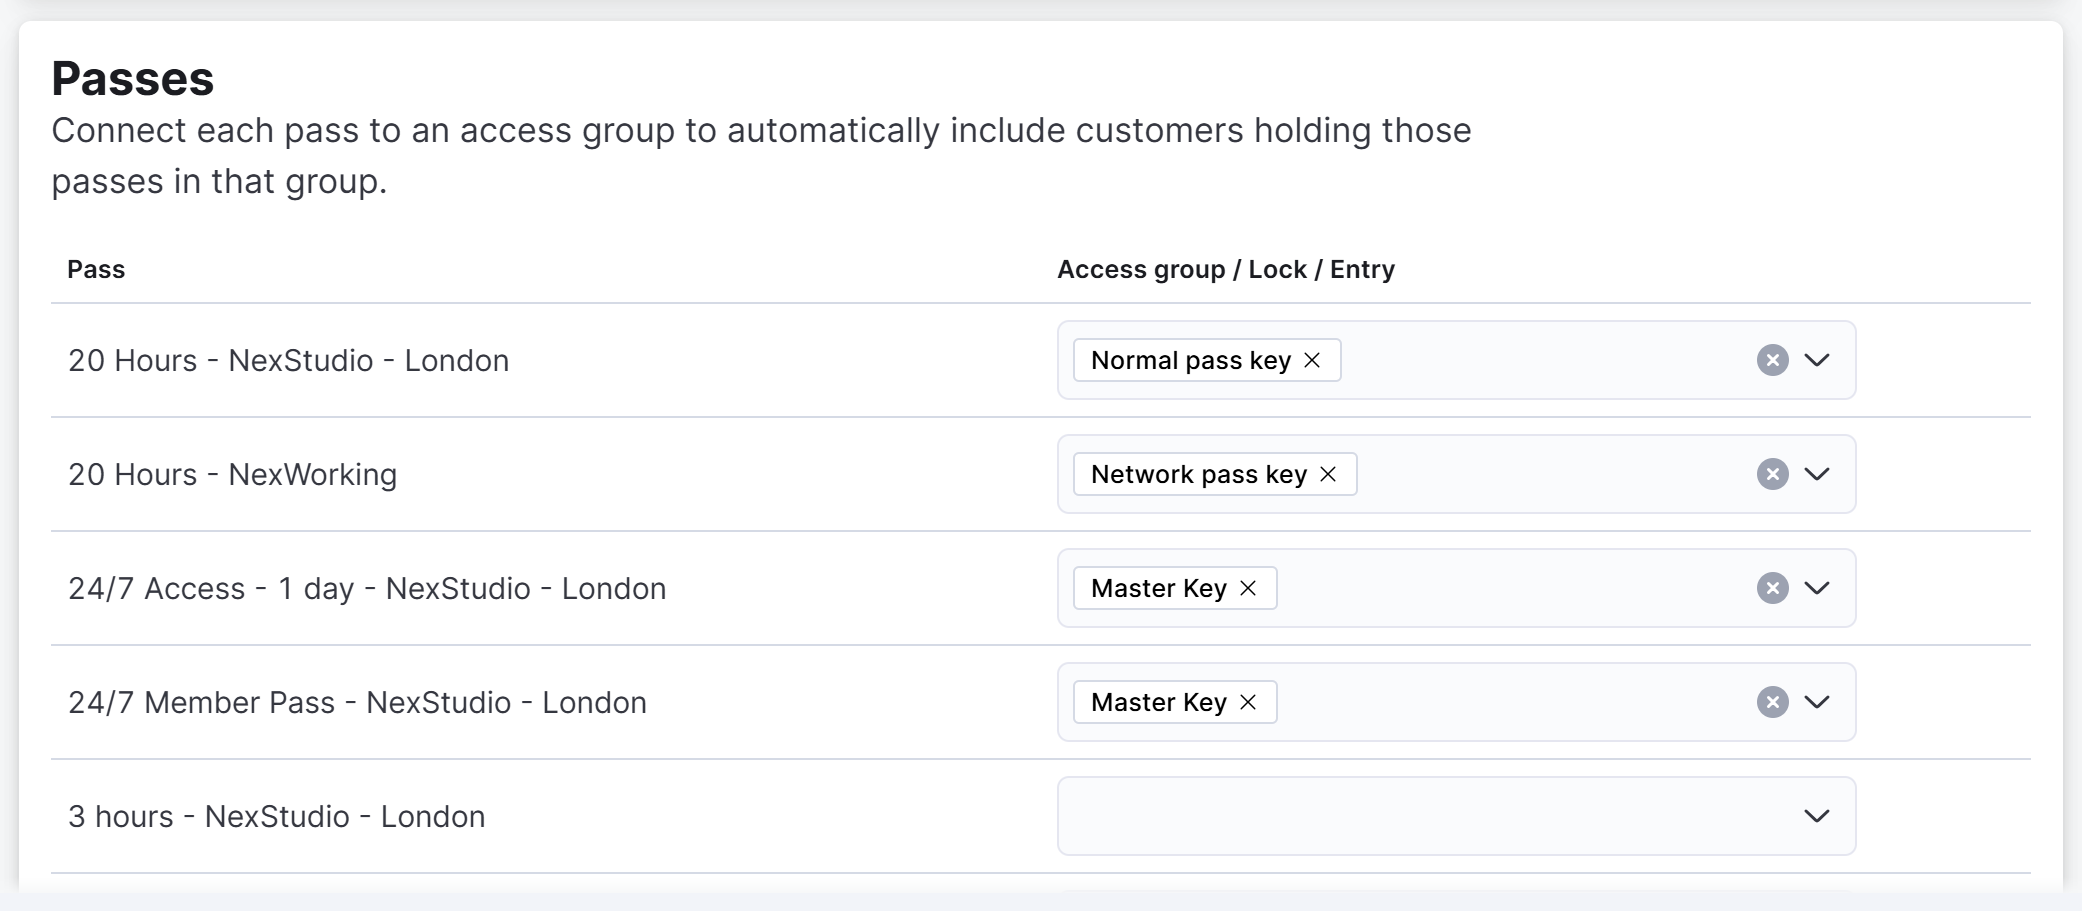
Nexudus assigns the relevant keys to customers as soon as connected passes are added to their account. This applies to passes customers get through plans, products they purchase, and passes that are manually added to their account.
Each key / pass pair must have matching access times.
If a pass grants access to your space from 9 to 5 and its corresponding key only allows access between 10 and 5, customers with that pass will only be able to access your space between 10 and 5. Nexudus cannot override the access times defined in Parakey.
Desks / Offices
Just select the corresponding key for each desk and office in the Access group / Lock / Entry column. Leave the option blank for desks and offices that you don't want to connect to Parakey.
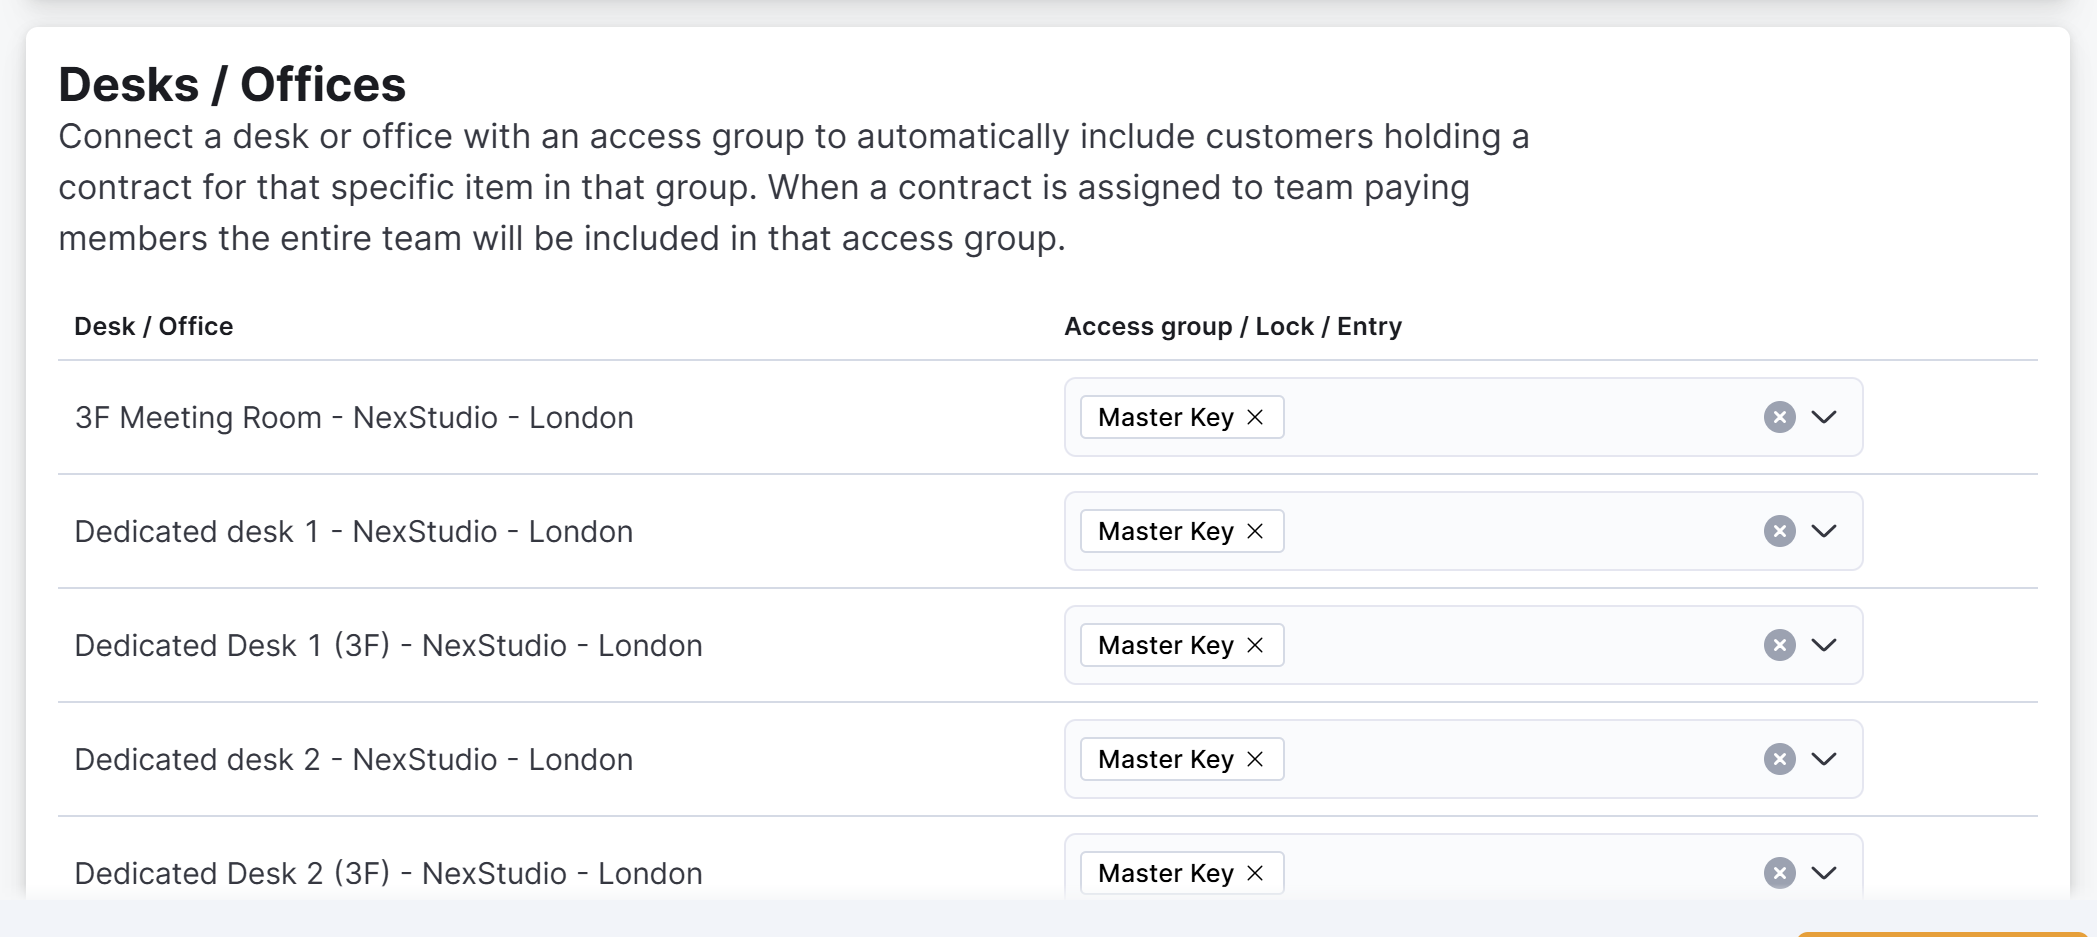
Nexudus automatically assigns the relevant keys to customers as soon as one of the connected desks or offices are assigned to one of their contracts. We remove access to the relevant keys on the cancellation dates of the connected contracts.
Don't forget to click Save changes to complete the integration.
All set! The Parakey integration is now complete. Your customers are now able to unlock doors based on their purchases, bookings, and contracts.