Setting up NexKIOSK is a simple two-step process:
Step 1. Activate the app and adjust your settings on the Admin Panel
Step 2. Set up the app on your tablet
What you need to get started
-
A full unrestricted admin in Nexudus
You do not need a dedicated admin and can use any admin as long as they have full unrestricted access. -
An iOS or Android tablet that meets the minimum requirements for Nexudus apps
Step 1. Activate the app and adjust your settings on the Admin Panel
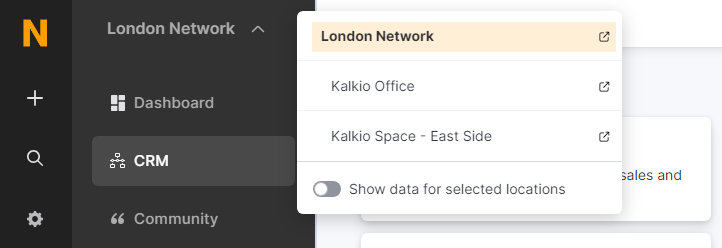
You first need to activate NexKiosk in each location where you'd like to use the app.
For example, if you have 2 locations in the same city, you'll need to activate NexKiosk in each of them to use the app in both locations.
If you want to use NexKiosk in all locations of your network, you'll need to manually activate the app in each of them.
Check out NexKIOSK Settings to learn more about each setting.
Log in to dashboard.nexudus.com if you aren't already.
- Click Settings > Companion app > NexKIOSK.
- Toggle on Enable NexKIOSK.
If you use NexKIOSK in 1 location you'll pay $/£/€125/month. If you use it in 2 locations you'll pay $/£/€150/month.
-
Toggle on Quick Sale if you want to allow customers using the app in KIOSK mode to buy without having an account with your space.
-
Under the POS section, toggle on Show buttons to add or refund payments on the invoice screen if you want admins to be able to refund customers from the app.
You can make refunds available for everyone, only members or only contacts.
-
Under the KIOSK section, toggle on Allow discounts to let customers use discount codes on their purchases.
-
Toggle on Let customers add products to their next bill when in Kiosk mode if you wish to offer registered customers the option to add their purchases to their next invoice instead of paying straight away.
-
If you use a Stripe payment terminal to process payments, add your Stripe Secret key and Location Id.
Skip this step if you use any other payment method. -
Click the Save Changes button.
You're now ready to move to the next step.
Step 2. Set up the app on your tablet
Once your app is active in the relevant locaiton
-
Open NexKiosk.
-
Log in using a full unrestricted admin's email and password.
-
Select your location.
-
Allow the app to access Bluetooth and the tablet's camera.
The app needs access to both to run smoothly and let customers to identify themselves using their QR code.
All set! You're now ready to use the app one of two ways. For more information, check out Using NexKIOSK
