📢 This documentation is a preview of a feature that will be released in the coming weeks!
You can easily add and edit your checkout terms and conditions from the Admin Panel.
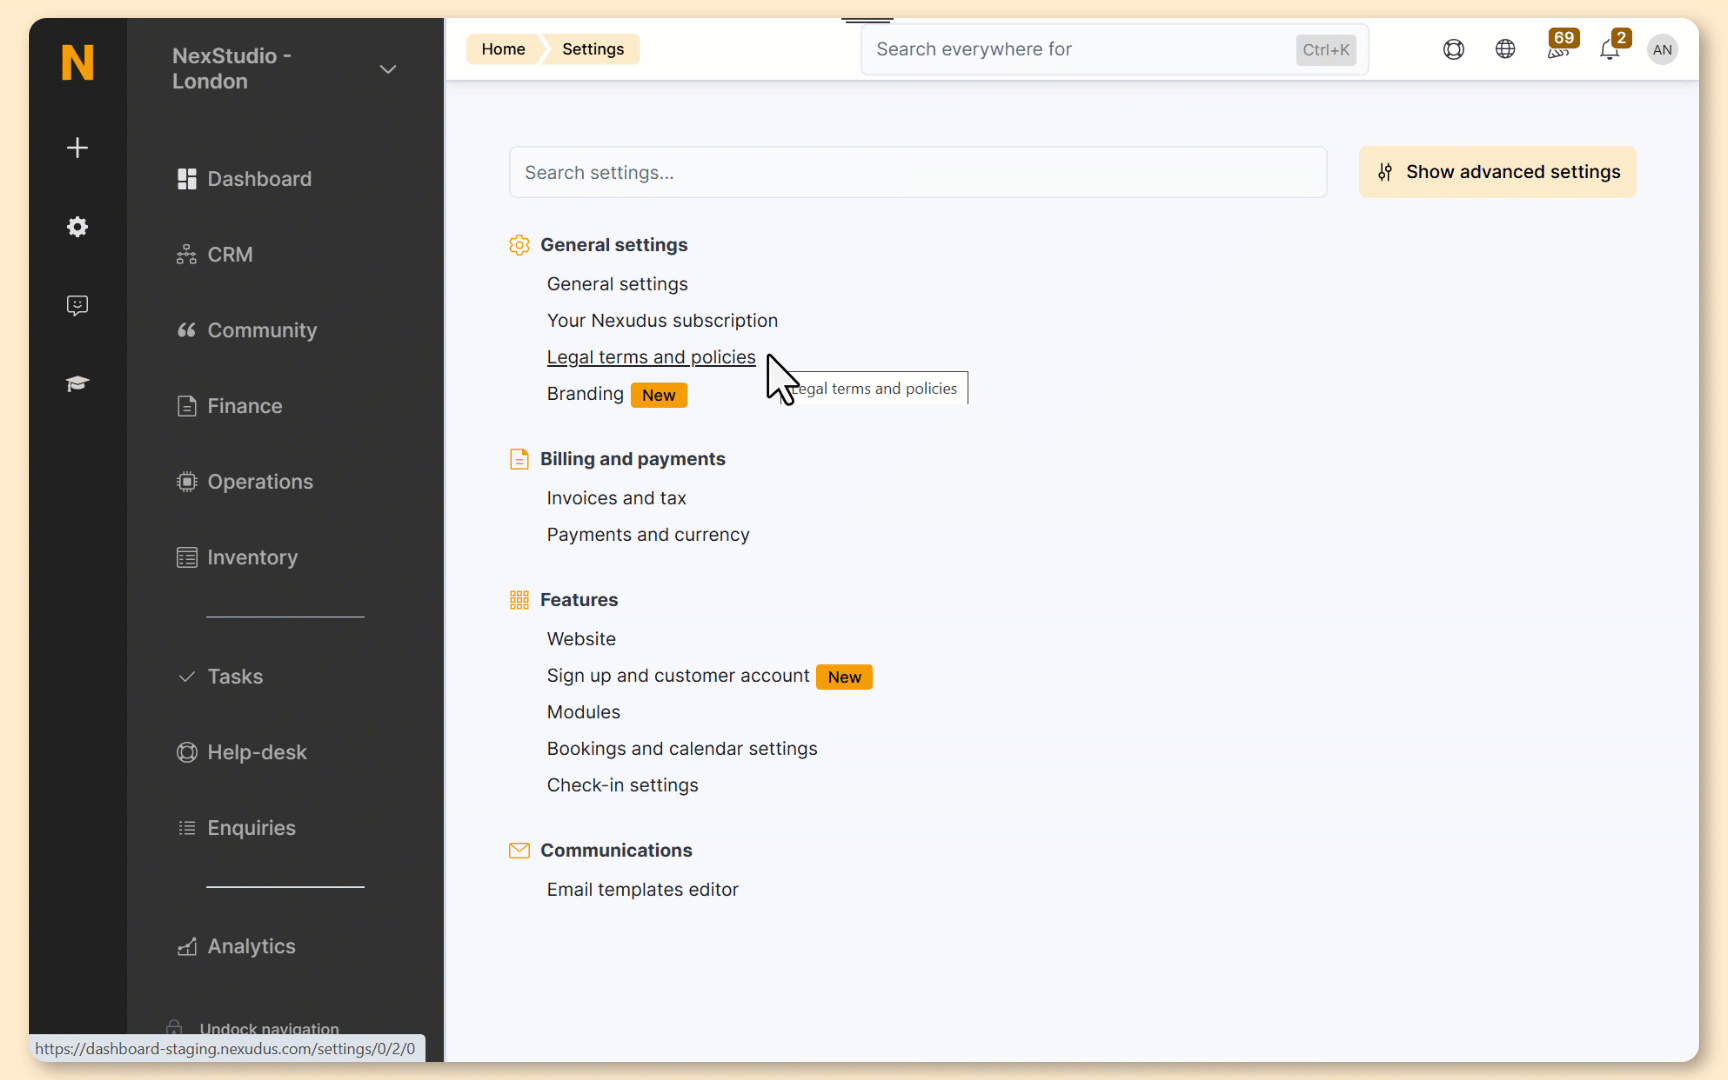
Log in to dashboard.nexudus.com if you aren't already.
- Click on Settings > Legal terms and policies .
- Click on the Checkout terms tab.
- Add your terms under Checkout terms and conditions.
- Format your terms and conditions using our built-in editor or Markdown.
Click on the Preview button to easily check what your content will look like for customers on the Members Portal.
- Select Explicitly or Implicitly under Term acceptance.
Explicitly requires customers to tick a checkbox to agree to the terms. They cannot complete their purchase if they don't tick it.

Implicitly displays a notice explaining that clicking on Complete purchase means customers agree to the terms.

There’s no right or wrong choice, but the legal enforceability of each option will vary, depending on your location. We always recommend doing your own research and checking with your legal team to make the best decision for your space.
Click Save settings.
All set! Your terms and conditions have been saved.
You can edit your checkout terms at any time. We store all previous versions under Version history.
Version control and acceptance logs are tracked starting from this month onward.