Stripe is retiring their legacy API for Stripe ACH on May 15th, which means you will need to move over to Stripe Checkout to continue using ACH as your payment method.
The migration only takes a few days and creates minimal disruption to your operations. We’ve built this process to make the transition as seamless as possible for your business and your customers.
-
Enable Stripe Checkout in Nexudus
Enable ACH in your Stripe account and then enable the integration on the Admin Panel. No need to create a new Stripe account. Make sure they get the right API key. -
Export your customers from Stripe and Nexudus
Once you’ve enabled Stripe Checkout, you’ll need to export your customer list with specific filters and data to share with Nexudus. This will allow our support team to carry out a quick and smooth migration for you. -
Contact Support to migrate your customers to Checkout
After downloading your customer list from Stripe and Nexudus, contact our Support team, who will migrate the mandates from the old ACH to the newer version of ACH via Checkout. -
Remove the ACH webhook from your Stripe account
This step helps prevent receiving duplicate notifications for payment. If the new Stripe Checkout webhook isn't available yet, you'll also need to add it at this stage. -
Prompt your customers to update their bank details
The last step of the ACH migration is critical to complete the process and requires your customers to update their bank details on the Members Portal. If customers don’t update their bank details, your space won’t be able to collect payments for their invoices.
Step 1. Enable Stripe Checkout
The first step of the migration process is to enable ACH payments in your Stripe account and then enable the integration in Nexudus.
In Stripe
The first thing you need to do to start processing ACH payments via Stripe Checkout is to enable the option in your Stripe account.
.gif)
- Go to dashboard.stripe.com/settings/payment_methods/.
- Scroll down to the ACH Direct Debit section and click on Enable.
- Click on Enable again.
All payment methods enabled on this dashboard will be presented to customers when they check out.
All set! You can now enable Stripe Checkout in Nexudus.
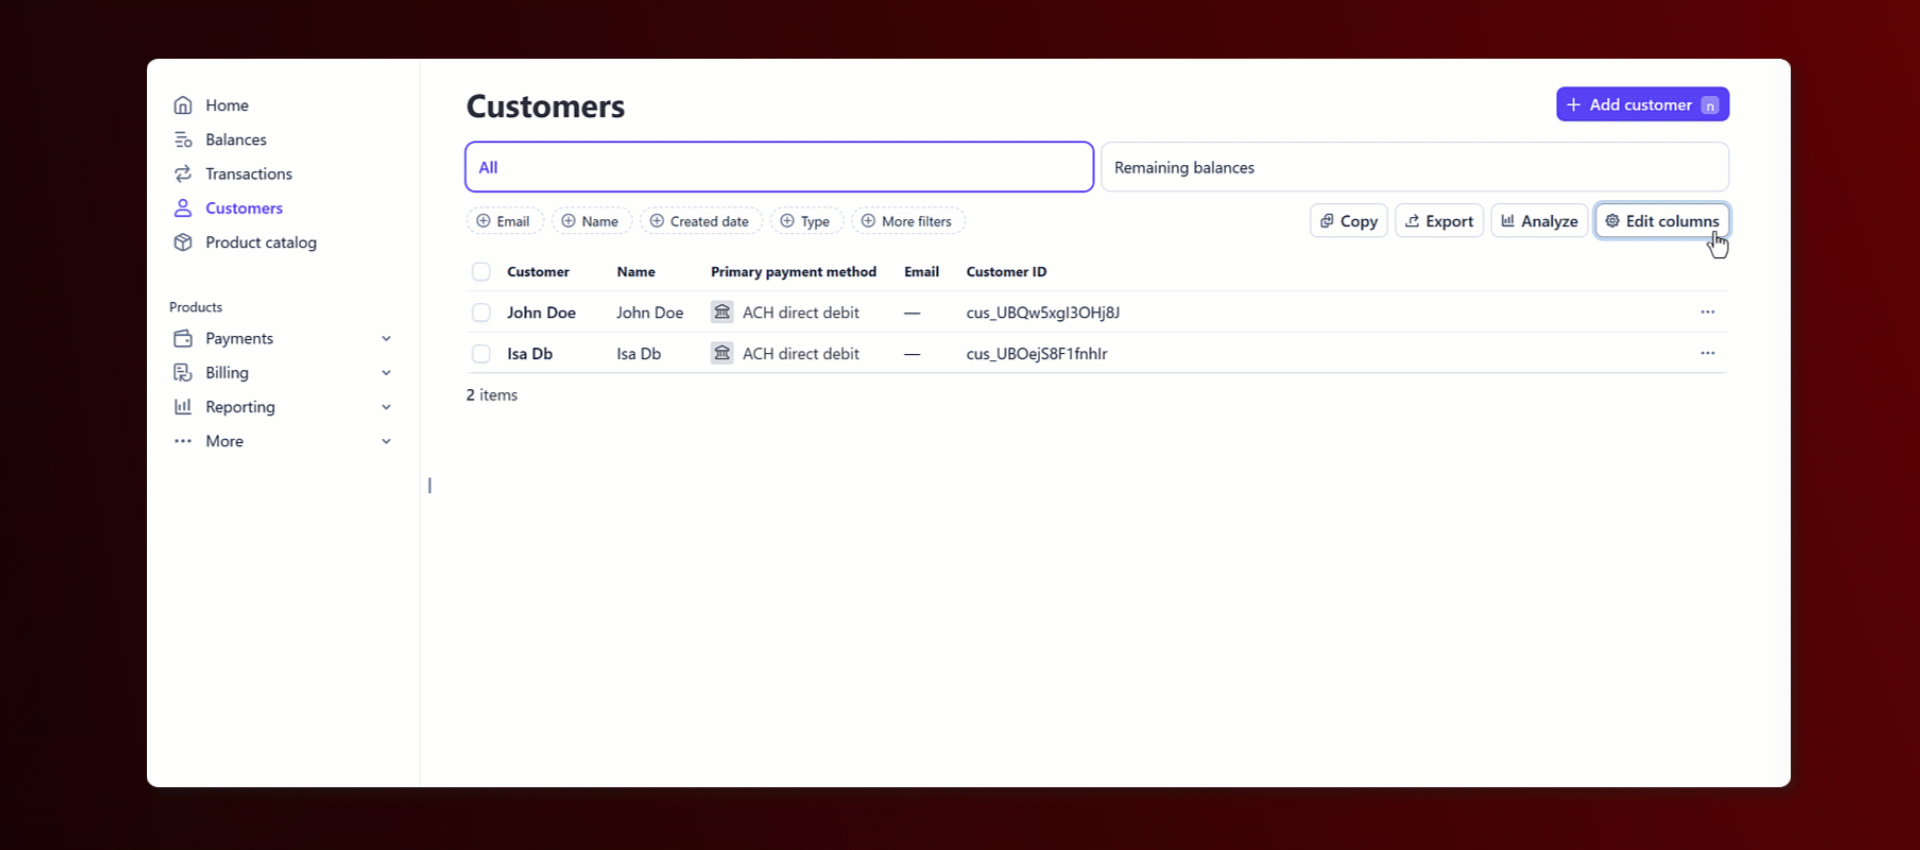
In Nexudus
Follow our guide on how to enable Stripe Checkout. Once you’ve enabled Stripe Checkout, you can move to the second step of the migration process.
Step 2. Create your customer migration file
The second step in preparing your migration is to export your customer list from Stripe and your customer list from Nexudus.
Our team will use this list to update customer records in Nexudus and avoid duplicates in Stripe.
Stripe export
You can export your Stripe customer in a few clicks.
- Go to dashboard.stripe.com/customers.
- Click on Export.
- Select All.
- Click on Export.
Once you've downloaded the export file, filter the results in Excel or Google Sheets to only include the customers who have ACH as their main payment method.
Nexudus export
You also need to export your Nexudus customers to help our team migrate you.
- Go to dashboard.nexudus.com/reports/78
- Adjust the dates of the report to include all your customers.
- Click on Export to Excel.
Once you've downloaded the export file, filter the results in Excel or Google Sheets to only include the customers who have ACH as their main payment method.
Once you have both files, you are ready for the next step of the process.
Step 3. Contact Support to migrate your customers from ACH to ACH via Checkout
Contact our Support team, making sure your ticket includes an access code and your two filtered files. Our Support team will check your files and confirm they're correct.
Our team will then proceed with the migration. Once you receive the confirmation that your migration was completed by our Support team, you're ready for the next step of the process.
Step 4. Remove the ACH webhook from your Stripe account
Once Support confirms they have processed your migration, you should remove the old ACH webhook in your Stripe account. This prevents receiving duplicate notifications for payments received.
You should see 2 webhooks linked to Nexudus, as shown below.
.png)
https://spaces.nexudus.com/api/integrations/stripe/intentNotify is the webhook that will be used from now on. It's used by Stripe Checkout to process ACH payments.
https://spaces.nexudus.com/api/integrations/stripe/achNotify is the webhook from your old Stripe ACH integration. It should be removed to avoid duplicate notifications.
- Remove the old ACH webhook, named https://spaces.nexudus.com/api/integrations/stripe/achNotify
You can create the webhook in a few steps, making sure you
- Go to dashboard.stripe.com/workbench/webhooks
- Click Add destination.
- Add the following events to the webhook:
- payment_intent.created
- payment_intent.payment_failed
- payment_intent.processing
- payment_intent.succeeded
- charge.failed
- charge.pending
- charge.succeeded
- charge.updated
- Click Continue.
- Add the following address under Endpoint URL:
https://spaces.nexudus.com/api/integrations/stripe/intentNotify
- Click Create destination.
The webhook for Stripe Checkout is now available.
Once that is done, you are ready to move to the last step of the migration process.
Step 5. Prompt your customers to update their bank details
This last step is the most critical to complete the migration: communicate to your customers that they must update their bank details.
Their payment won't be processed and will fail until they add their bank details.
You can use any channel of your choice, but Reminders are a great way to target your customers at different points in time to ensure they actually add their card details.
Customers need an unpaid invoice to add their bank details via Stripe Checkout. Because of that system requirement, you should communicate to all ACH customers that they will need to update their bank details on their next billing date and won't be able to do it before then.
You can invoice a small charge to your ACH customers, which will prompt them to add their bank details before their usual billing date. You can then refund or credit them for that small charge.
This option is suitable if you don't mind a more admin-heavy process (generating the invoices and refunding them) and want to ensure your customers add their bank details asap. We strongly recommend clearly communicating this process with them before issuing any charge.