Nexudus for Gmail is a G-Suite add-on which lets you route messages from Gmail straight into Nexudus in just one click. This add-on is only available to Nexudus admin users.
When you select an email in your Gmail inbox, the add-on will let you convert that email into a full new opportunity in any of your CRM pipelines or attach the messages as a note or a message for an existing customer in your Nexudus account.
Installation
You can install Nexudus for Gmail from the G Suite Marketplace by searching Nexudus. You can also use this link and click on Install.
.png)
Once installed, the add-on will show in both your web inbox and your Gmail app for iOS or Android.
![]()
Setting up
Before you can starting using the Add-on, you will need to connect it to your Nexudus account. Please see the section Required Permissions.
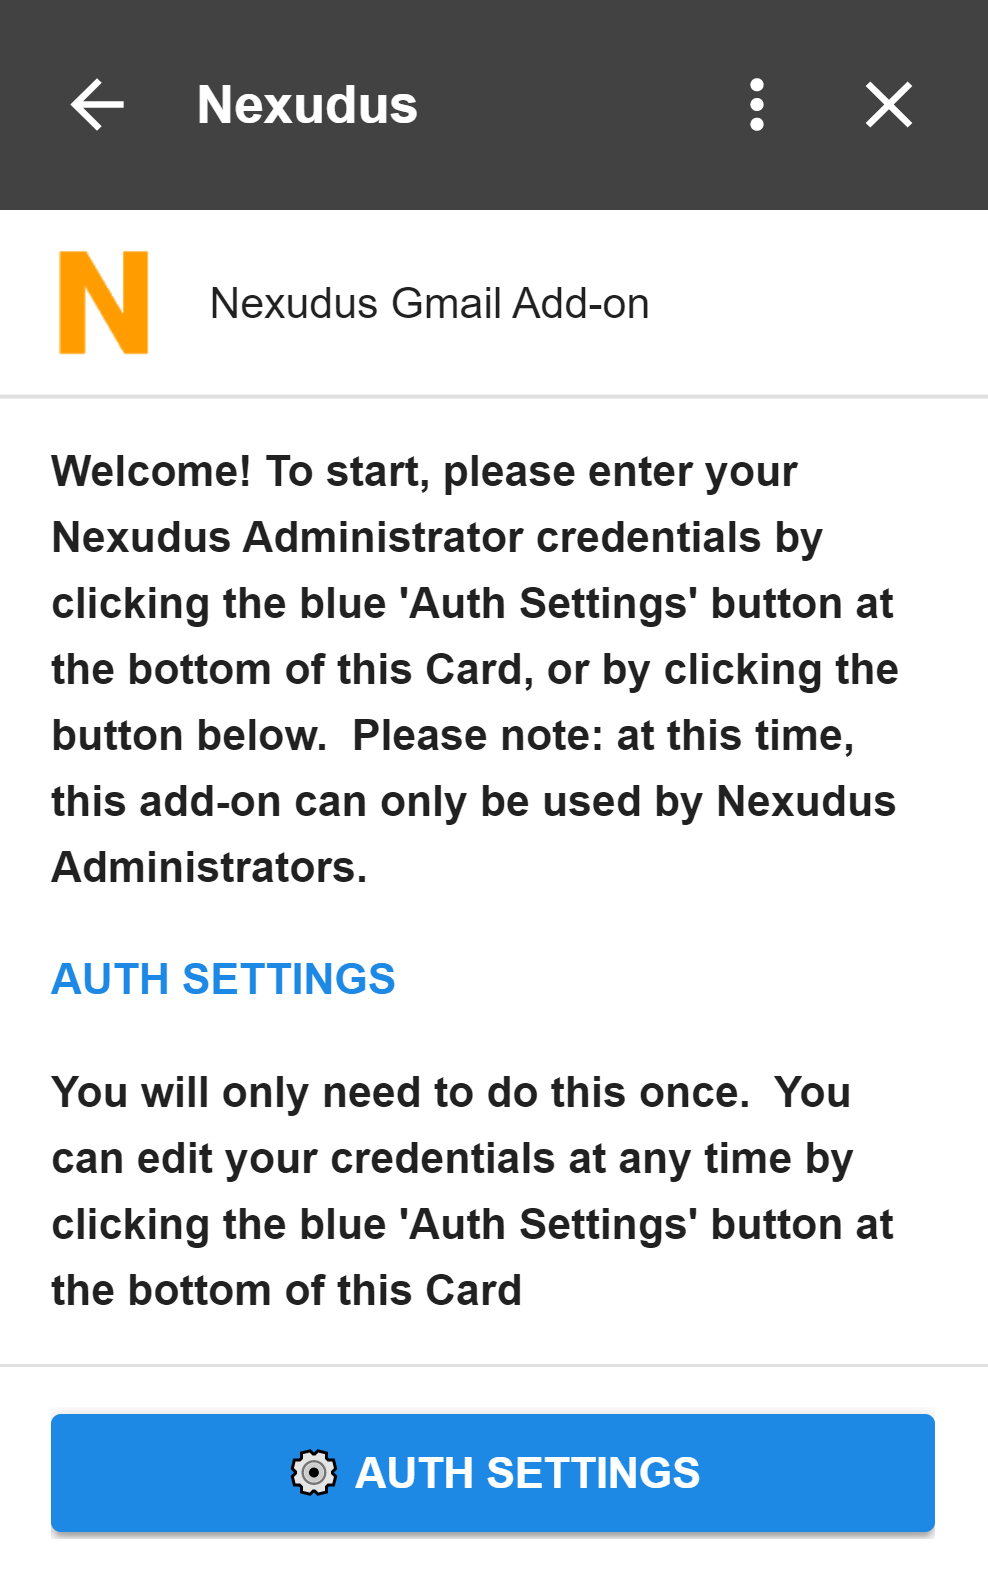
- Open the add-on clicking on the Nexudus icon (The white "N" over orange background)
- Click on Auth Settings
- Enter your Nexudus email and password
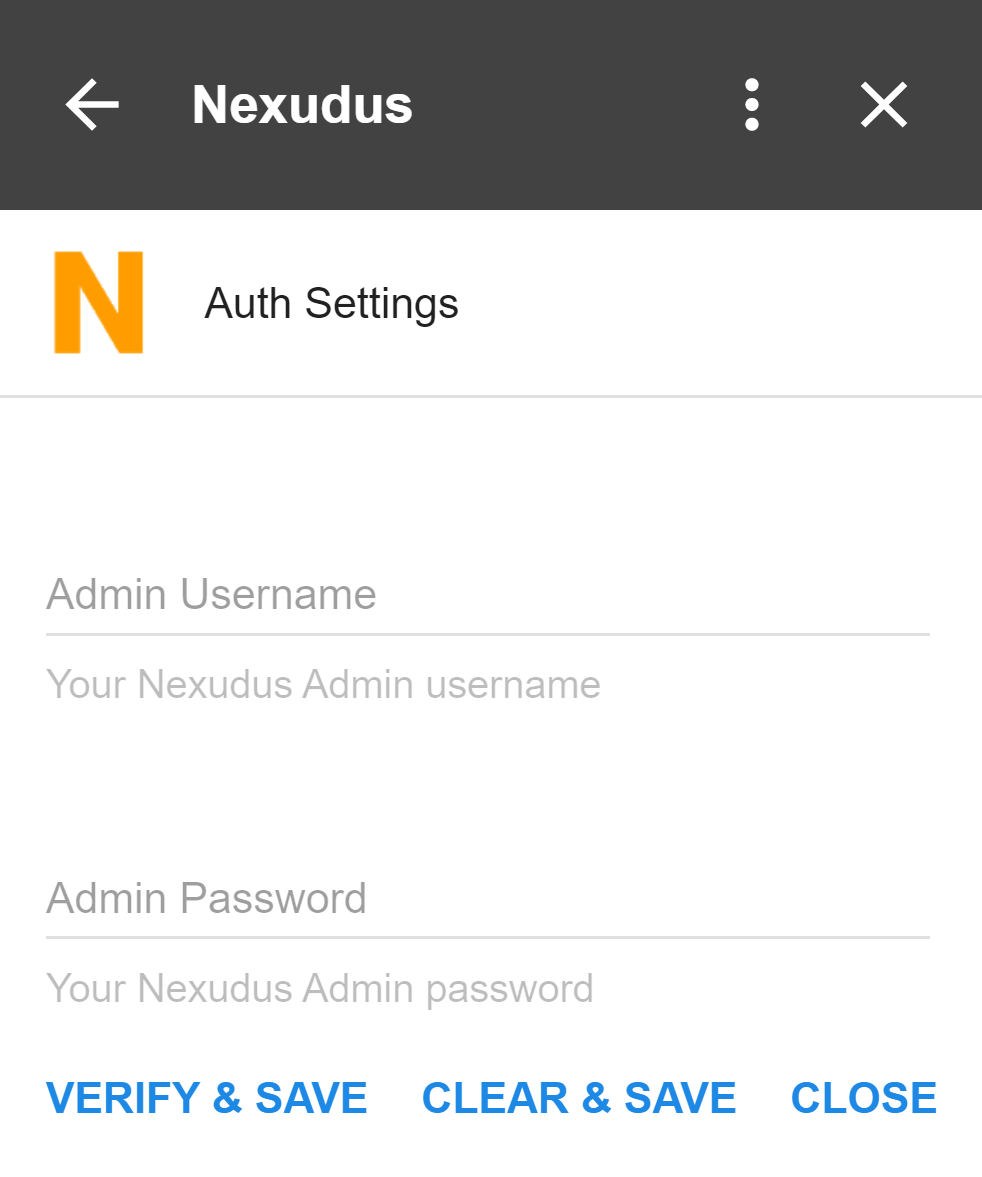
- Click on Verify & Save
- If the details re correct, you will be sent back to the add-on home page.
Once you have connected the add-on to your Nexudus account, you can start using it.
Selecting an email message
When selecting an email, if the sender exists in Nexudus as a member (based on the email address), then some details about the member will be shown:
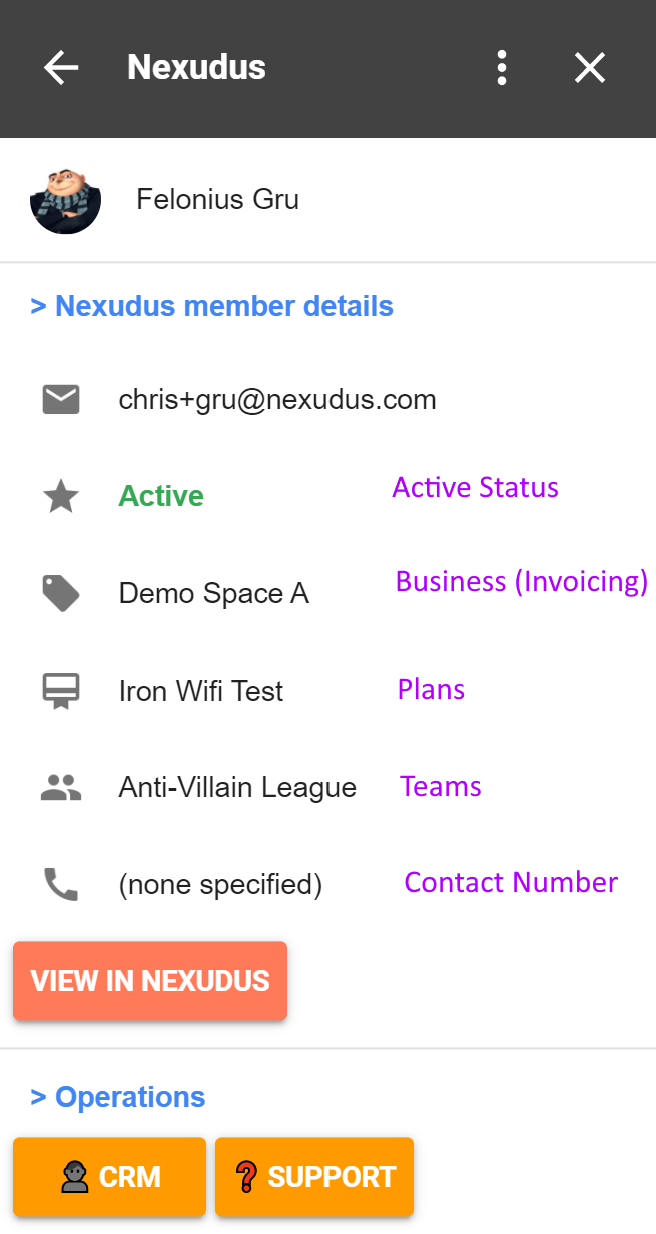
If the sender does not exist in Nexudus, then just the Operations section is shown.
Creating a new Opportunity based on an email message
- Select the message you would like to create an opportunity based on.
- Wait for the add-on to display the available Operations:
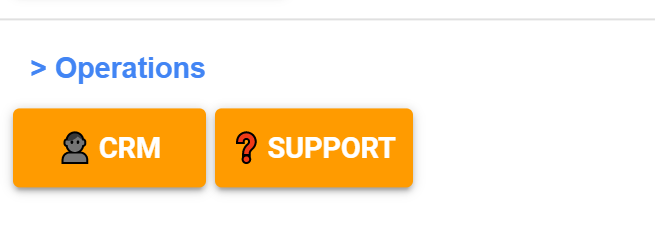
- Click CRM
- Select the location (if you operate more than one site) and the stage in your CRM to add the opportunity to.
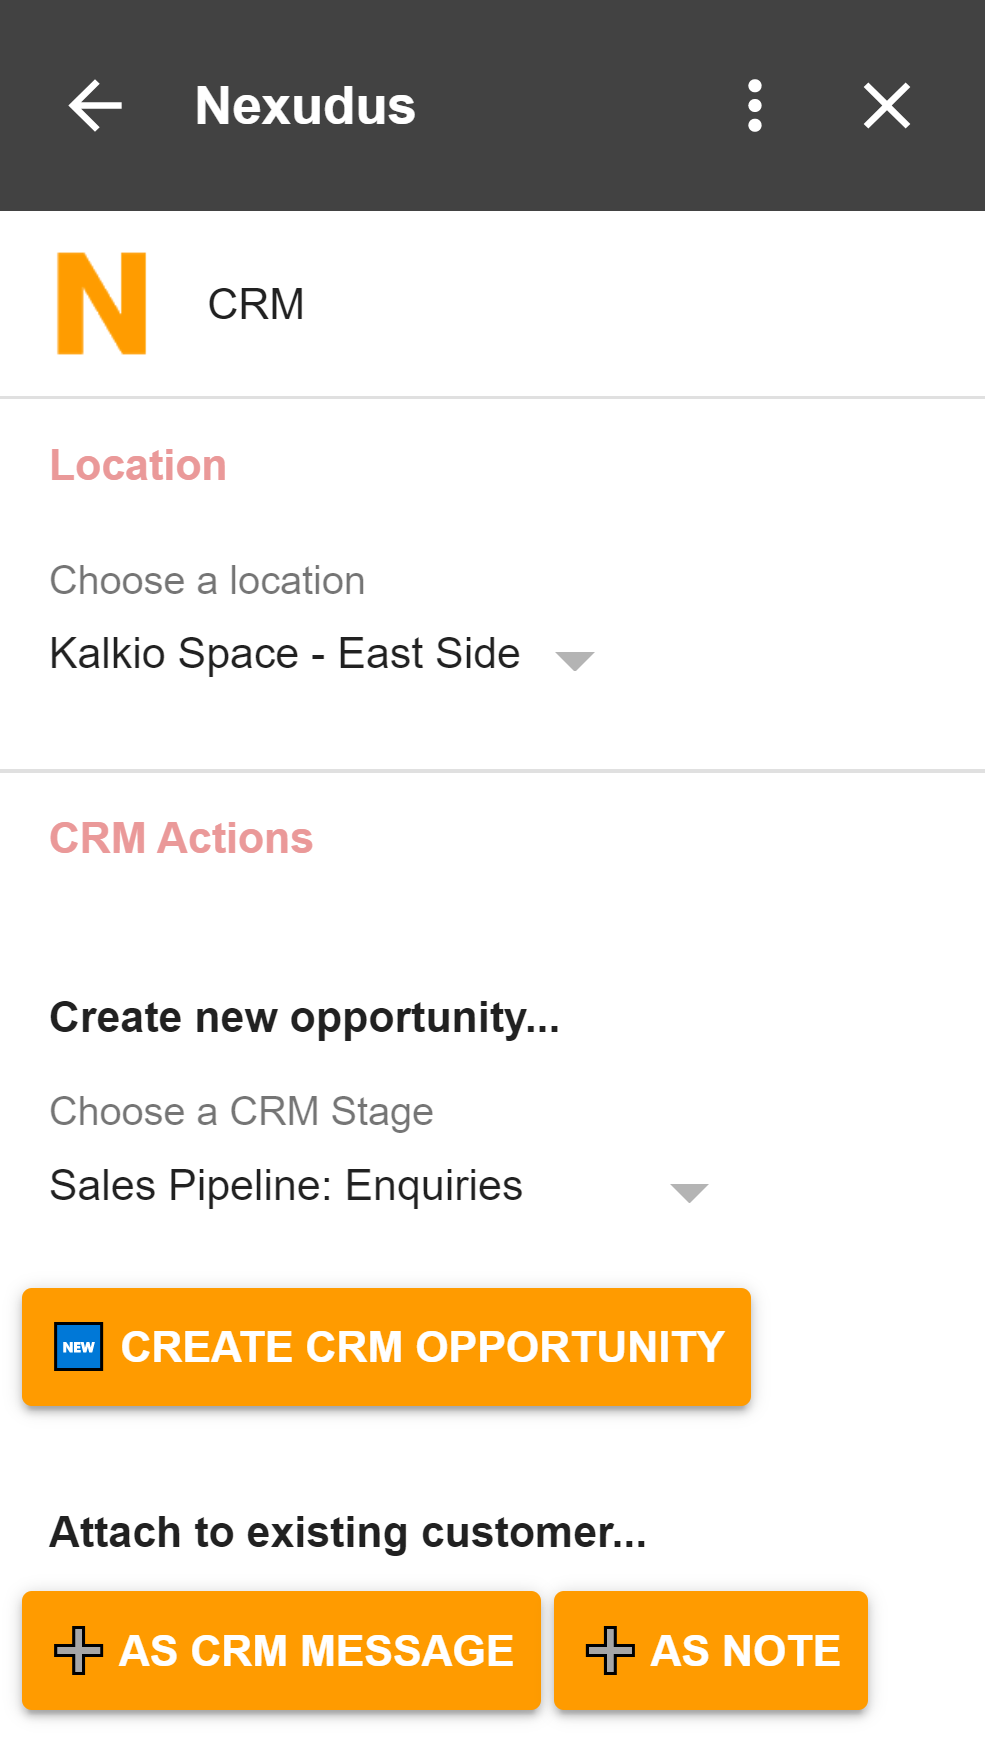
- Click on Create CRM Opportunity
Nexudus for Gmail will then create a new opportunity based on the email and details of the sender of the selected message.
- The full name and salutation of the contact associated with the new opportunity will be set to the name of the sender of the email.
- The email address will be set to that of the sender of the selected email. We will not send any notifications or a welcome email to the new contact.
- We will copy the text of the selected email message as notes in the opportunity.
- The source of the new opportunity will be set to "Direct Email".
Creating a new Message for an existing customer or opportunity
If the sender of the selected email message is already added as a contact and/or CRM opportunity in your Nexudus account, you can attach the selected email message as a new message or a note.
Select the message you would like to create a message or note based on.
Wait for the add-on to display the available operations:

Click CRM
Select the location (if you operate more than one site). The message or note will be added as being issued from that location. If you operate more than one site, only administrators with access to that site will be able see that message.
Click on As CRM Message or As Note.
Nexudus for Gmail will then create a new message or note using the content of the message.
Creating a new help desk message
If the email content is a message regarding any help the member might need, you can attach the content of the message to a Help Desk Message, which will be shown in your Administration Panel.
Select the message you would like to create a help desk message from.
Wait for the add-on to display the available operations:

Click Support
Select the location (if you operate more than one site), the department the message relates to, and the priority.
Click Create Help Desk Message.
Required Permissions
Nexudus for Gmail currently only supports Space administrators, who have an account to access https://dashboard.nexudus.com.
The add-on will connect to the Nexudus API, and is subject to the same roles & access rights features as using the website. Before you use the Gmail add-on, please ensure that: -
- You have a Nexudus Administrator account;
- Your account has been activated;
- You have "API Access" enabled in your account.
If any of the above are not true, you will receive an authentication error when providing your initial credentials. Further to the above, the add-on will query various parts of the system ("Roles"). You will need to ensure the following Roles have been granted at minimum for your - or another - Administrator user for the following sections of the add-on, otherwise a "Request declined" message will be displayed when attempting to perform an action:
CRM
| Business* | : | List; Read |
| Coworker | : | Create; List |
| CoworkerMessage | : | Create |
| CoworkerNote | : | Create |
| CRMBoardColumn | : | List |
| CRMOpportunity | : | List |
| User | : | List |
Support
| Business* | : | List; Read |
| Coworker | : | List |
| HelpDeskDepartment | : | List |
| HelpDeskMessage | : | Create |
| User | : | List |
* Referred to as "Locations" in the UI; these are dependent on the "Locations" an admin user is authorized to see.