Setting up NexBoard is a simple two-step process:
- Preparing to use NexBoard
- Connecting resources to NexBoard
Step 1. Preparing to use NexBoard
Purchase your tablets
You need one tablet for every resource you'd like to connect to NexBoard. Each tablet must meet the minimum requirements for Nexudus apps to use NexBoard.
Disable auto-lock on your tablets
You need to disable auto-lock on your tablets to make sure the screen doesn't automatically shut off after a few minutes.
Android
- 1. Open the tablet's Settings.
- 2. Tap Display & Brightness.
- 3. Tap Auto-Lock.
- 4. Select Never.
iOS
- 1. Open the iPad's Settings.
- 2. Tap Display & Brightness.
- 3. Tap Auto-Lock.
- 4. Select Never.
Set up admin access
You must be a full unrestricted admin to set up NexBoard.
We recommend sticking to full unrestricted admins, but you can create a NexBoard user role and assign it to a restricted admin if you space's policies require it.
Step 2. Connecting Resources to NexBoard
You can set up your tablet with NexBoard so customers can only book a single unit or choose from multiple units.
Connecting NexBoard to a Single Unit
You can easily set up NexBoard so customers can only book a single unit from each tablet.
For example, you want to place a NexBoard tablet outside each phone booth in your space.

If you skip location or bluetooth access, you'll need to enable them from your tablet's app settings to let your customers make the most of the app.
- Open NexBoard.
- Log in using your admin credentials.
- Select your location.
- Select the resource you want to link to this tablet.
- Select the unit you want to link to this tablet.
You're all set! Customers can use the app straight away to book this resource or check its availability.
You can repeat the process on any other tablet using the same admin account to connect more resources.
Connecting NexBoard to Multiple Units
You can easily set up NexBoard so customers can book several units from a single tablet.
For example, you want customers to be able to book any hot desk from NexBoard without buying a separate tablet for each one.
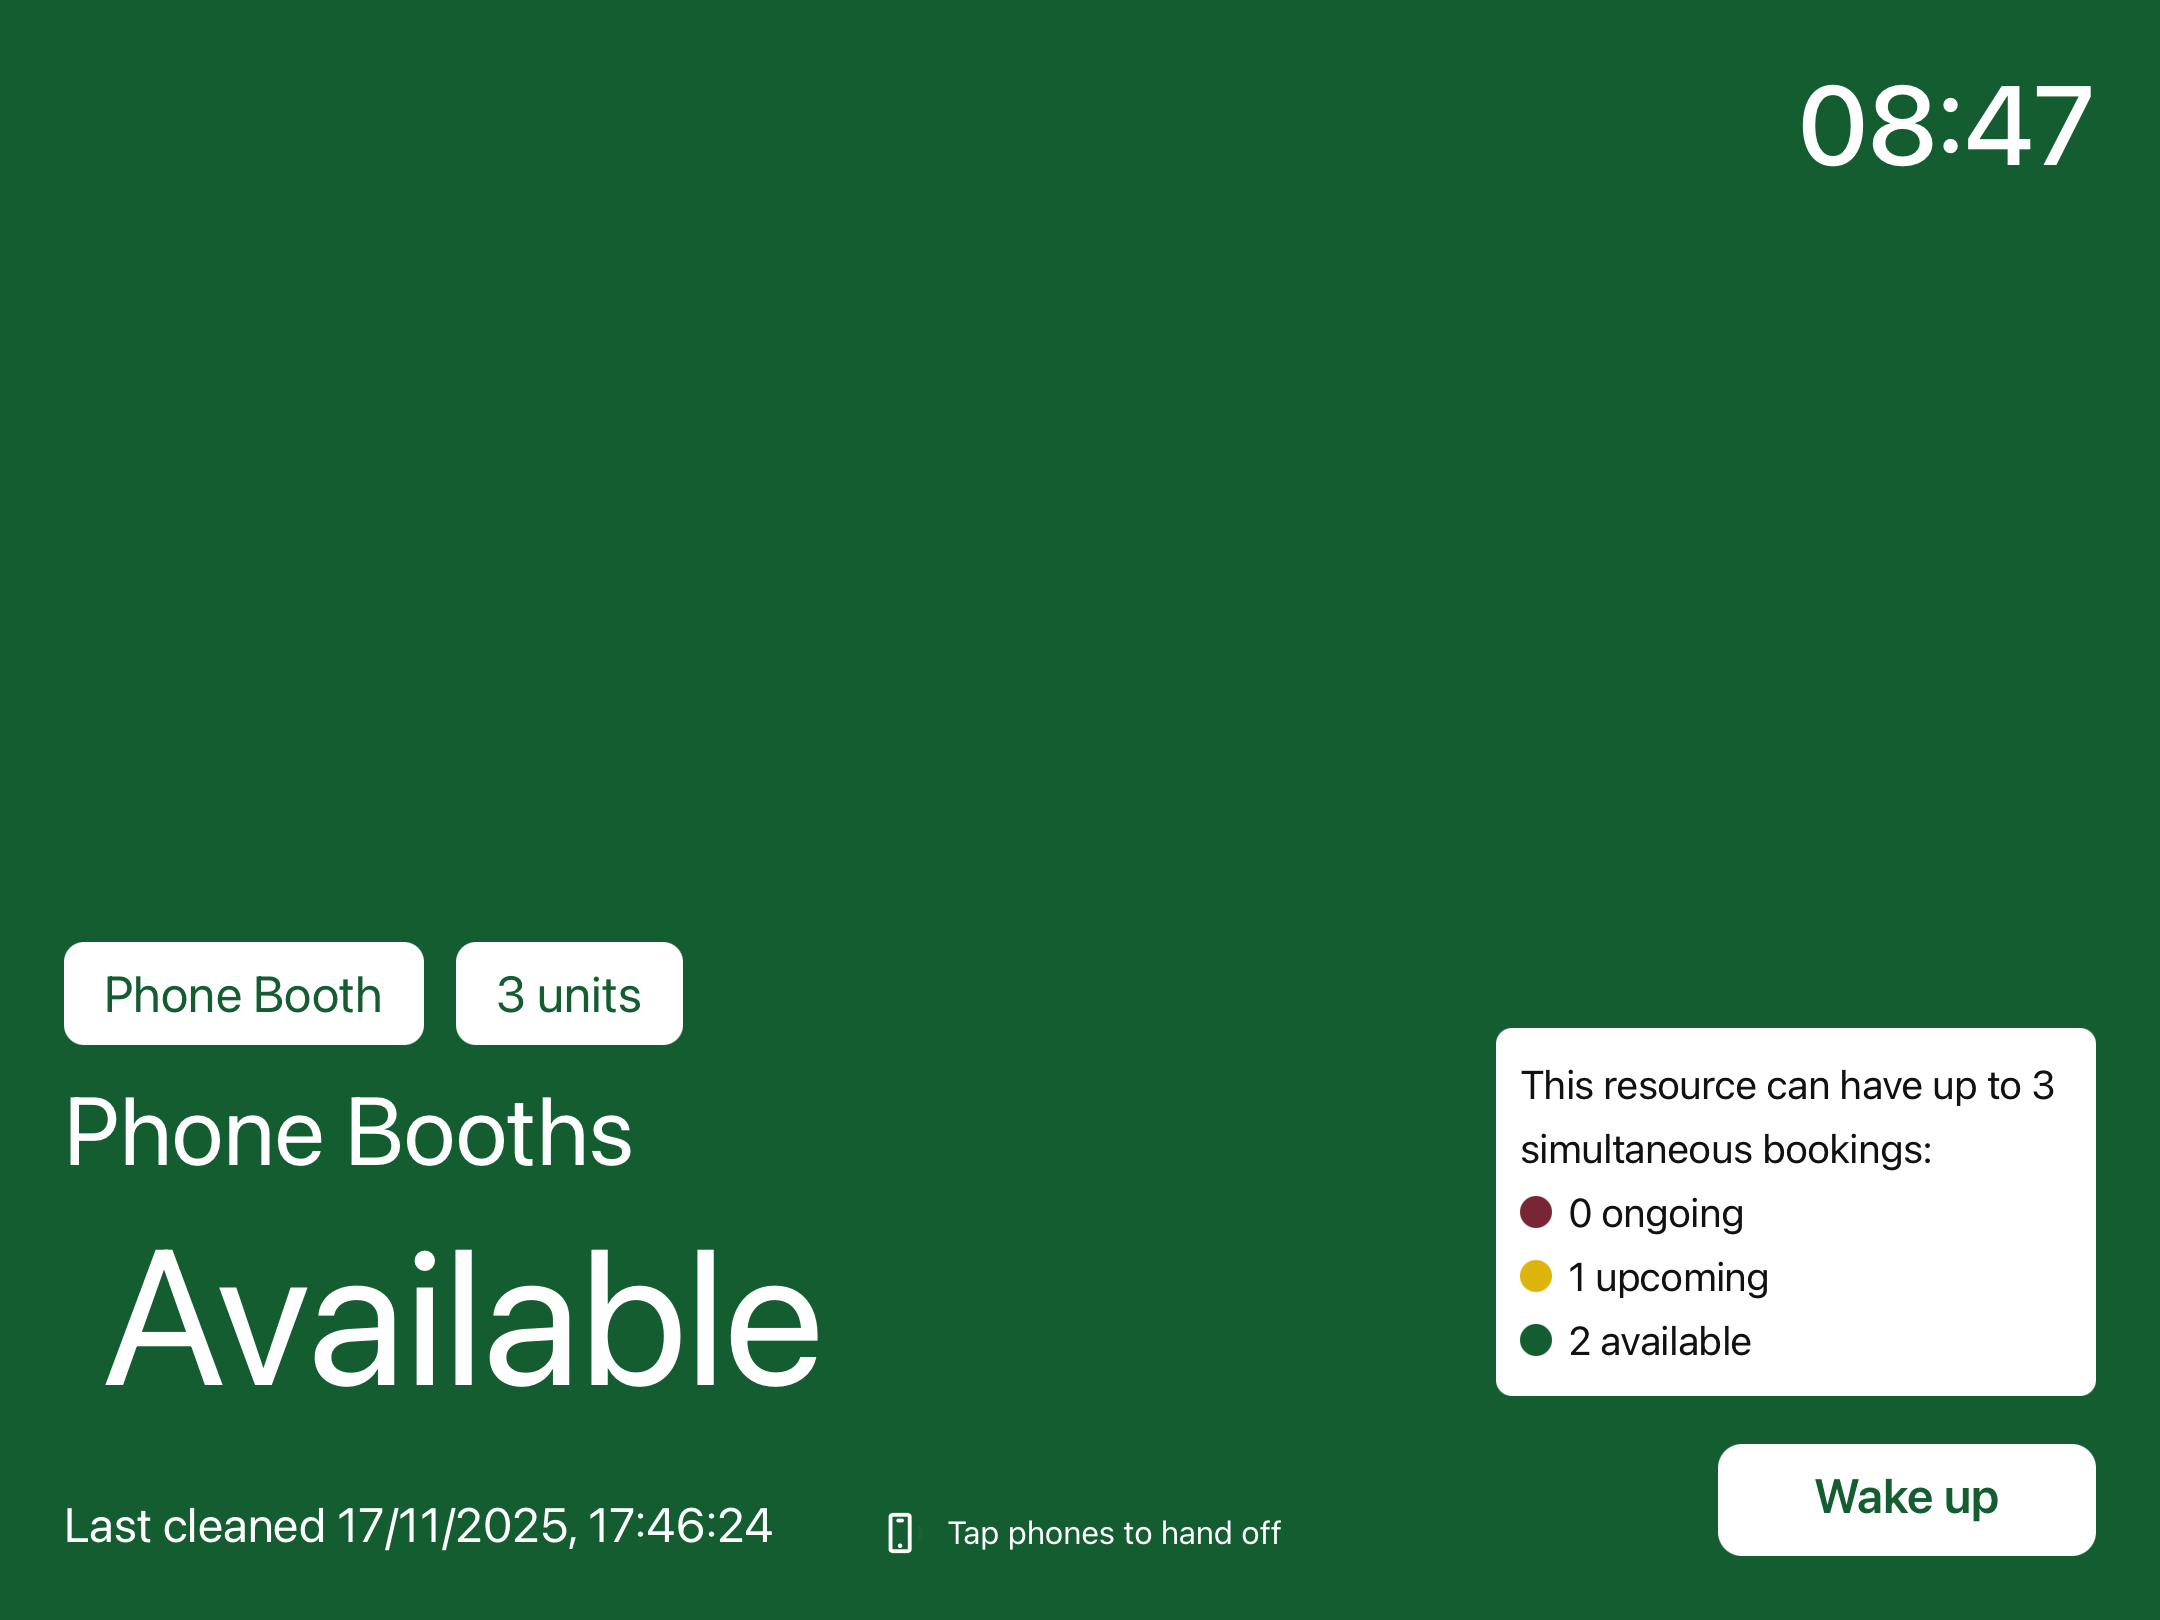
Customers will be able to see unit availability from the standby screen. They can choose to book a specific unit or have one auto-assigned.
If you skip location or bluetooth access, you'll need to enable them from your tablet's app settings to let your customers make the most of the app.
- Open NexBoard.
- Log in using your admin credentials.
- Select your location.
- Select the resource you want to link to this tablet.
- Skip the unit selection.
You're all set! Customers can use the app straight away to book units from this resource or check its availability.
You can repeat the process on any other tablet to connect more resources.