Once you've created your floor plan, you can add furniture representing desks, chairs, booths, and other items in your space.
For furniture such as desks and phone booths that you plan on making available to customers, you can then add floor plan units and link them to bookable resources or add them to contracts.
You can also add furniture that you don't plan on directly leasing to customers to create a more accurate rendering of your space. These can include items such as sofas in your reception area or appliances in a shared kitchen. In this case, it's not necessary to create associated floor plan units.
Log in to dashboard.nexudus.com if you aren't already.
- Click Inventory > Floor plans
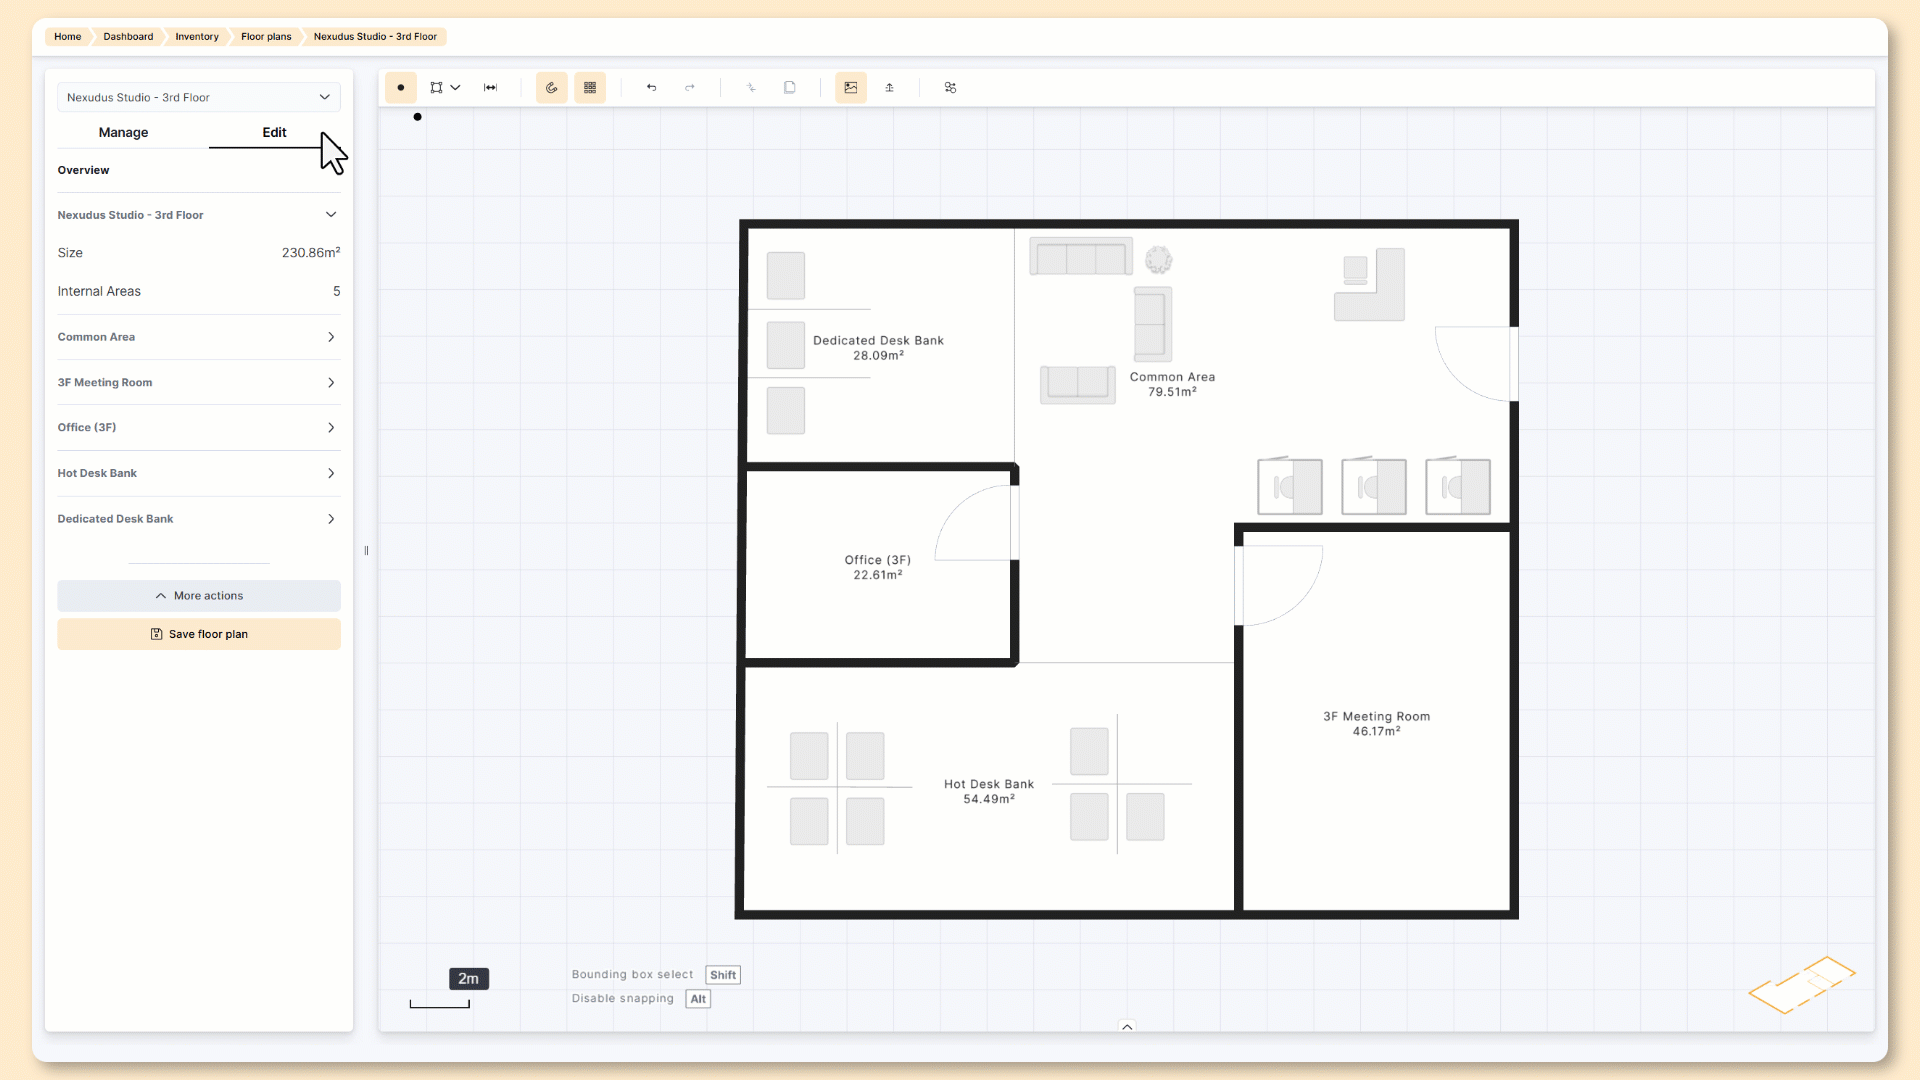
- Click on the floor plan that you want to edit.
- Click on the Edit tab.
Click on the add node icon
 .
.- Select Furnishing and click on the unit you want to add.
- Click where you want to place the selected unit on your floor plan.
- Click Save floor plan.
Your furniture has been added to your floor plan. Repeat this process for any other furniture you want to add.
For furniture such as desks and phone booths that you plan on making available to customers, the next step is to add floor plan units.