You can create perks in a few clicks on the Admin Panel and offer them to customers on your Members Portal.
-
Log in to dashboard.nexudus.com if you aren't already.
-
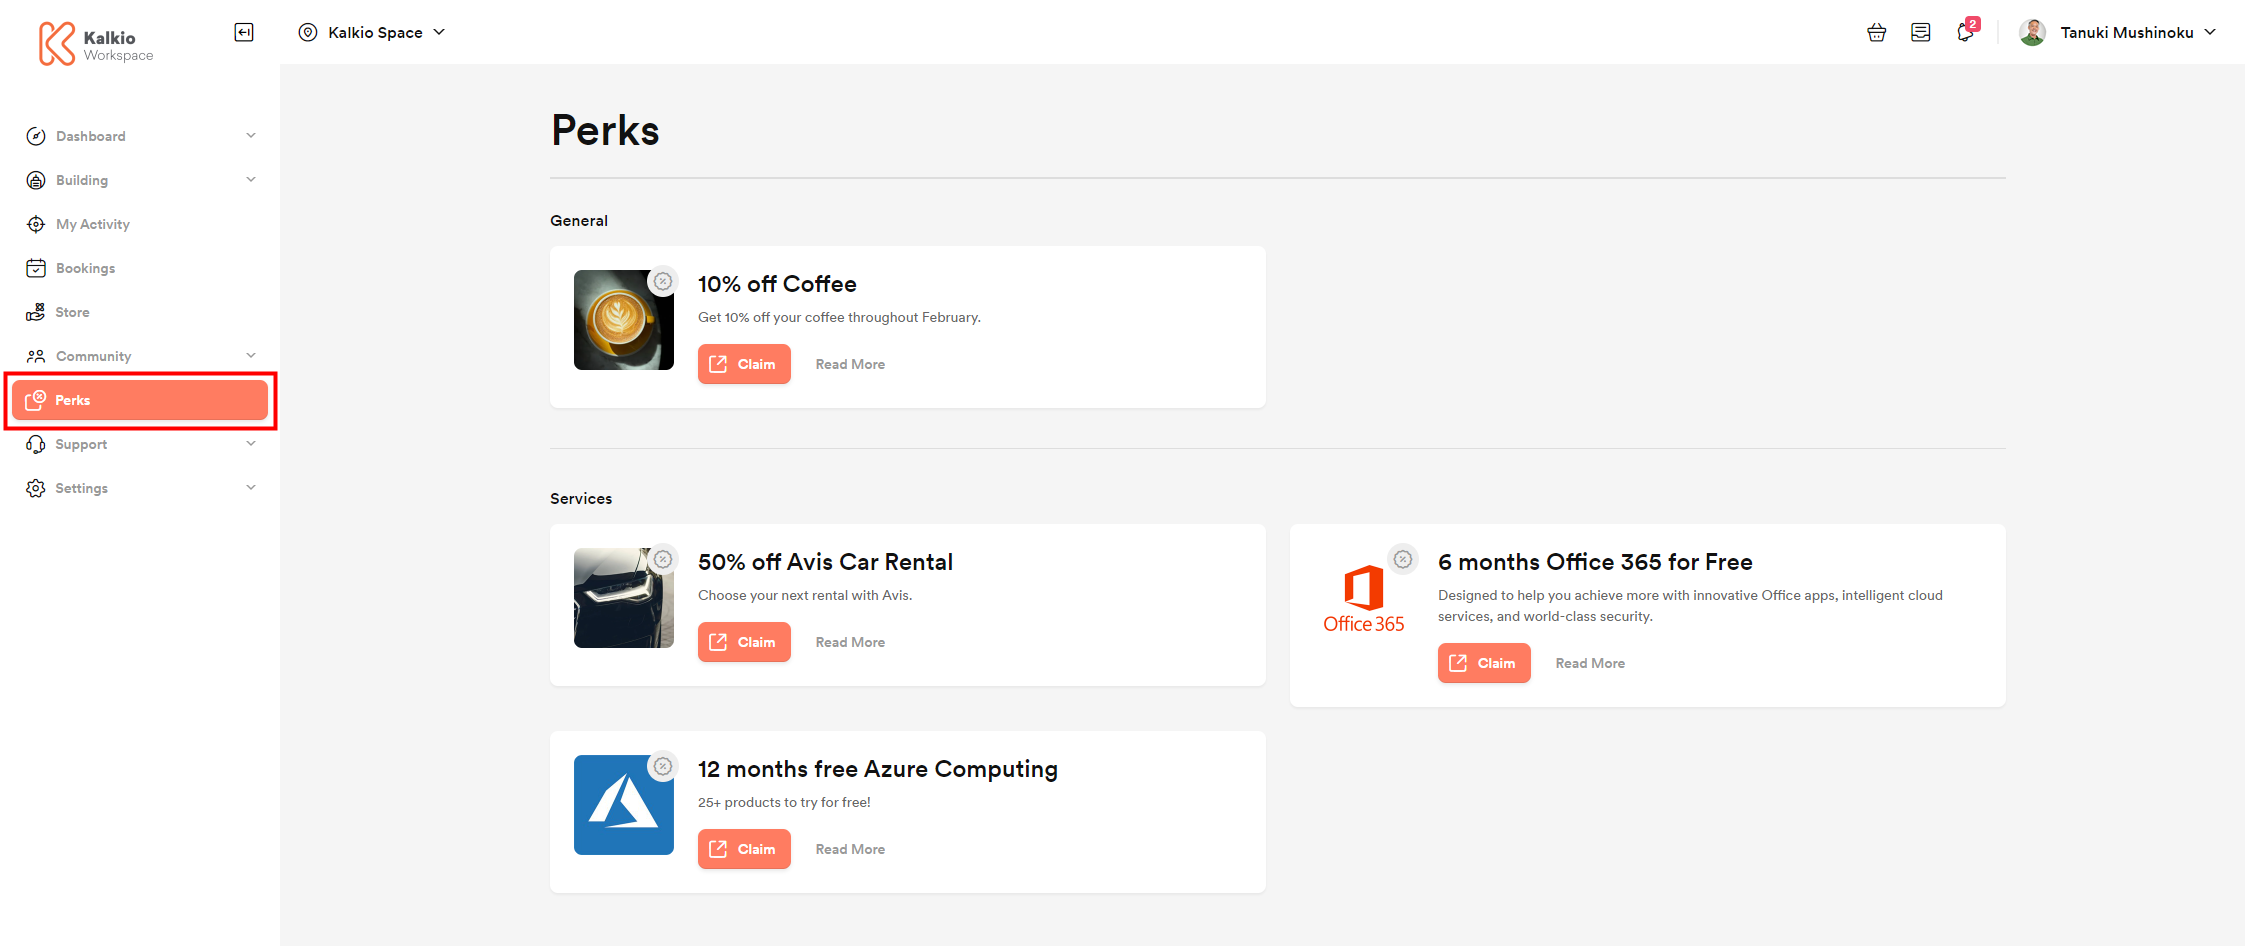
Click Community > Perks.
-
Click on Add perk.
-
Add a Title for your perk.
-
Select the Location where we should publish your perk.
-
Add a Summary text to describe your perk.
-
Add detailed information about your perk under Full text.
-
Add a link in the Claim URL field if you want to redirect customers to another page to claim your perk.
For example https://coworking.com or https://london.coworking.com/partnerprogram.
Some examples of perk links include:
- The home page of a partner website
- An external page that shows customers the relevant discount codes
- The signup form of a business you partnered with
- Click on Select file if you want to include images for your perk.
Large image - image displayed on each perk's page, right under the title.
Small Image - image displayed on the Perks page, when the perk is listed alongside other perks. - Toggle on This perk is published.
If you leave it toggled off, the perk will only be visible on the Admin Panel. - Toggle on Feature this perk on the home page after users log in to promote the perk on your Members Portal.
- Select which customers can see and claim your perk under the Availability section.
Click the Save Changes button.
Repeat the process for every other perk you want to add. Your customers can access all the published perks via the Perks page on the Members Portal. Clicking on the Claim button redirects the customer to the URL you added to the Claim URL field.