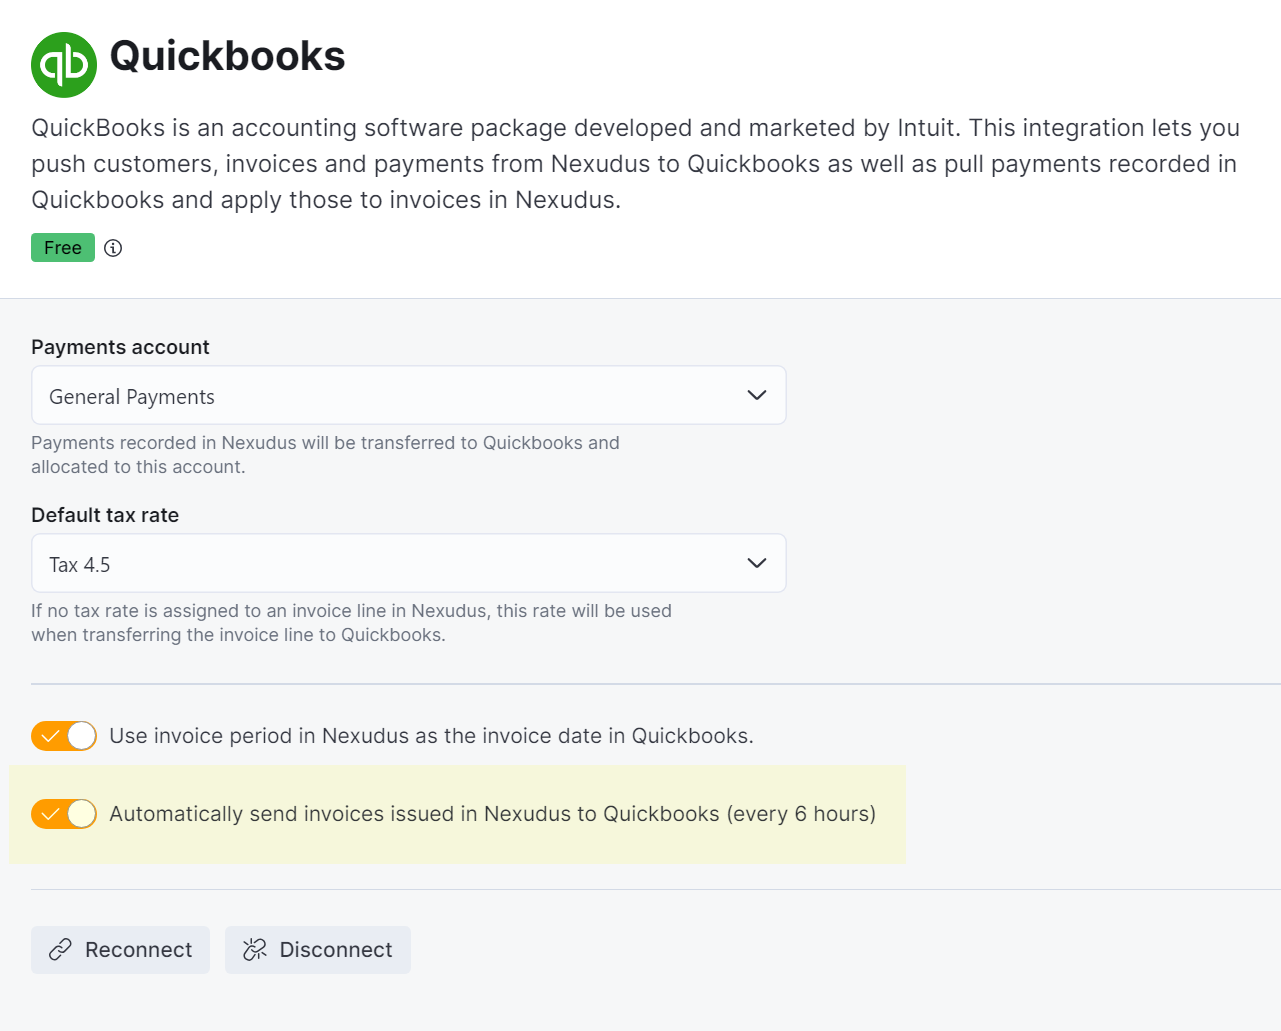
Simply toggle on automated transfers via Settings > Integrations > Quickbooks Online on the Admin Panel.

Once you've integrated QuickBooks Online with Nexudus, you can start using invoice transfers. Any unpaid, due and paid invoice without credit notes can be transferred to QuickBooks Online in one easy step. Cancelled and refunded invoices that include a credit note must be transferred to QuickBooks Online in two steps.
Invoices without Credit Notes
You can easily transfer paid, unpaid, or due invoices without credit notes to QuickBooks Online in bulk. Simply tick the checkbox next to every invoice you want to transfer and then click on Transfer to QuickBooks.
Invoices that were successfully transferred to QuickBooks Online now have a In QuickBooks tag in the Status column.
Cancelled Invoices
If you are transferring invoices that were cancelled in Nexudus, you'll need to transfer the credit notes generated by the cancellation before sending the invoices linked to the credit notes.
Unpaid cancelled invoices
Once the credit note is transferred, you can transfer the unpaid cancelled invoice. QuickBooks Online links the credit note to the invoice, marks it as closed, and shows the invoice as Paid once the process is completed.

Paid cancelled invoices
Once the credit note is transferred, you can transfer the paid cancelled invoice. QuickBooks creates a credit note that remains misapplied as the credit from this cancellation can still be used.

Refunded Invoices
If you are transferring a refunded invoice, you'll need to transfer the credit notes generated by the refund before sending the refunded invoices linked to the credit notes. No credit note is transferred or created in QuickBooks Online. The refunded invoice and its credit note create three lines in QuickBooks Online: an invoice, a payment for that invoice, and a refund for the transaction.
