You can change your User Portal font in three simple steps.
Template files are individual to each location which means you'll need to repeat this process in each location within your network.
If you'd like to use multiple fonts, consider hiring developers.
Step 1. Downloading Your Font File
The first step of the process is downloading your font file. You can use any font file from any website as long as it is in one of the following formats:
- OTF
- TTF
- EOT
- WOFF
- WOFF2
If you're using Google Font, you can simply click Download family on the page of the font you want to use.
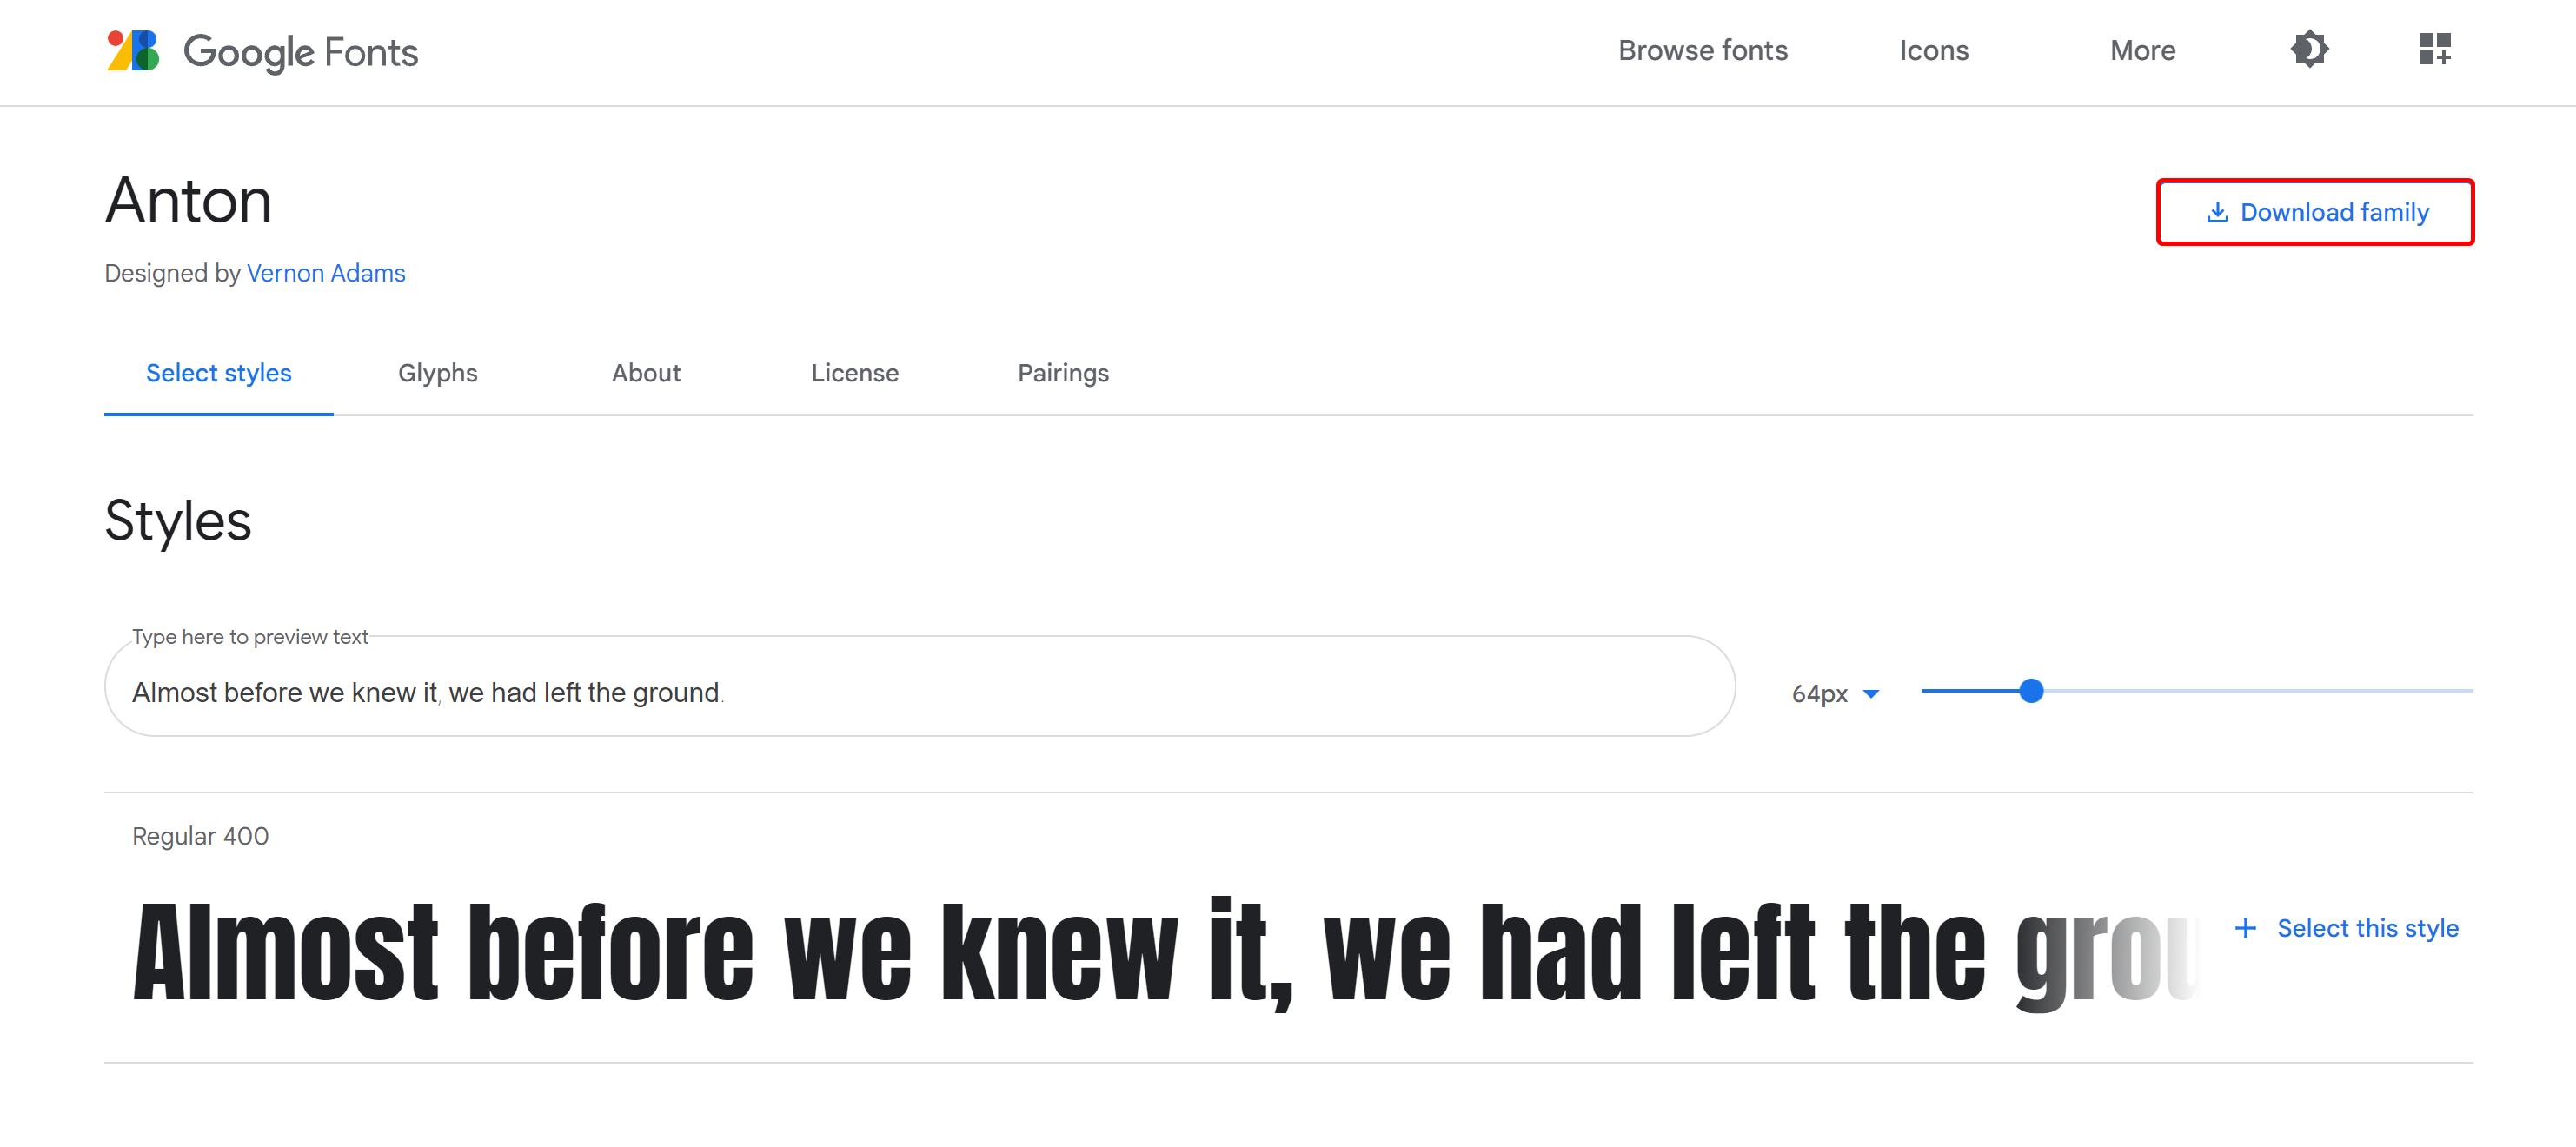
From there, all you need to do it extract the zip file you've just downloaded to be able to access your font file during Step 2.

Step 2. Uploading Your Font File to Nexudus
The second step of the process is uploading your font file via the Template File Editor on the Admin Panel.
-
Log in to dashboard.nexudus.com if you aren't already.
-
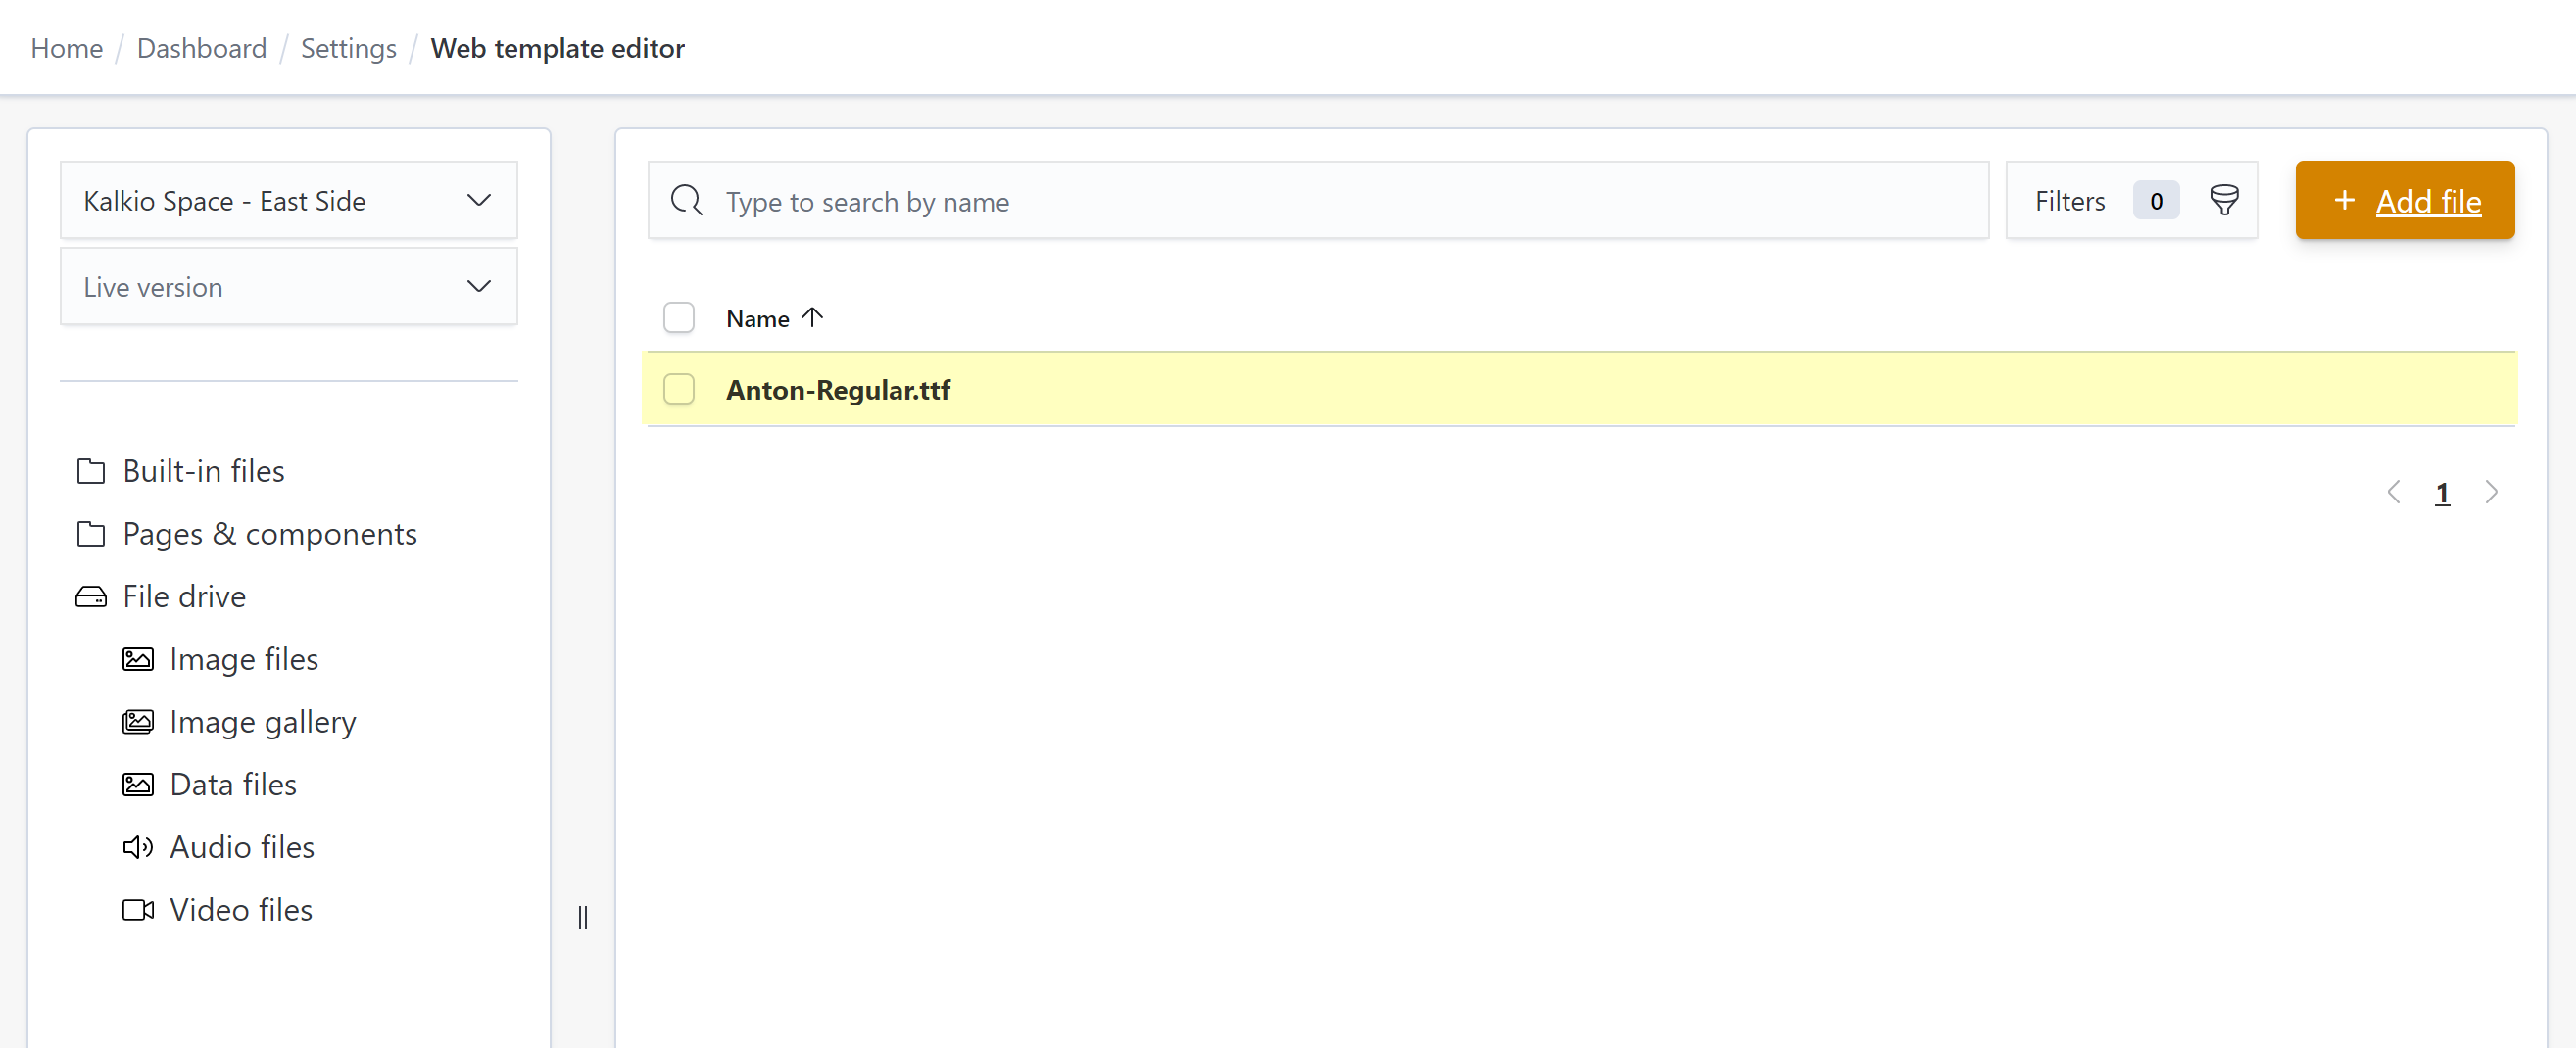
Click Data files.
-
Click Add file.
-
Click Select file and select your font file on your device.
-
Click the Save Changes button.
Your font file should now appear on the page.
-
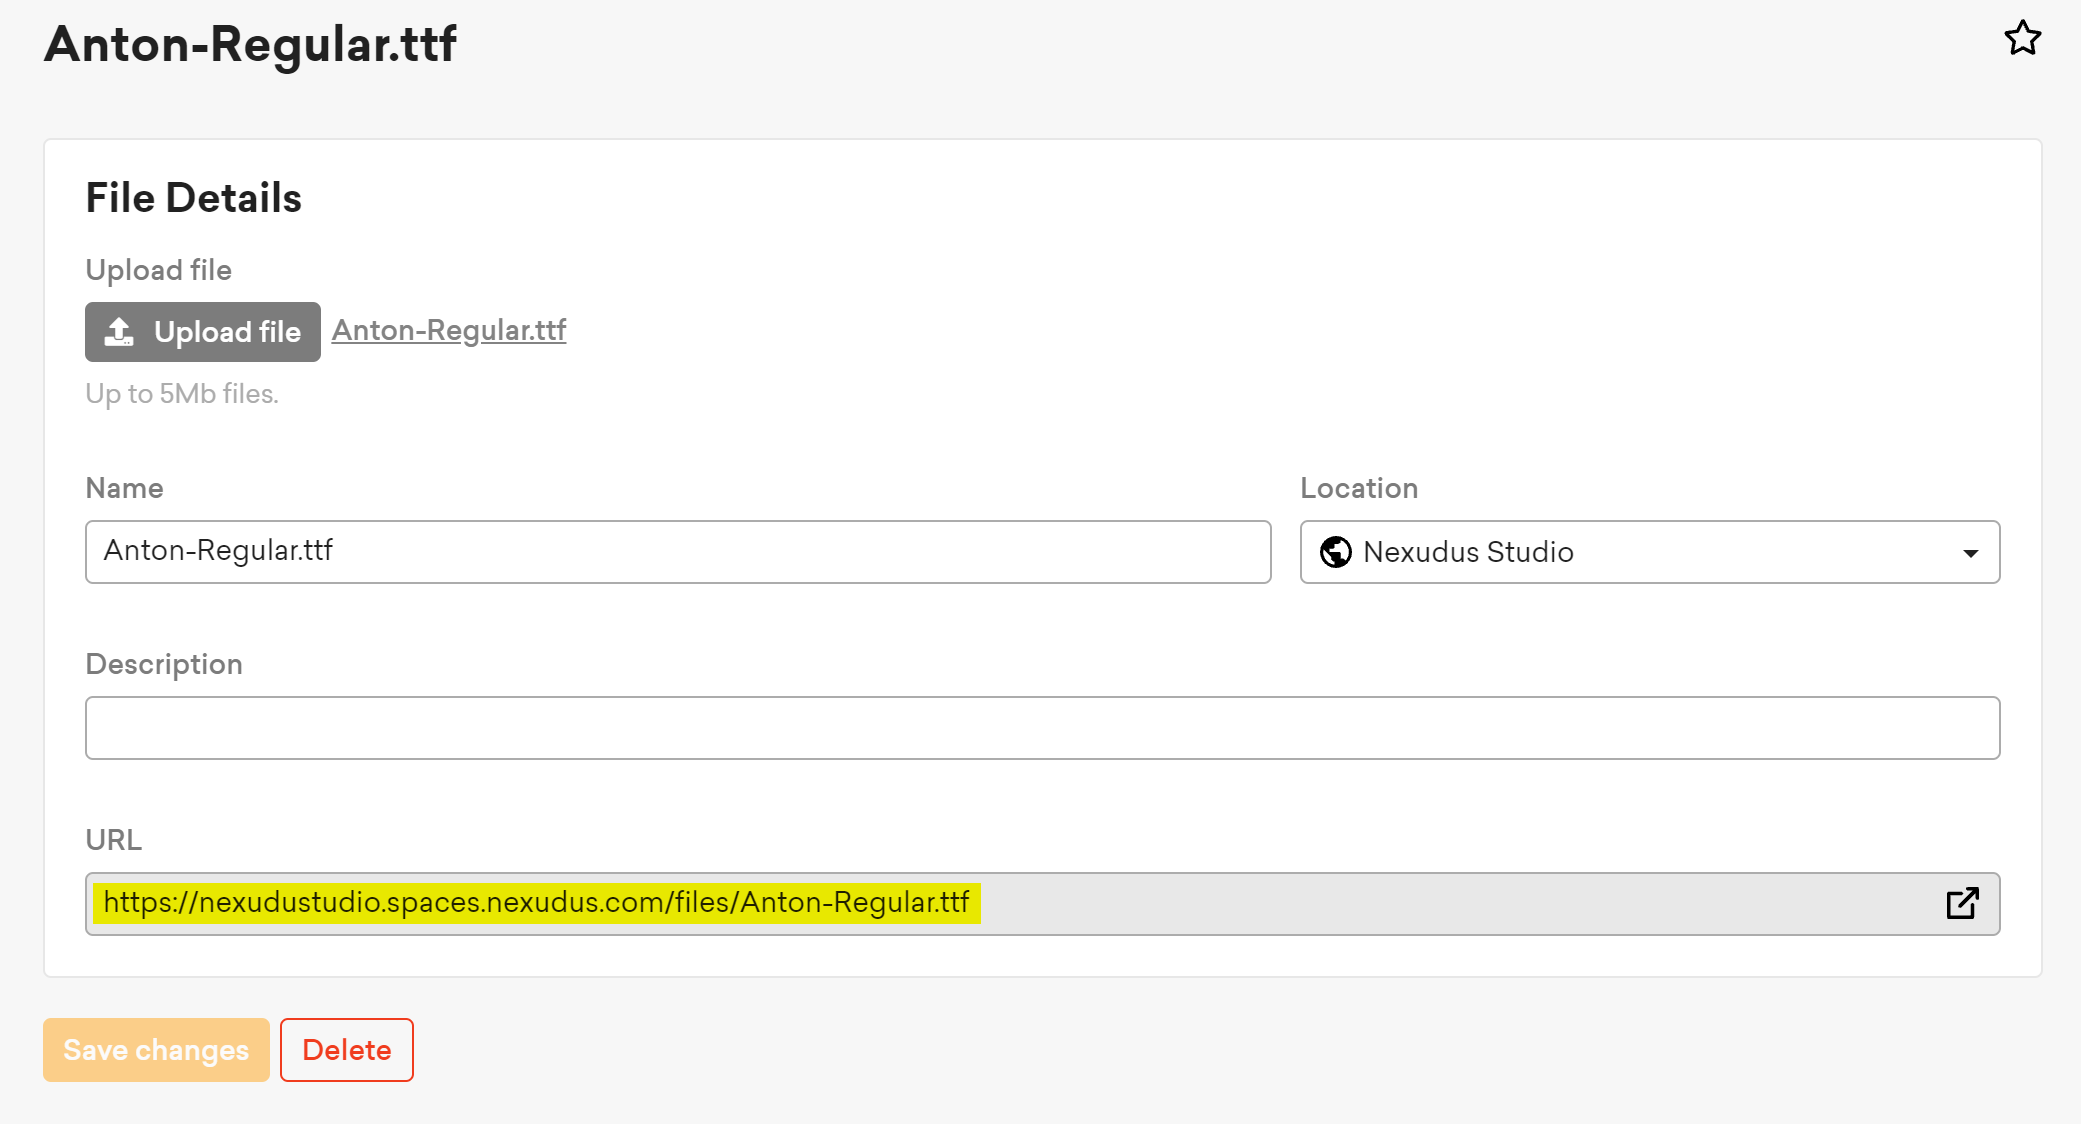
Hover your mouse over the file and Click on the pencil icon.
-
Copy the full address in the URL field and save it somewhere.
You will need this URL during Step 3.
- Click on the cross icon in the top right corner of the page.
You're ready to move to Step 3.
Step 3. Adding Your Font the CSS File in Nexudus
Now that you have your font file and its URL, it's time to add this font to your User Portal style.css file.
-
Click Common files > style.css.
-
Remove all the code on the page.
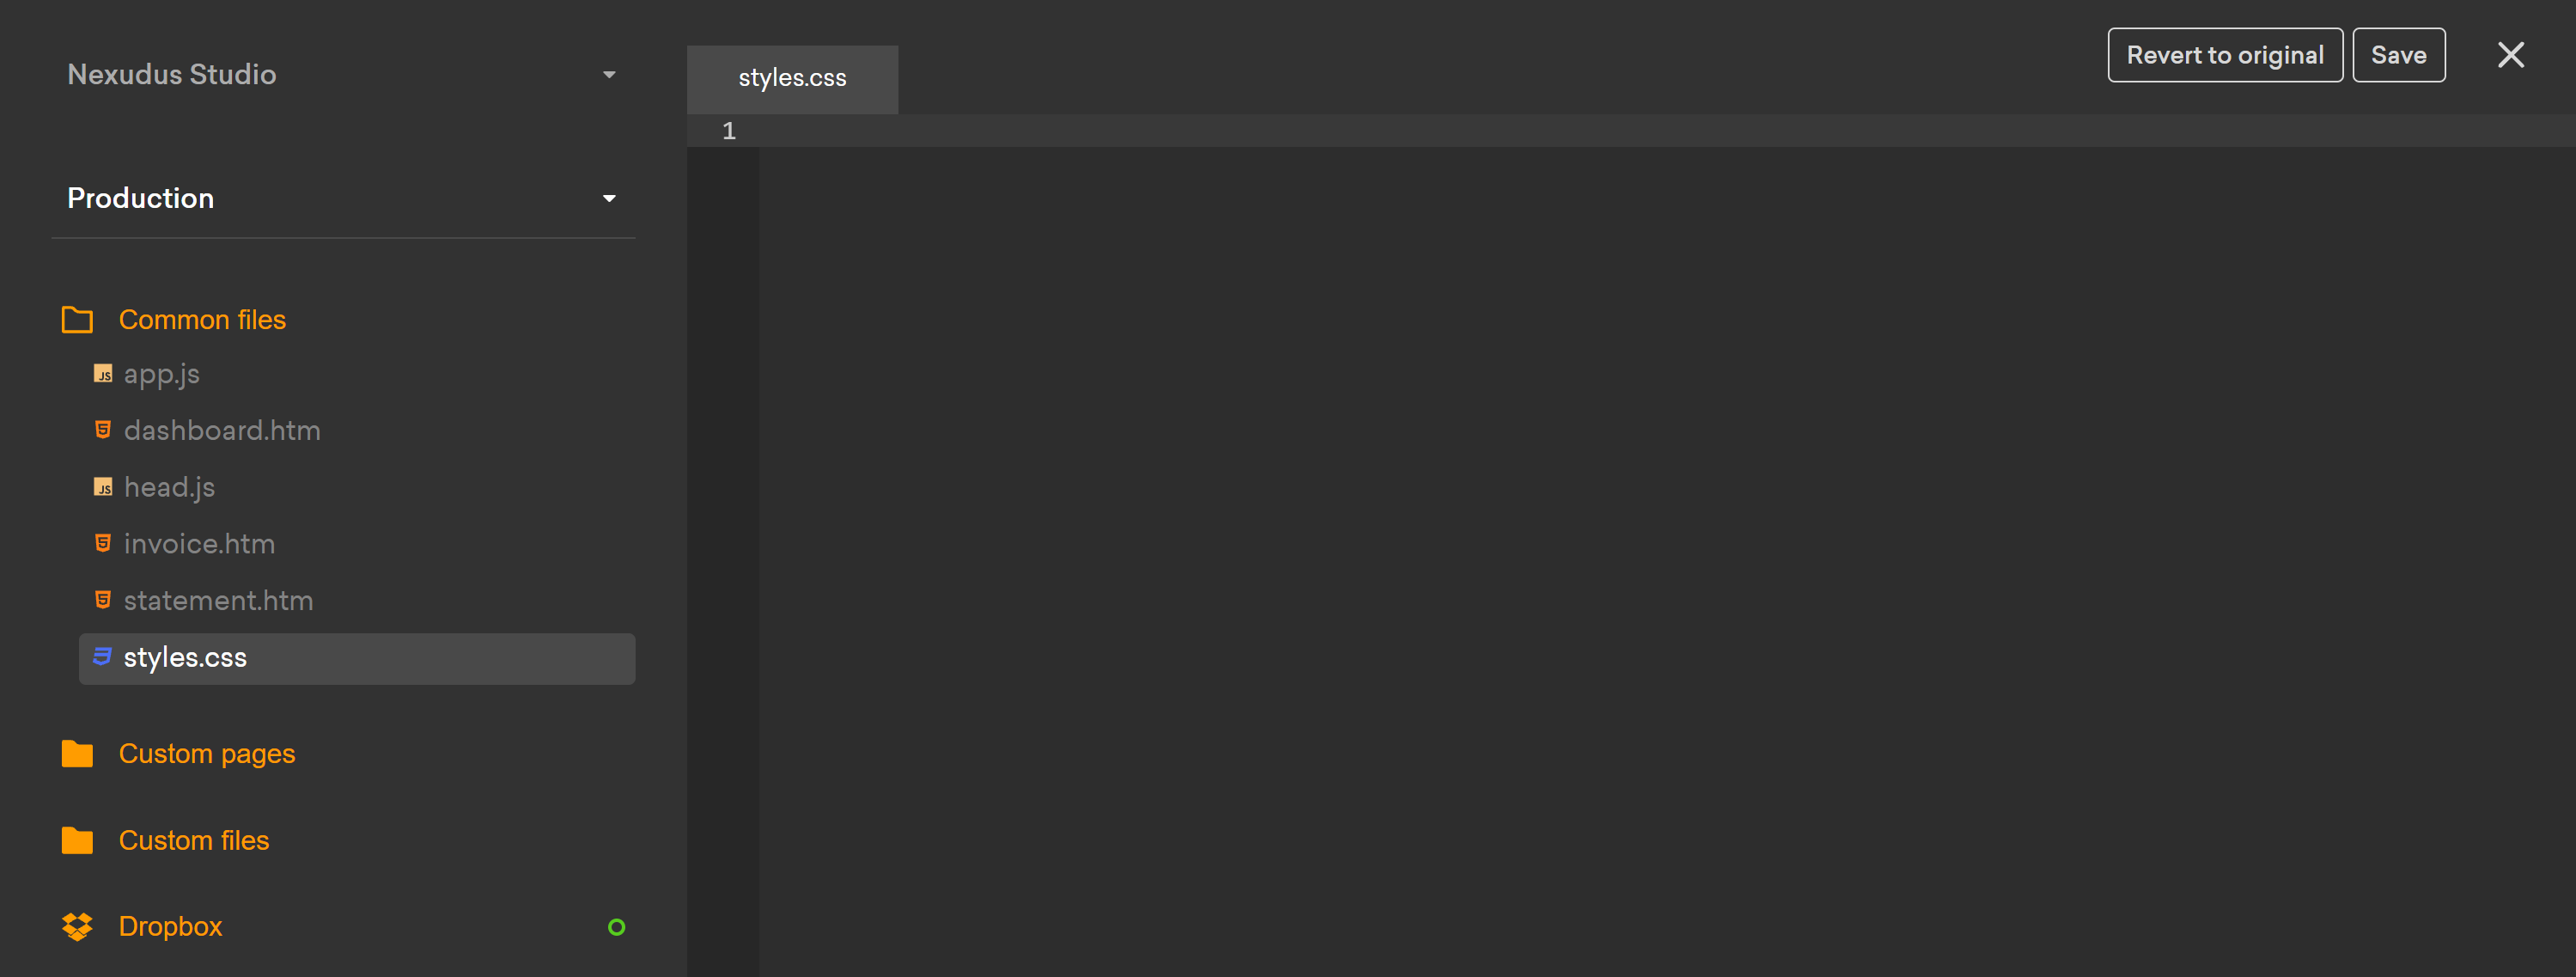
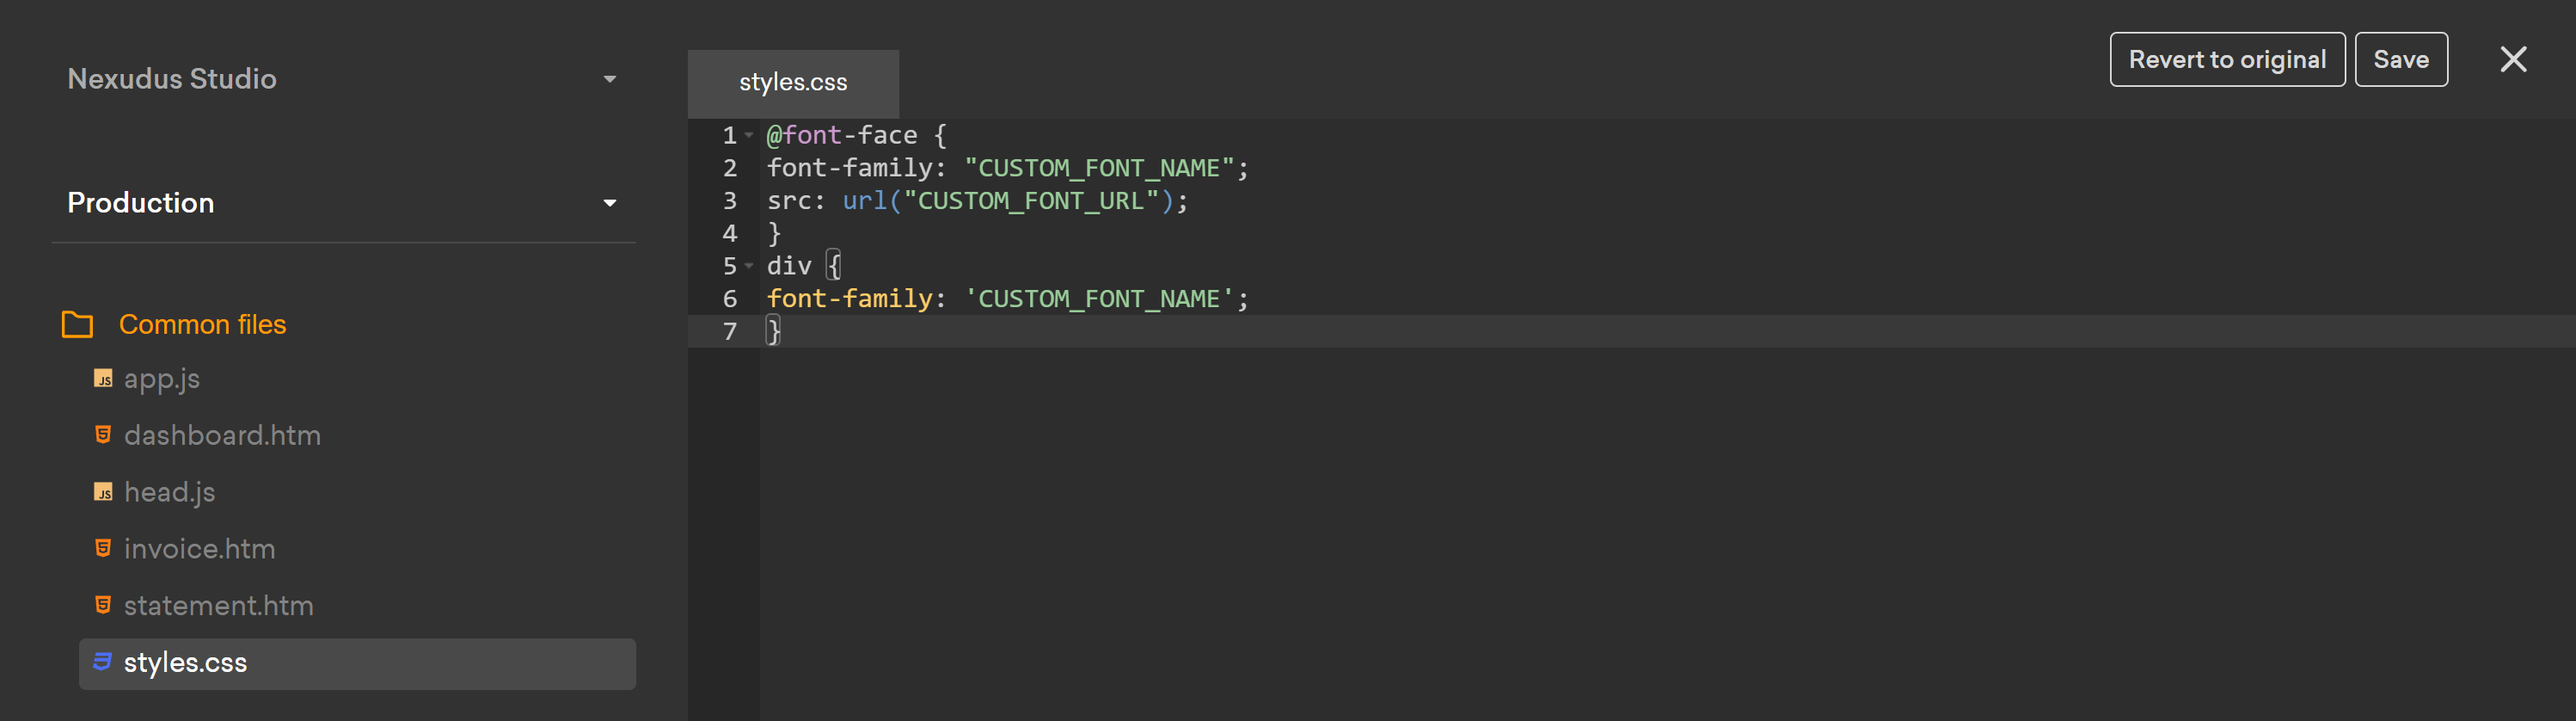
- Copy and paste the following code snippet in the file.
@font-face {
font-family: "CUSTOM_FONT_NAME";
src: url("CUSTOM_FONT_URL");
}
div {
font-family: 'CUSTOM_FONT_NAME';
}
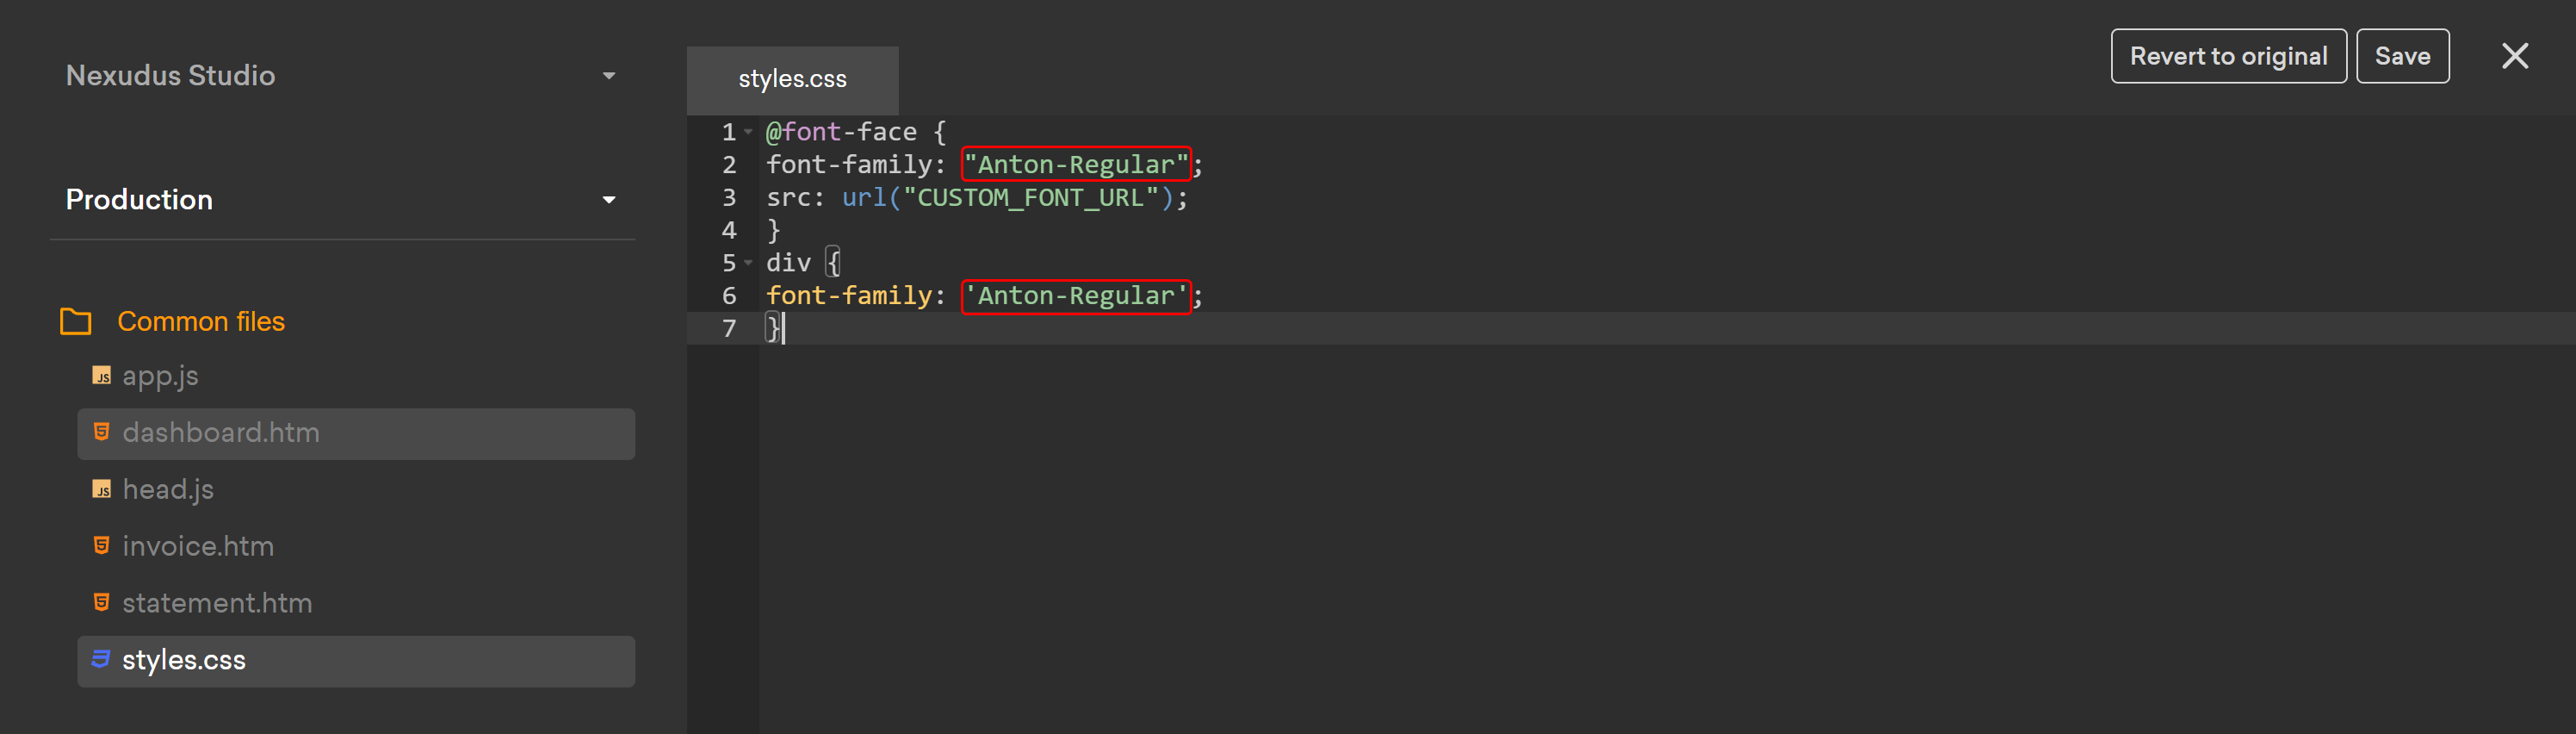
- Replace both CUSTOM_FONT_NAME with your font's name,
Make sure you don't remove the brackets.
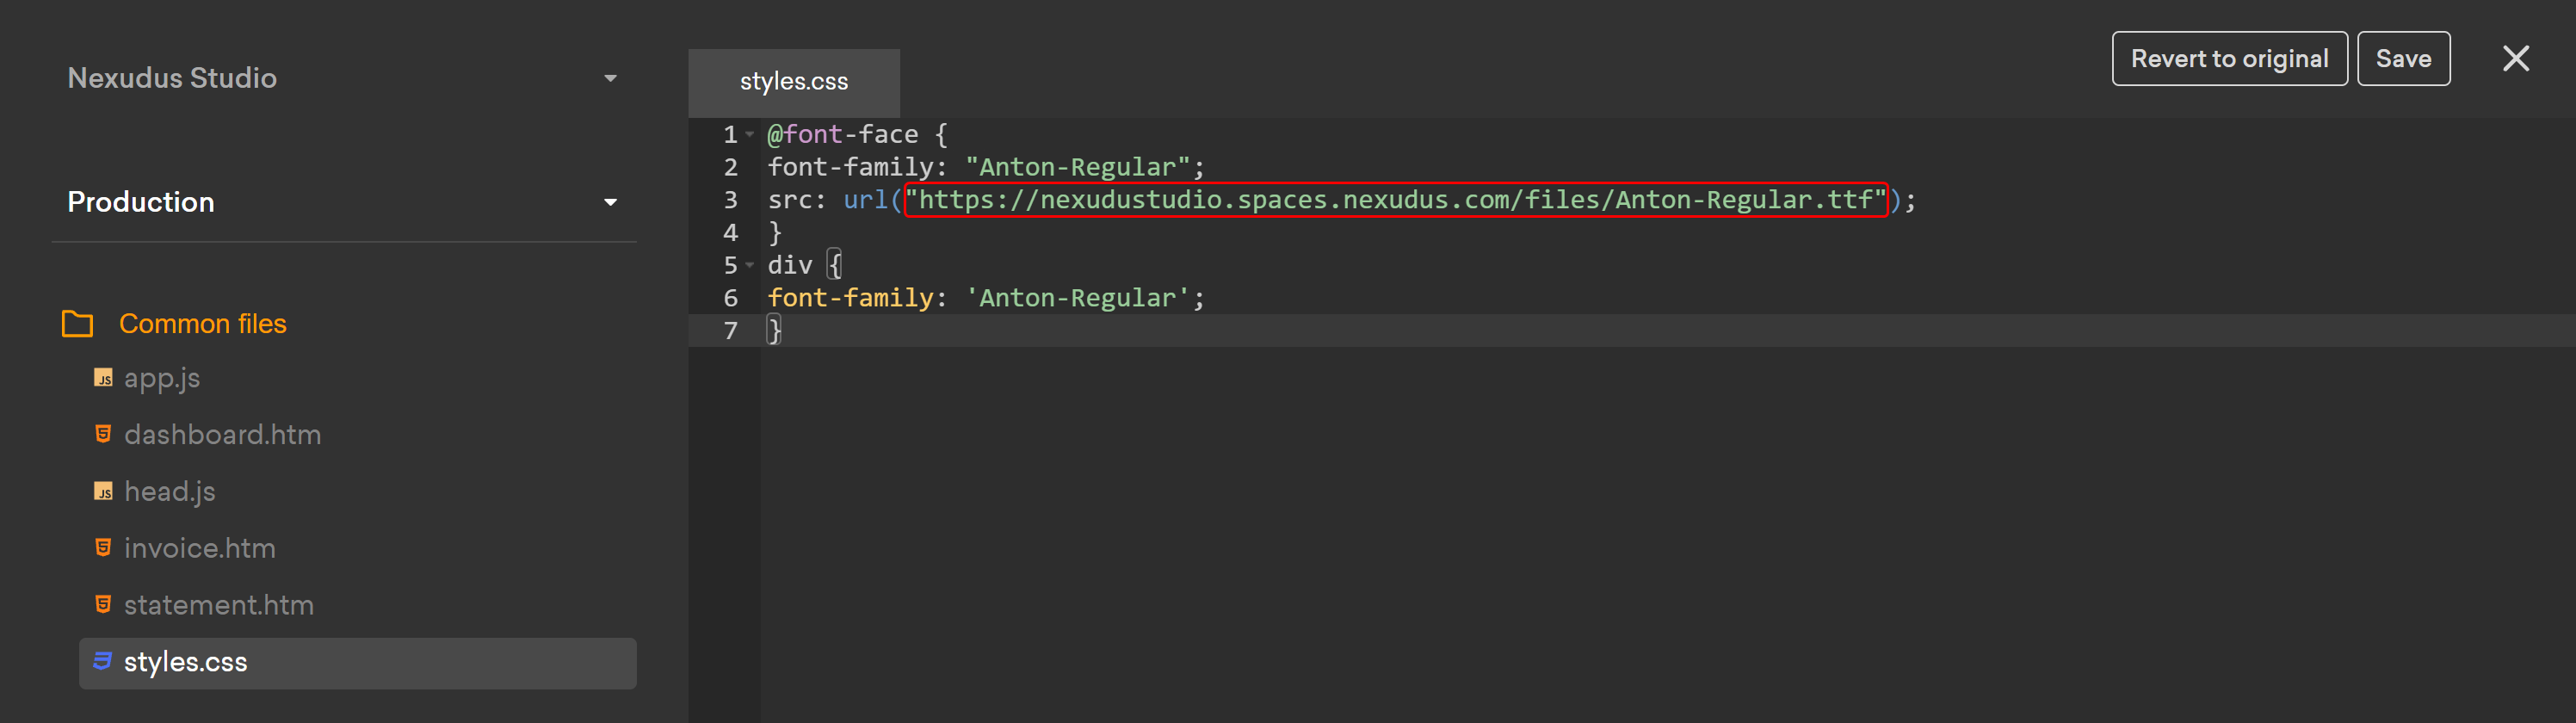
- Replace CUSTOM_FONT_URL with your font file's URL.
Make sure you don't remove the brackets.
Click the Save button.
You can make sure your font change was successful by clicking on the Launch Site button at at the bottom of the page.