Customers can book through NexBoard with their phone if they have the Passport app or the email and password they use to log in to the Members Portal.
- Recurring bookings
- Bookings over multiple calendar days
- Adding visitors to bookings
- Adding products to bookings
Customers can use the Members Portal or Passport app to make these types of bookings.
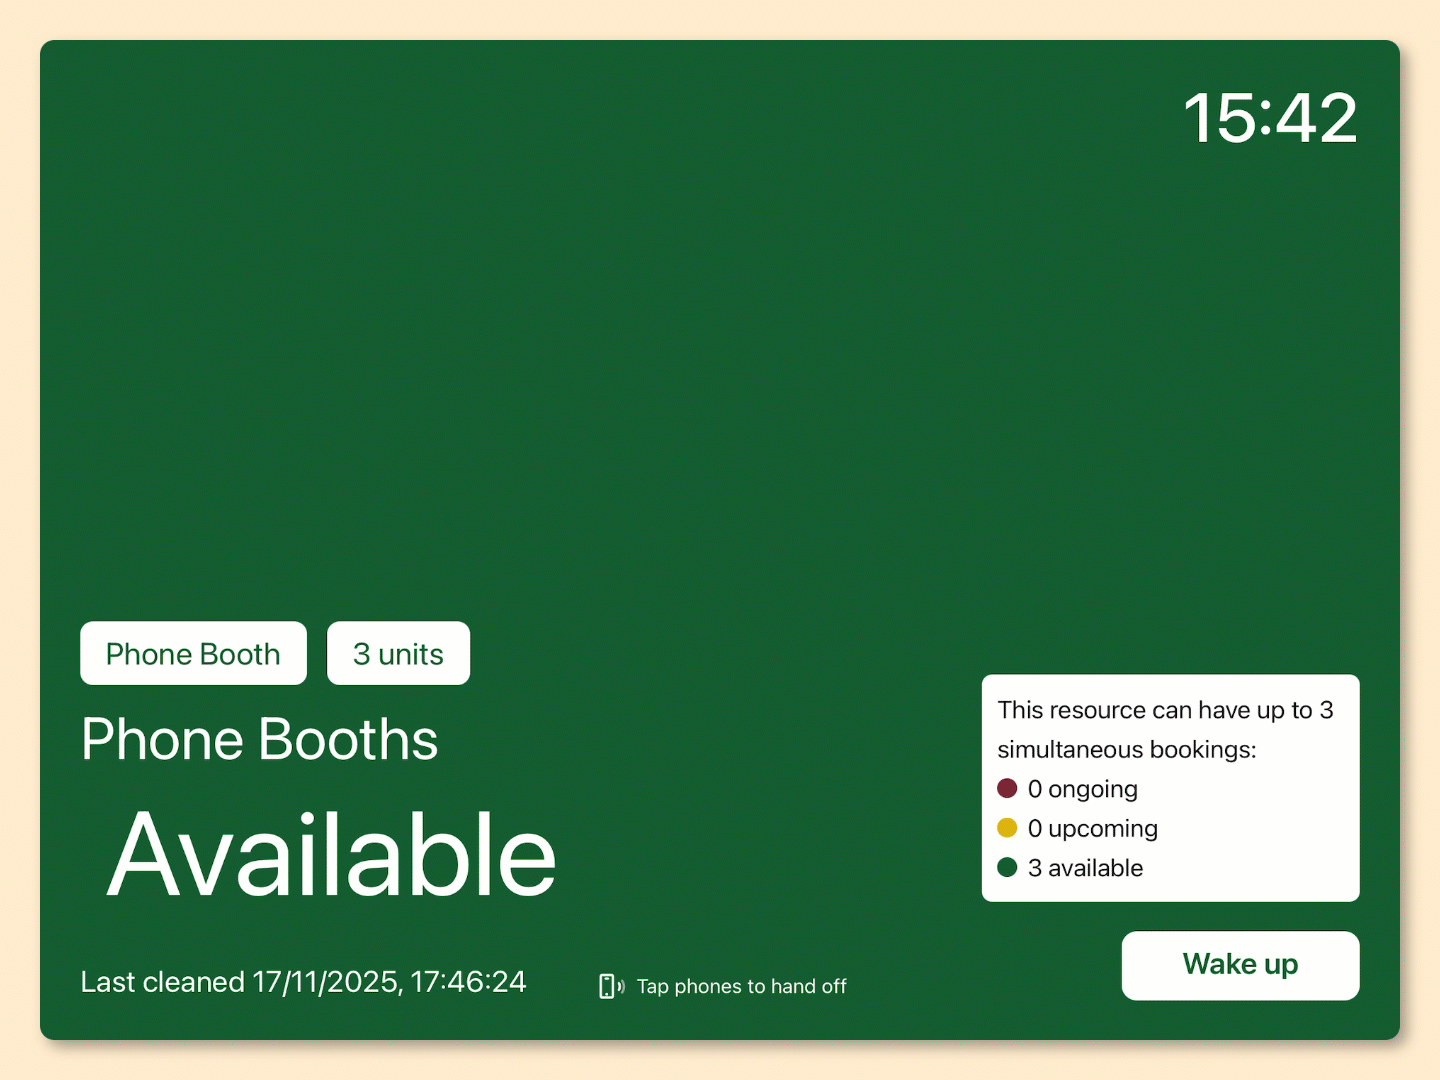
Booking Resources Using the NexBoard Display
You can book resources with just a few taps using the NexBoard display.
- Wake up NexBoard.
- Tap Book.
- Select a Quick book option or Manually select date and time.
- Log in.
You have two ways to log in:
Scan QR Code - Open your space's app, tap on the QR Code tile, and scan your code.
Use your email and password - add the email and password you use to log in to the Members Portal.
-
Select a start and end time for the booking if you haven't already.
-
Tap Confirm Booking.
All set! A message pops up to confirm your booking or let you know your booking will be confirmed as soon as an admin approves it.
You also receive an email with your booking details as soon as it is confirmed.
Depending on how your space charges bookings, you may need to pay for your booking immediately or within a specified timeframe.
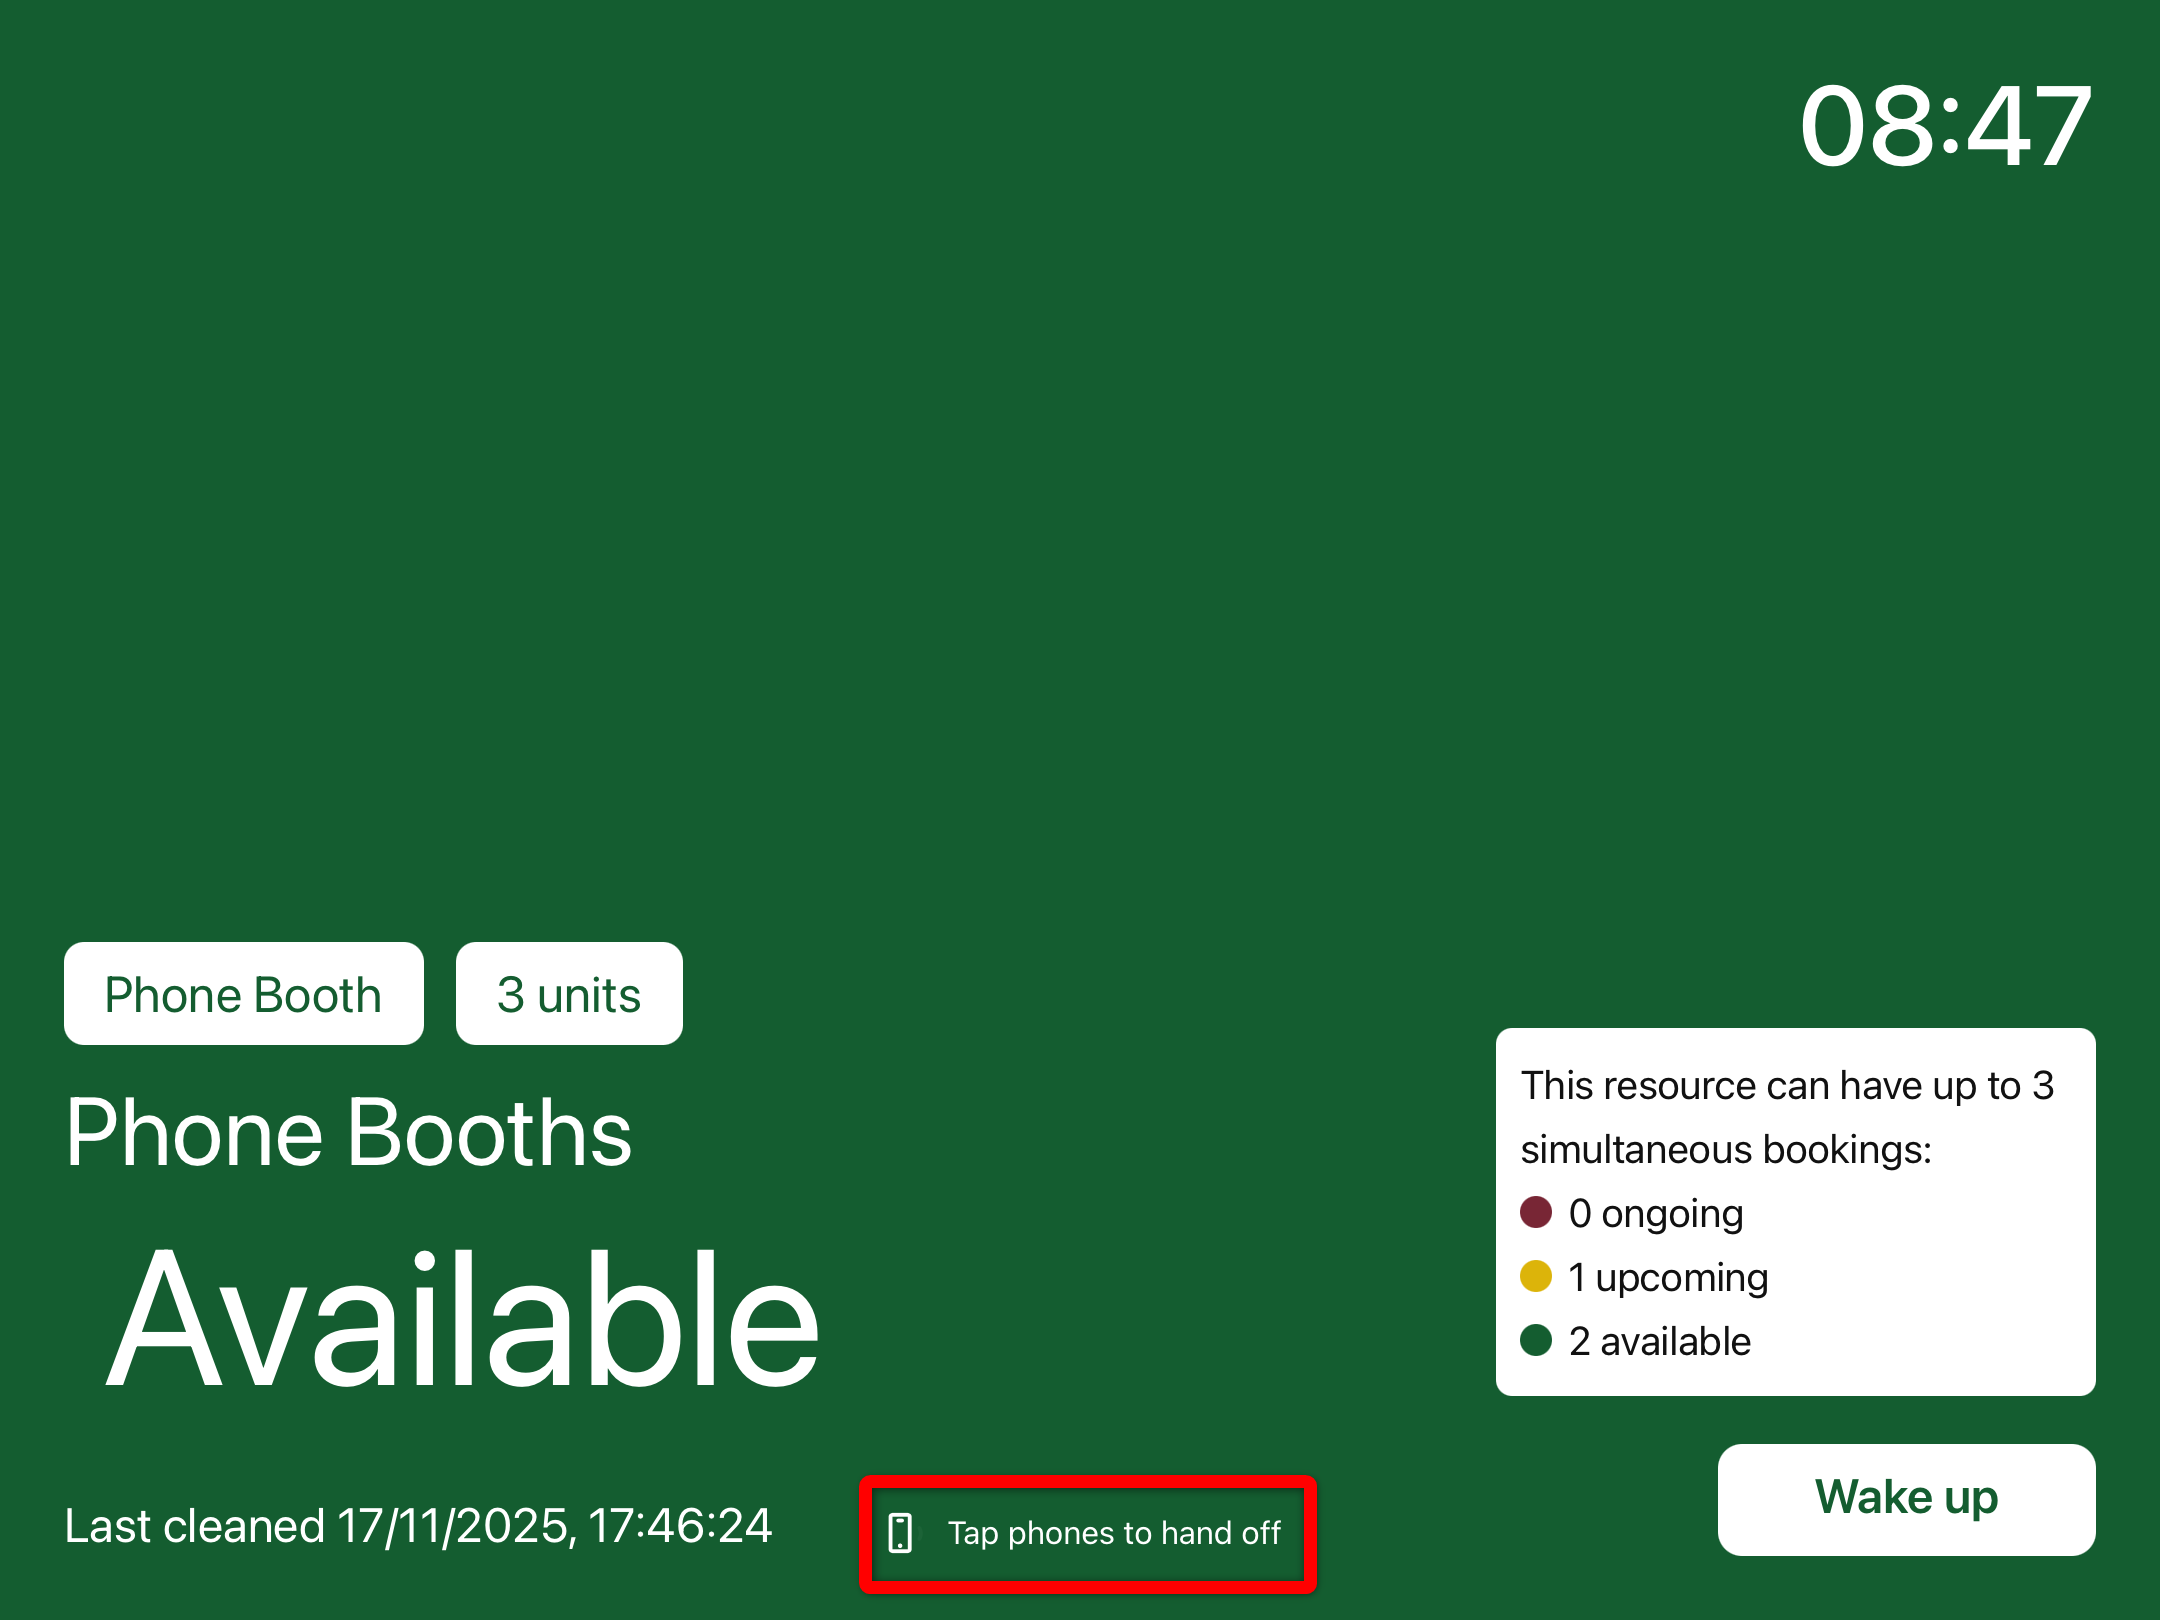
Booking a Resource Using NexBoard and the Passport App
You can easily book resources using NexBoard and the Passport app.
- Open the Passport app on your phone.
- Log in to your account if you haven't already.
- Tap your phone next to the NexBoard display.
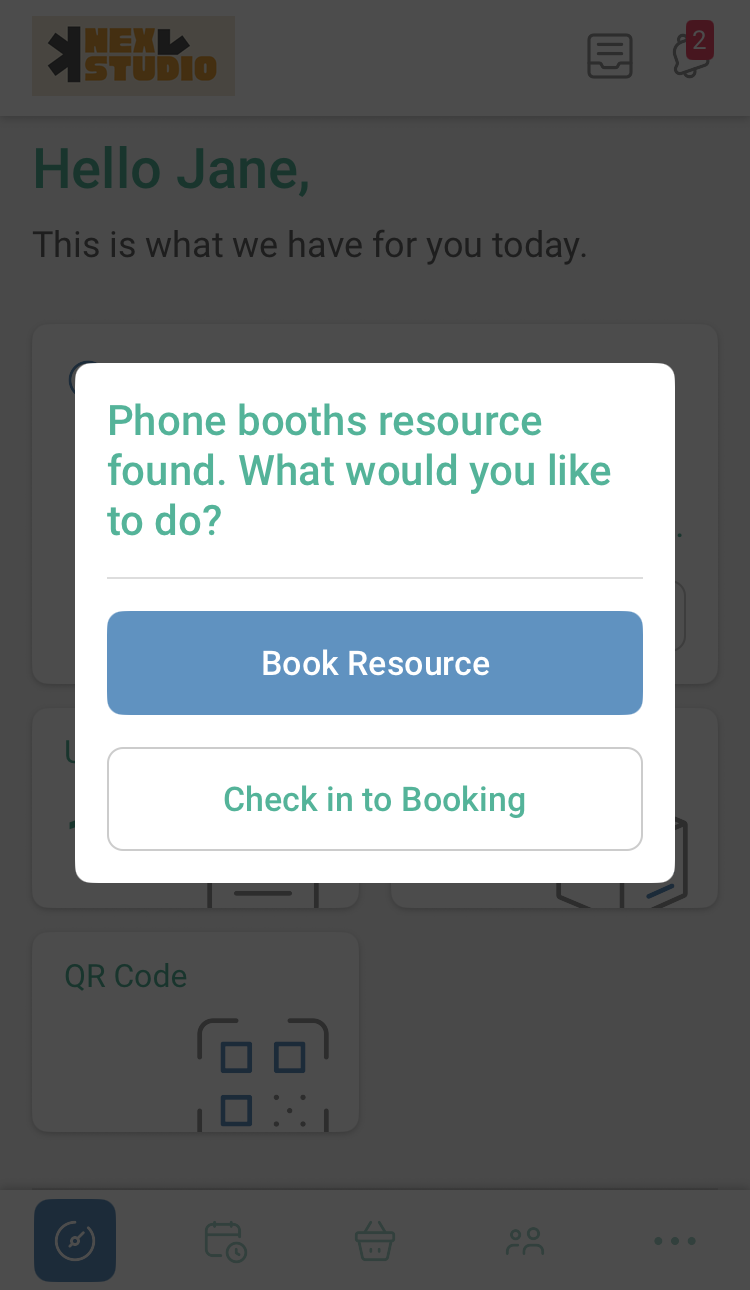
- On the Passport app, select Book Resource
- Select a start and end time for the booking.
- Under Desks, select Change and select a unit manually if you don't want the auto-assigned unit.
- Tap Add to Basket.
- Tap Confirm.
All set! A message pops up to confirm your booking or let you know your booking will be confirmed as soon as an admin approves it.
You also receive an email with your booking details as soon as it is confirmed.
Depending on how your space charges bookings, you may need to pay for your booking immediately or within a specified timeframe.