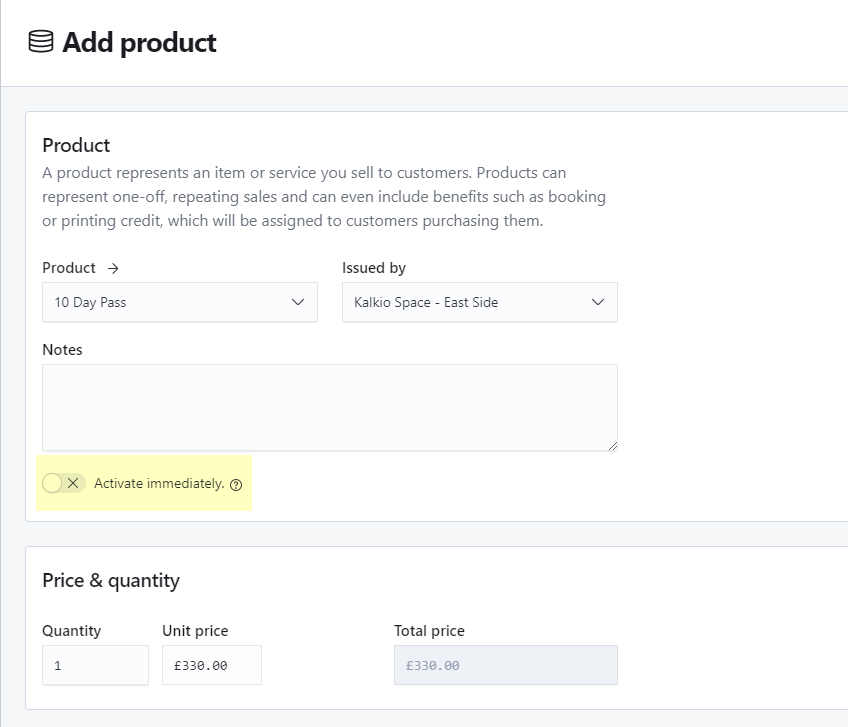
You can add benefits to any of your products. The benefits are automatically added to the customer's account as soon as the linked product is paid.
Don't forget to toggle on Activate immediately if you want them to use the benefits immediately.

If you don't turn the toggle on, the benefits can only be used after the product is invoiced.
Adding Money Credits
-
Log in to dashboard.nexudus.com if you aren't already.
-
Click Inventory > Products.
-
Click on the relevant product.
-
Click on the Benefits tab.
-
Click on Add money credit.
-
Add a Credit description.
-
Define the Credit amount.
You'll need to manually adjust the product's price to reflect this credit.
-
Select whether or not you want this credit to be used to pay for Bookings and/or Events.
-
Toggle on the Universal credit if you want this credit to be used to pay for charges, products and plans.
-
Define the money credit's Expiration if you want it to expire after a certain number of days, weeks, months or years.
-
Click the Save Changes button.
Adding Time Credits
-
Log in to dashboard.nexudus.com if you aren't already.
-
Click Inventory > Products.
-
Click on the relevant product.
-
Click on the Benefits tab.
-
Click on Add time credit
-
Select the relevant time credit in the Valid to book drop-down list.
-
Define a time credit Amount.
-
Define the time credit's Expiration if you want it to expire after a certain number of days, weeks, months or years.
-
Click the Save Changes button.
Adding Passes
-
Log in to dashboard.nexudus.com if you aren't already.
-
Click Inventory > Products.
-
Click on the relevant product.
-
Click Benefits > Passes.
-
Click Add pass.
-
Select a Pass.
-
Define a pass Amount.
If you want your product to include 10 hours of access and your time pass already includes 10 hours, you set the Amount to 1.
If you want your product to include 5 days of access, you should set the Amount to 5.
-
Define the passes Expiration if you want them to expire after a certain number of days, weeks, months or years.
-
Click the Save Changes button.
Adding Printing Credits
-
Log in to dashboard.nexudus.com if you aren't already.
-
Click Inventory > Products.
-
Click on the relevant product.
-
Click Benefits > Printing credits.
-
Click Add printing credit.
-
Select the relevant Valid to print.
-
Define a printing Credit amount.
-
Define printing credit's Expiration if you want them to expire after a certain number of days, weeks, months or years.
-
Click the Save Changes button.