All CRM stages in Nexudus include an Opportunity Type, an Auto assignment section, and an Auto action section.
The Opportunity Type section defines the role of the stage in the CRM board.
The Auto assignment section defines who should automatically be added to this stage.
The Auto action section defines what type of action should automatically be triggered when an opportunity is added to this stage.
Opportunity Type
This section lets you change the name of the stage and the CRM board associated with the stage.
For example, you can move a CRM stage from one CRM board to another by simply selecting a different CRM board in the CRM Board field and saving your changes.

Auto Assignment
The Auto assignment section allows you to automatically populate the selected stage with new opportunities as soon as the selected condition is met. This section lets you automate part of your opportunities management to simplify your CRM operations.
For example, if you select Add anyone completing a tour request form to this stage., every user booking a tour via your Members Portal form will automatically be added to this stage.
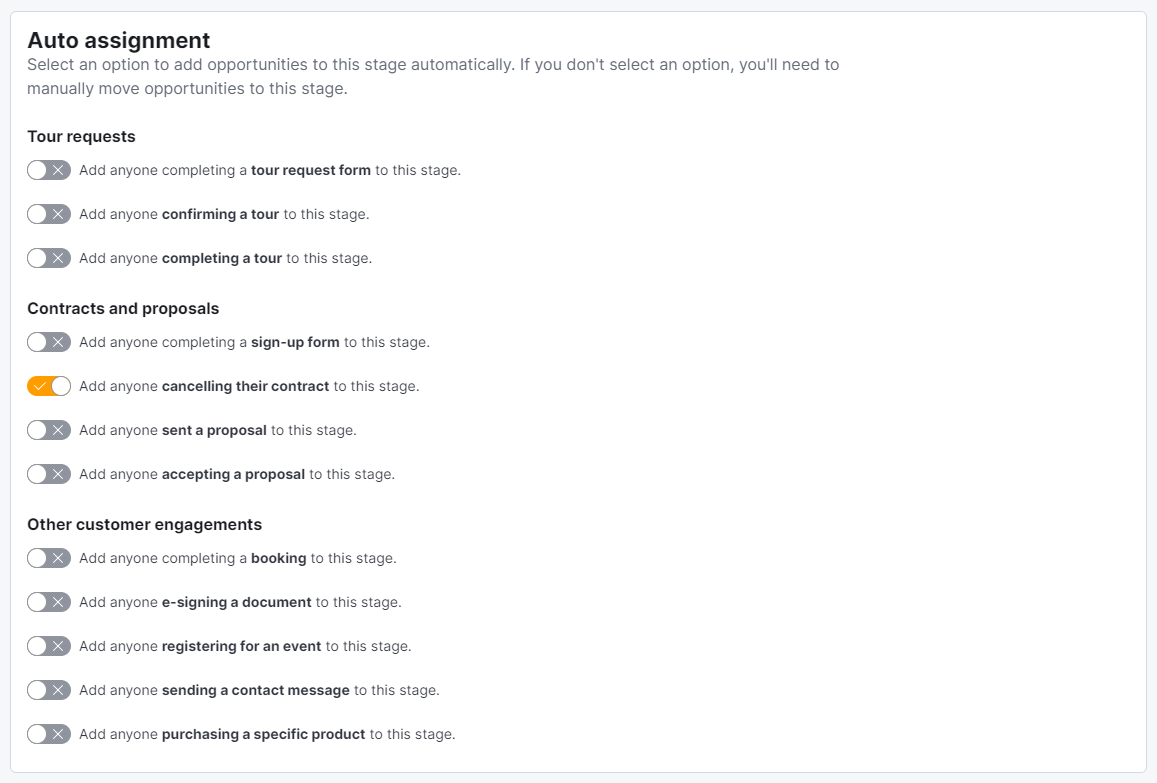
You can choose from the following options:
-
Add anyone completing a tour request form to this stage.
-
Add anyone confirming a tour to this stage.
-
Add anyone completing a tour to this stage.
-
Add anyone completing a sign-up form to this stage.
-
Add anyone placing a booking to this stage.
-
Add anyone placing a booking for a specific resource to this stage.
-
Add anyone cancelling their contract to this stage.
-
Add anyone sent a proposal to this stage.
-
Add anyone accepting a proposal to this stage.
-
Add anyone e-signing a document to this stage.
-
Add anyone registering for an event to this stage.
-
Add anyone sending a contact message to this stage.
-
Add anyone purchasing a specific product to this stage.
-
Add any event attendee who check in for an event to this stage.
Don't select any option in the Auto assignment section.
Auto Actions
The Auto action section lets you define which actions should automatically be triggered when a new opportunity is added to the stage. The Auto action section essentially lets you partially or fully automate what should be done when an opportunity is added to a specific stage.
Message Macros
Message macros are customizable message templates that are sent to opportunities via email when they reach the stage. You need to create message macros prior to using them in CRM stages.
Message macros are fully automated and don't require any additional action once you've created them and added them to the stage.
For example, if you have a CRM board dedicated to cancellations, you can create a message macro that includes instructions on how to return access cards and then add it to a CRM stage that automatically adds customers who cancel their plan as opportunities.
Task Lists
Task lists are simply multiple tasks that you group and assign to one or multiple admins. You need to create task lists prior to using them in CRM stages. Once the task list is ready and you've added it to a stage, the responsible admins can complete all the relevant tasks when a new opportunity is added to the stage.
For example, you can include a New Member Onboarding task list triggered when opportunities accept proposals.

Account Actions
Account actions are specific actions triggered whenever an opportunity reaches the stage. Account actions are a great way to automate what happens to an opportunity's account once they reach the last stages of a CRM board.
For example, a CRM board dedicated to Onboarding could have Activate the account of opportunities added to this stage selected as an action triggered when opportunities accept their proposal.