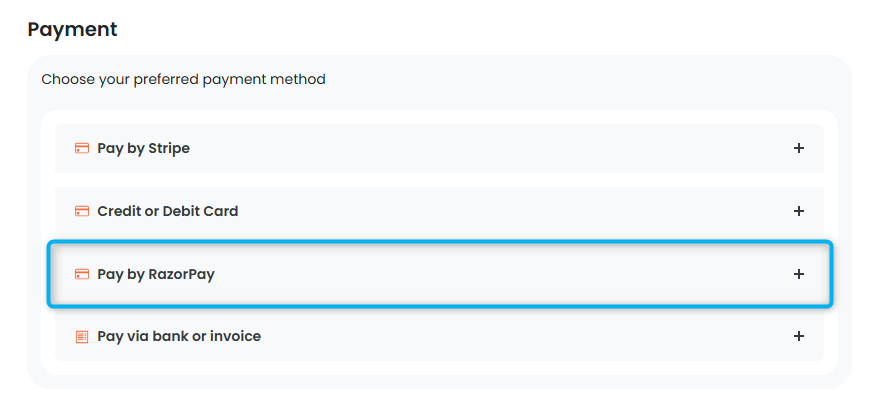
You can easily enable Razorpay as a payment method for your space. Customers will be able to select this option when checking out or paying their invoices on the Members Portal or Passport app.
Preparing to Enable Razorpay
Before you enable RazorPay for your space, you'll need to configure the following settings on the Admin Panel and in your RazorPay account.
On the Nexudus Admin Panel
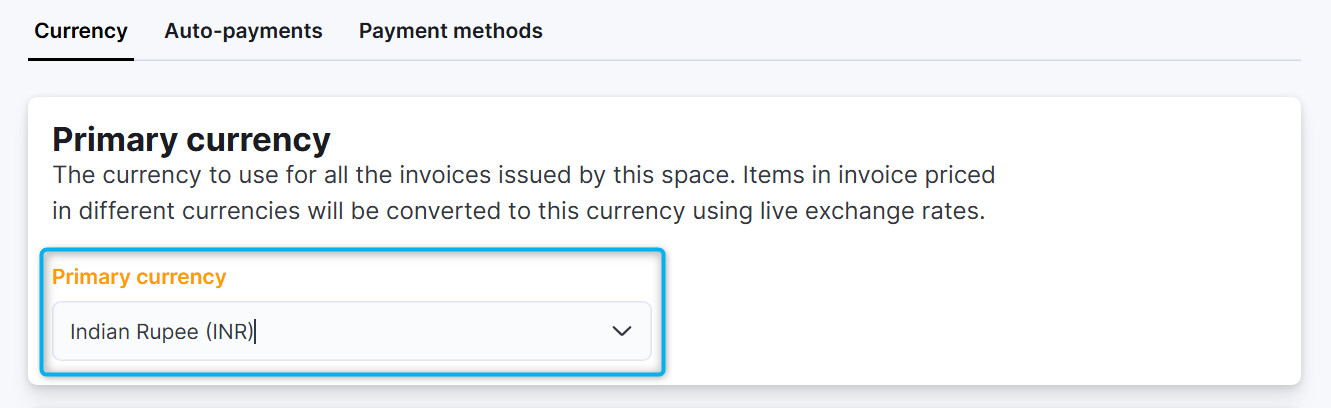
- Set your space's primary currency to Indian Rupee (INR) if it isn't already.
Razorpay processes payments in INR, so your space's currency needs to match.
You can configure your space's primary currency under Settings > Payments and currency.
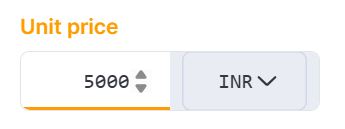
Plans, products, resources, and event tickets must also be priced in INR for customers to purchase them using Razorpay.
In Your Razorpay Account
- Generate your Razorpay API key.
Your Razorpay API key consists of a Key ID and a Key secret. You'll need both of these to connect Razorpay to Nexudus.
Store it in a safe location and don't share it with anyone.
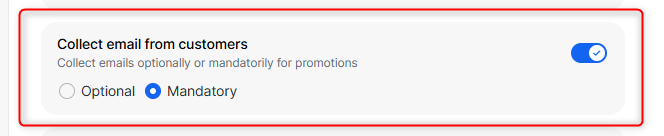
- If your space uses guest checkout, you'll also need to set your email collection settings to mandatory in Razorpay.
In your Razorpay Checkout Features settings, toggle on Collect email from customers and select Mandatory.
Once these settings are configured, you can enable Razorpay on the Admin Panel.
Enabling Razorpay
You can enable Razorpay as a payment method in a few clicks on the Admin Panel.
Log in to dashboard.nexudus.com if you aren't already.
- Go to Settings > Payments and currency > Payment methods.
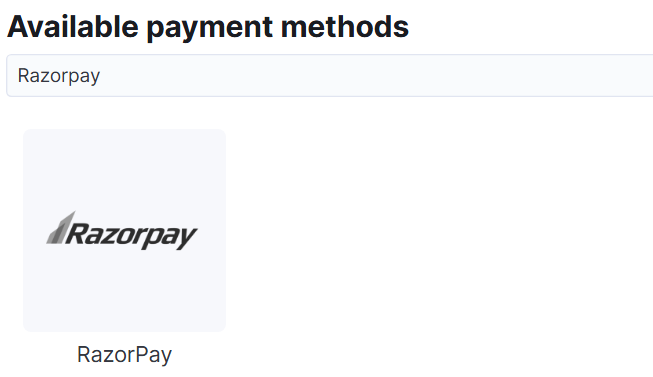
- Under Available payment methods, search for and select Razorpay.
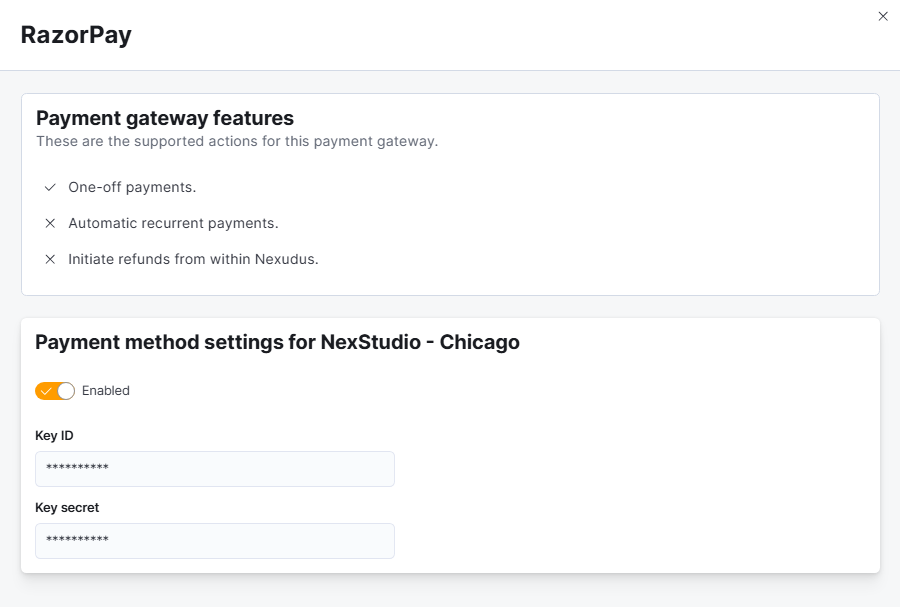
You'll be redirected to your Razorpay settings.
- Toggle on Enabled.
- Add your Razorpay Key ID.
- Add your Razorpay Key secret.
Click the Save Changes button.
All set! We recommend testing your new payment method to ensure it works as expected.
Customers will see Razorpay as a payment option the next time they check out or pay an invoice on the Members Portal or Passport app.