We recommend treating these steps as an audit for your space. You can also make sure you're taking advantage of all the new features added in Version 5.
Setting up your Plans section on the Members Portal is a simple two-step process.
First, you can customize your plan sign-up form. The sign-up form controls what information you collect from customers when they sign up to a plan.
Then, you can publish plans on the Members Portal.
Customizing your Plan Sign-Up Form
Customers will need to provide information whenever they sign up to a plan.
For example, you'll need to collect their contact and billing details.
By default, this information is what you've asked in your default sign-up form.
If you'd like to collect additional information from customers who sign up to plans, you can customize the plan sign-up form by adding custom fields.
For example, you'd like to ask customers to provide additional contact information when signing up to a plan.
For more information, check out Sign-up and Checkout Forms.
Publishing Plans on the Members Portal
Plans aren't available on the Members Portal by default.
You can easily publish any plan from the Admin Panel by opening its record under Inventory > Plans. Under Plan details > Portal and apps, toggle on Display this plan on the website and the App.
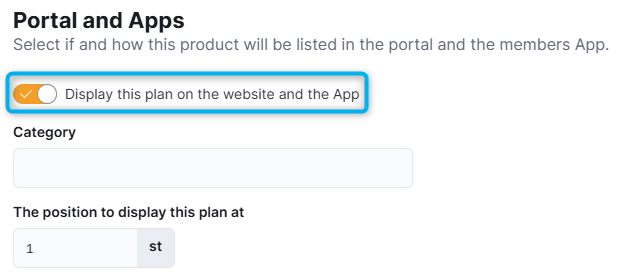
You should also make sure you've defined the following details for your plan:
- Plan kind: defines where the plan is listed in the navigation
- Plan description: lets customers see at a glance what the plan offers
- The position to display this plan at: defines the order in which plans are displayed
For virtual office plans, make you've defined all the steps in your onboarding process before publishing them on the Members Portal.
Once you've published your plans, customers can easily join plans from the Members Portal.