What You Need to Integrate Slack
A Workspace and a Channel in Slack
You need at least one workspace in your Slack account to use the integration. You also need at least one channel in this workspace.
You can choose to have a channel dedicated to the integration in your workspace or connect Nexudus to one of your existing channels.
Simply make sure you use the same email as the one they have on record in Nexudus.
Your Slack App Manifest
You can find this manifest in your Nexudus account by clicking Settings > Integrations > Slack on the Admin Panel.

You can easily copy the app manifest by clicking on Copy to clipboard. You can leave this tab open before starting the integration process to make sure you have it on hand.
Integrating Slack
Integrating Slack is a four-step process. You first need to create an app using Slack's API. Once you have the app, you can copy the relevant API tokens. You then need to invite to the relevant Slack channel before enabling the integration in Nexudus.
Step 1. Creating Your Slack App
-
Go to https://api.slack.com/apps.
-
Sign in using the email and password you usually use to sign in to Slack.
-
Click Create an App.
-
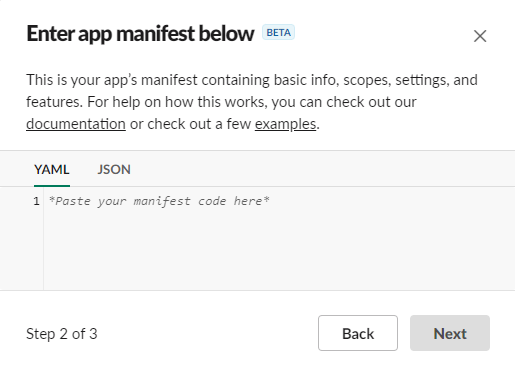
Select From an app manifest.
-
Select the Workspace where Nexudus should push the messages from your location and click Next.
-
Remove all the default code lines in the YAML tab.
-
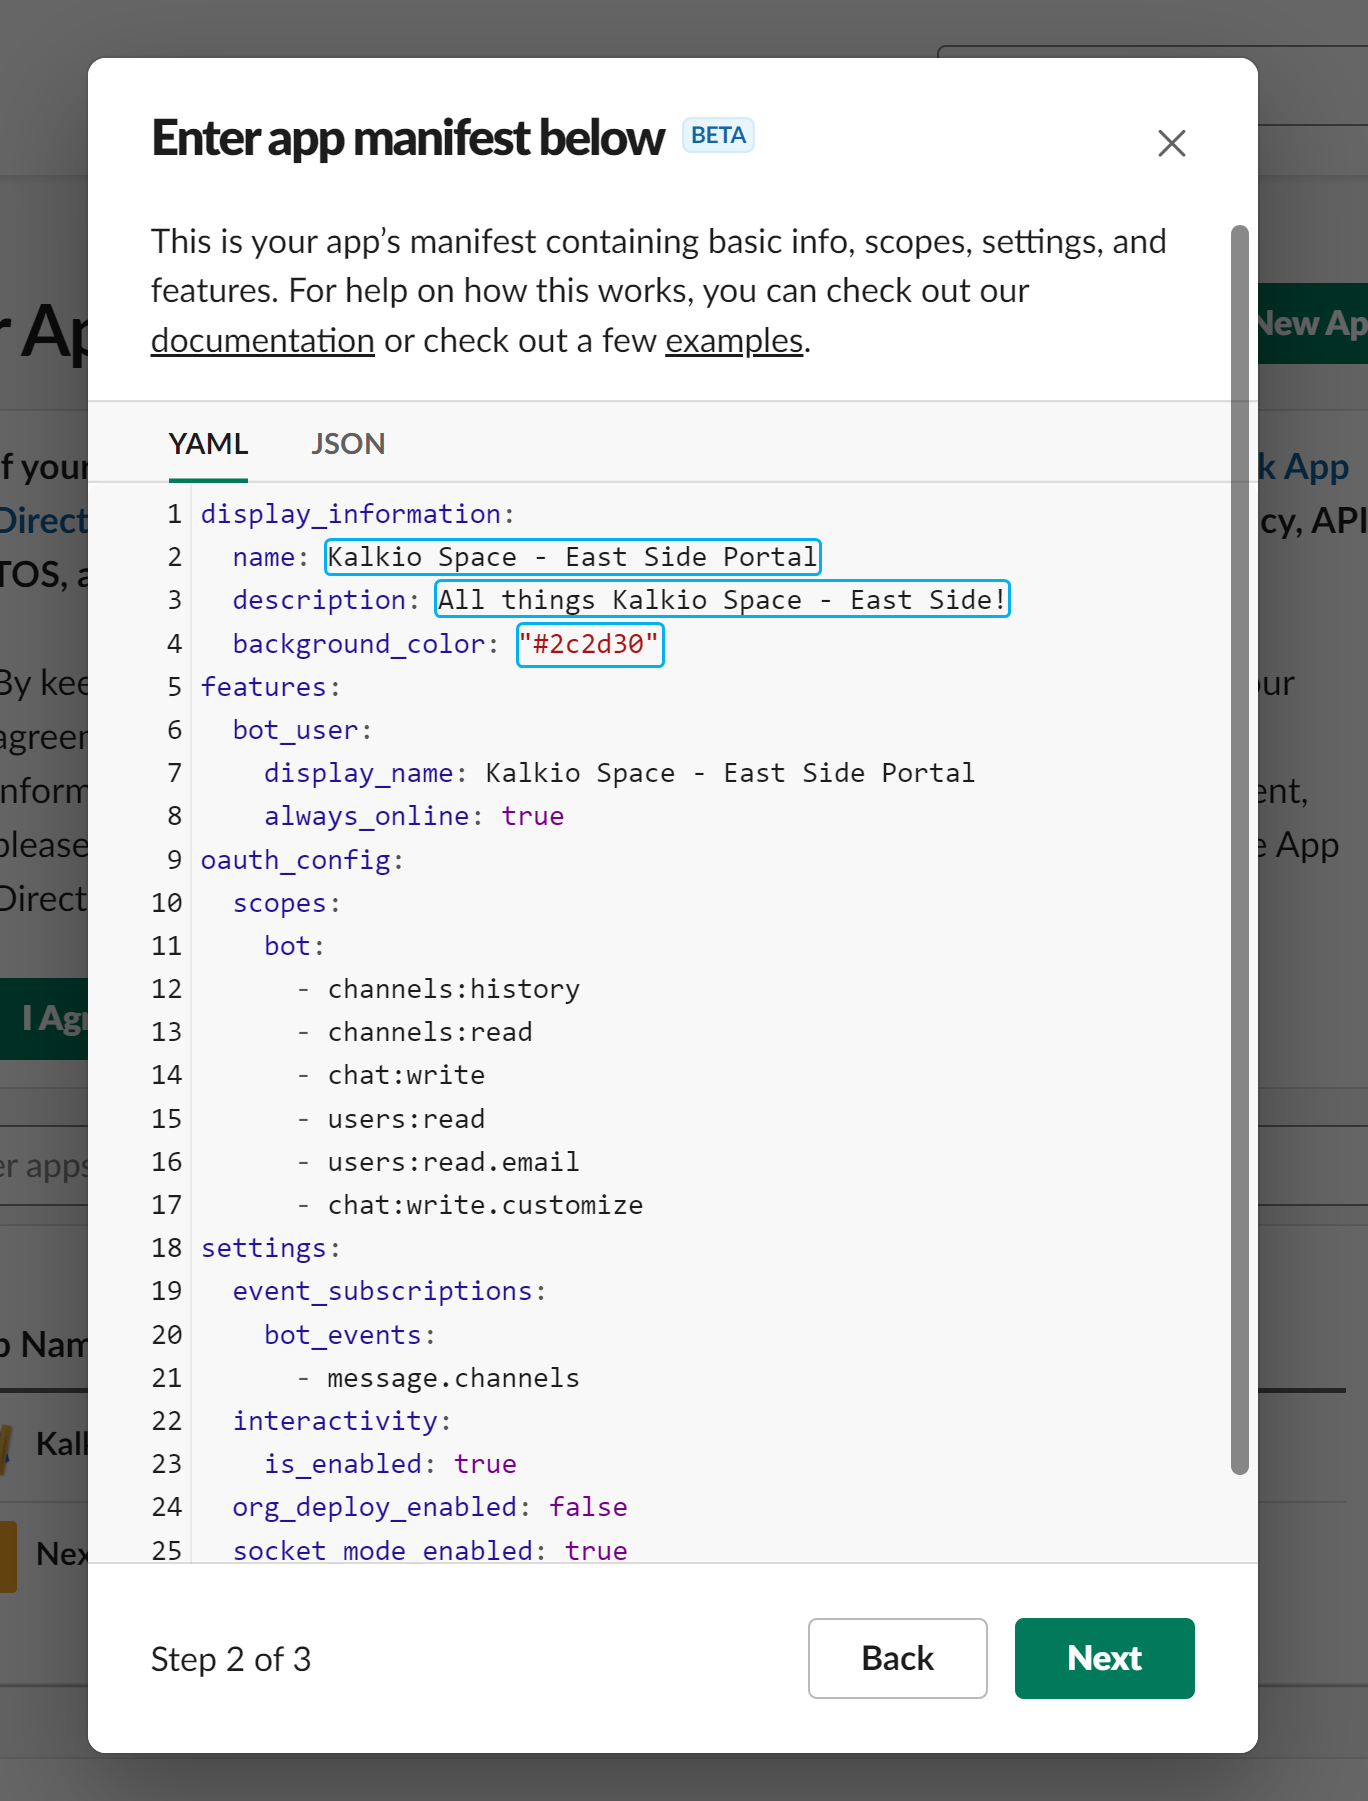
Paste the App manifest you copied from your Nexudus account in the YAML tab.
-
Edit the name, description and background_color details if needed.
Nexudus gets those default details from your location's settings.
13.Click Next.
- Click Create.
The app is now created and you can move to the next step of the integration.
Step 2. Installing Your Slack App
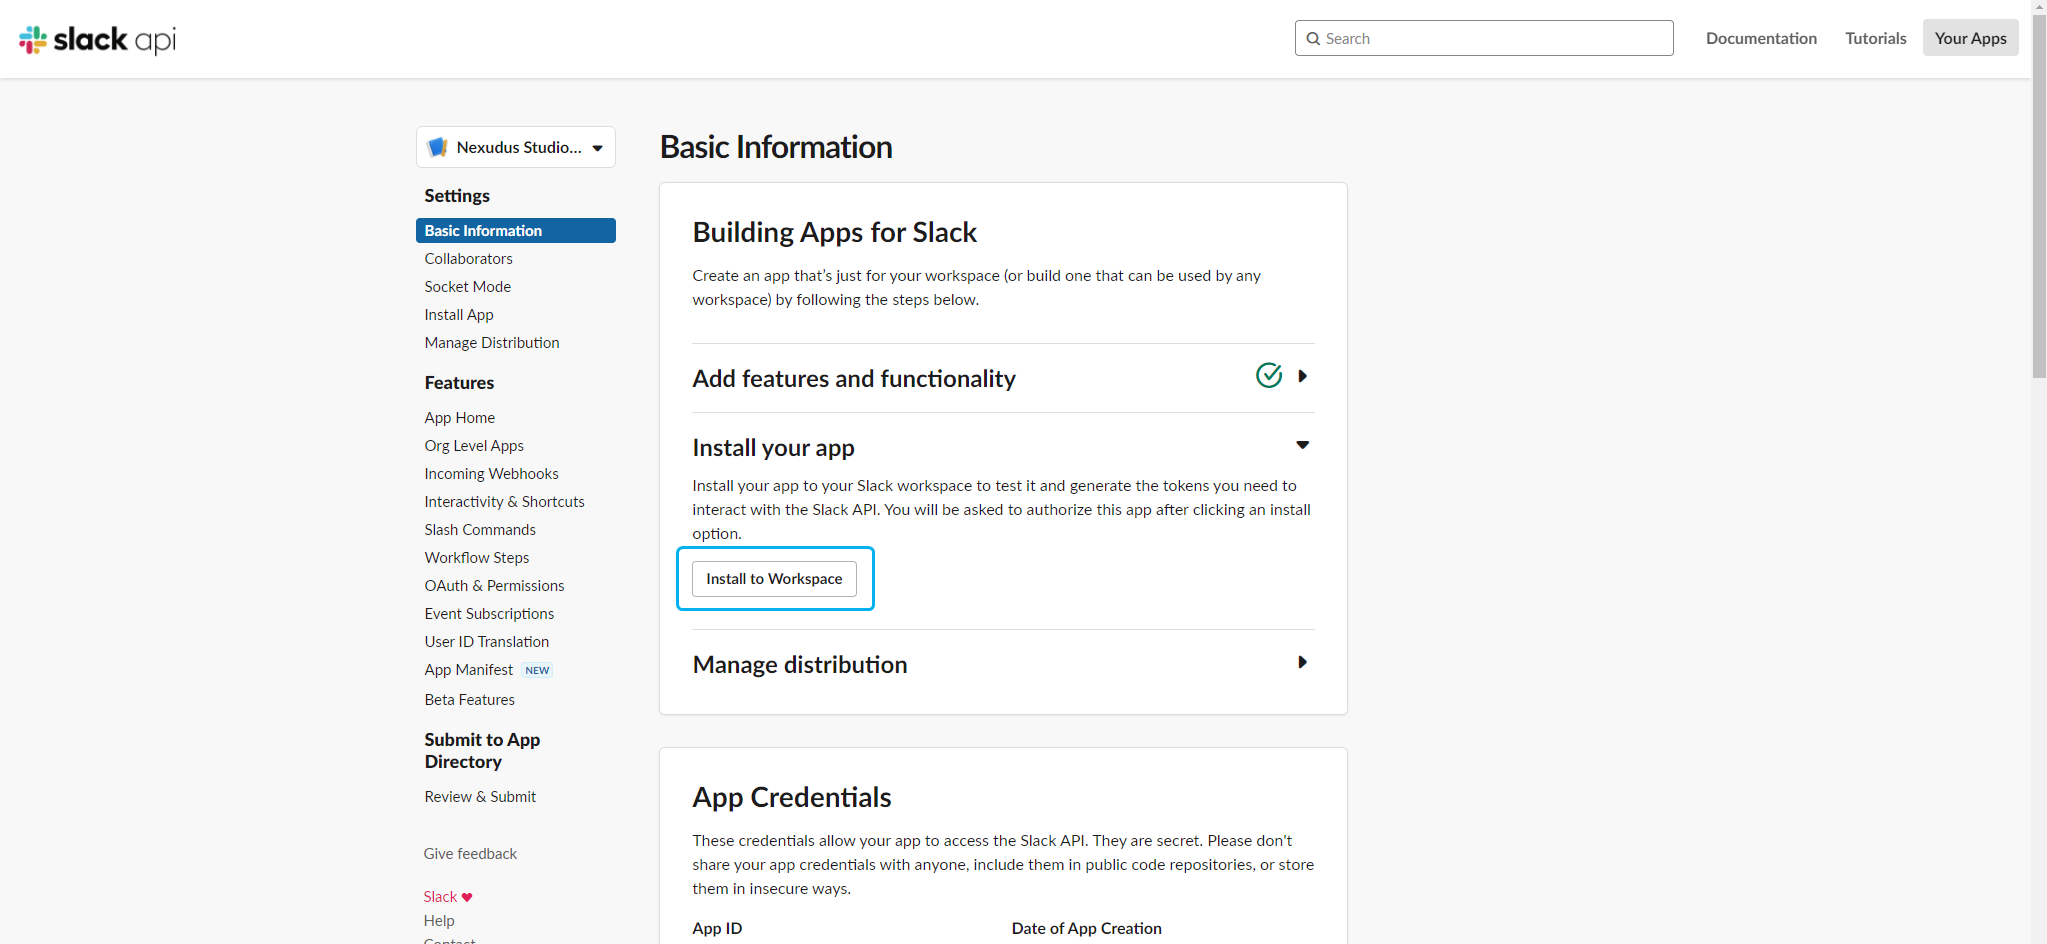
- Click on Install to Workspace.
-
Click Allow.
-
Scroll down to the App-Level Tokens section and click Generate Tokens and Scopes.
-
Name your token.
-
Click Add scope and select connections:write.
-
Click Generate.
-
Copy the Token and save it somwhere safe. You'll need to paste this token on the Admin Panel in Step 3.
- Click Done.
You also need to copy and save your app's Bot User Oauth Token before moving to Step 3.
-
Click on Oauth & Permissions in the navigation menu.
-
Copy the Bot User OAuth Token and save it somewhere.
Now that you've copied both your App-level token and your Bot User OAuth token and saved them, you can move to the next step of the integration.
Step 3. Adding Your Slack App to a Channel
Now that you have your Slack app and saved the tokens you'll need in the next step, you can add your app to the channel of your choice.
This channel is where all the content you push from Nexudus will be posted in Slack. You can use any of your existing channels or create one dedicated to the integration.
-
Go to slack.com/signin.
-
Sign in to your Slack account.
-
Select the relevant Workspace if you manage more than one.
-
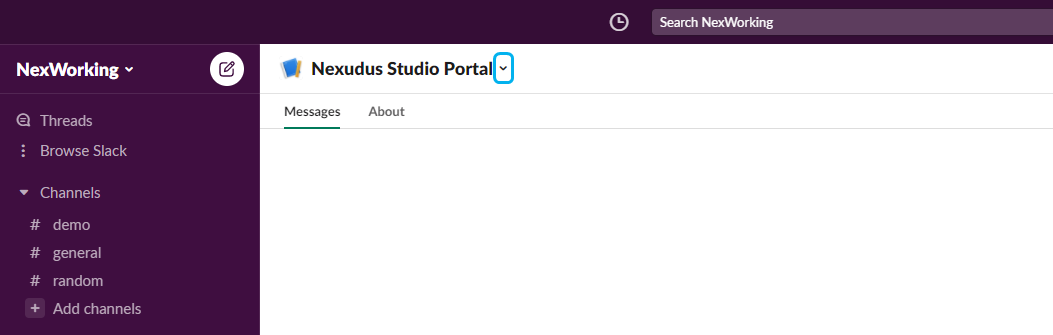
Click on your app under the Apps section of the navigation menu.
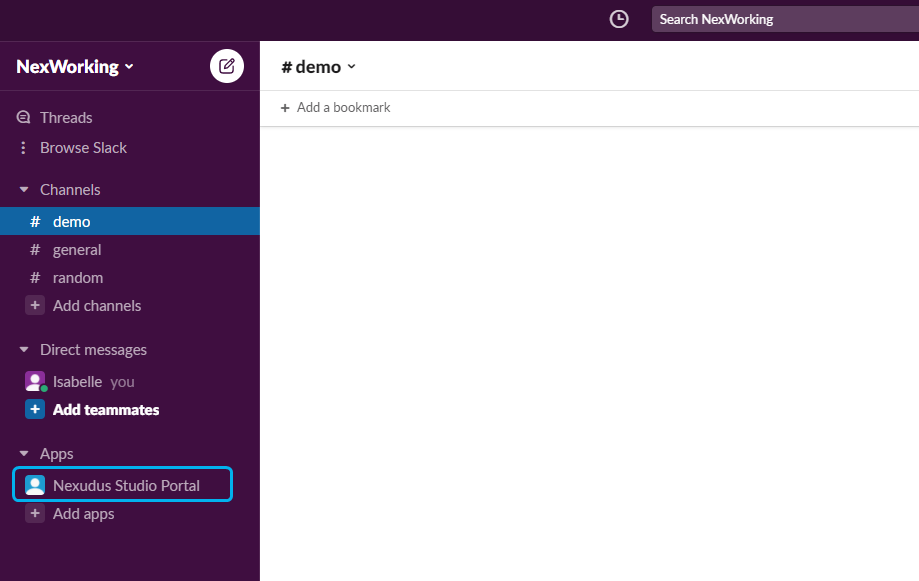
- Click on the downturned arrow next to to the app's name.
-
Click on Add this app to a channel.
-
Select the channel that will publish content pushed from Nexudus.
-
Click Add.
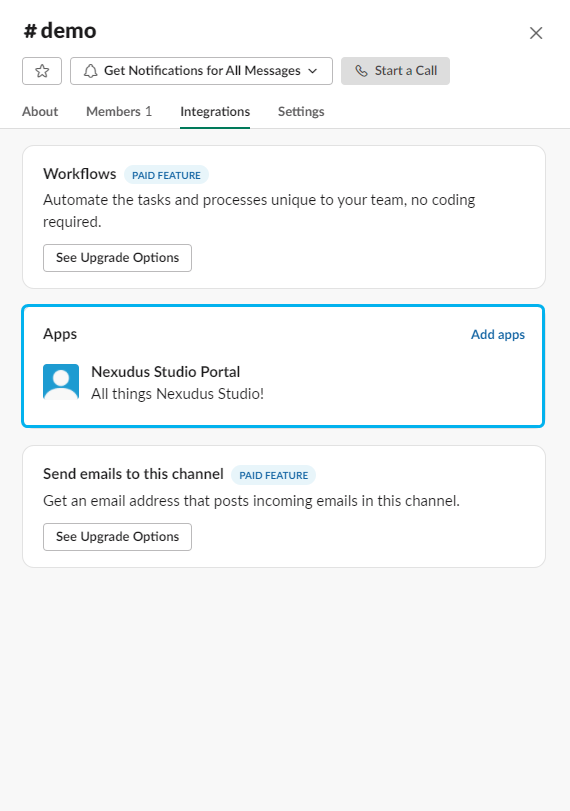
You can make sure that the app was successfully added to the channel by opening the channel's settings and checking the Integrations tab.
Once your app and the relevant app are connected, you can move to the last step of the integration.
Step 4. Enabling the Slack Integration
The last step of the process is to enable the integration on the Admin Panel.
-
Log in to dashboard.nexudus.com if you aren't already.
-
Enable the Slack integration toggle.
-
Add the App-level token you saved during Step 2.
-
Add the Bot API token you saved during Step 2.
-
Add the name of the channel you used to invite your app during Step 3 in the Public anouncements channel field.
-
Click the Save Changes button.
All set! The Slack integration is now complete and ready to use straight away.
Pushing Events and Article Notifications
Once the integration is enabled, you can push a notification by clicking the ellipsis icon next to any event or blog article you want to share in Slack.

The notifications are pushed to the Slack channel you defined as the Public announcement channel on the Admin Panel. The notification includes a link to the event or article page on your Members Portal.
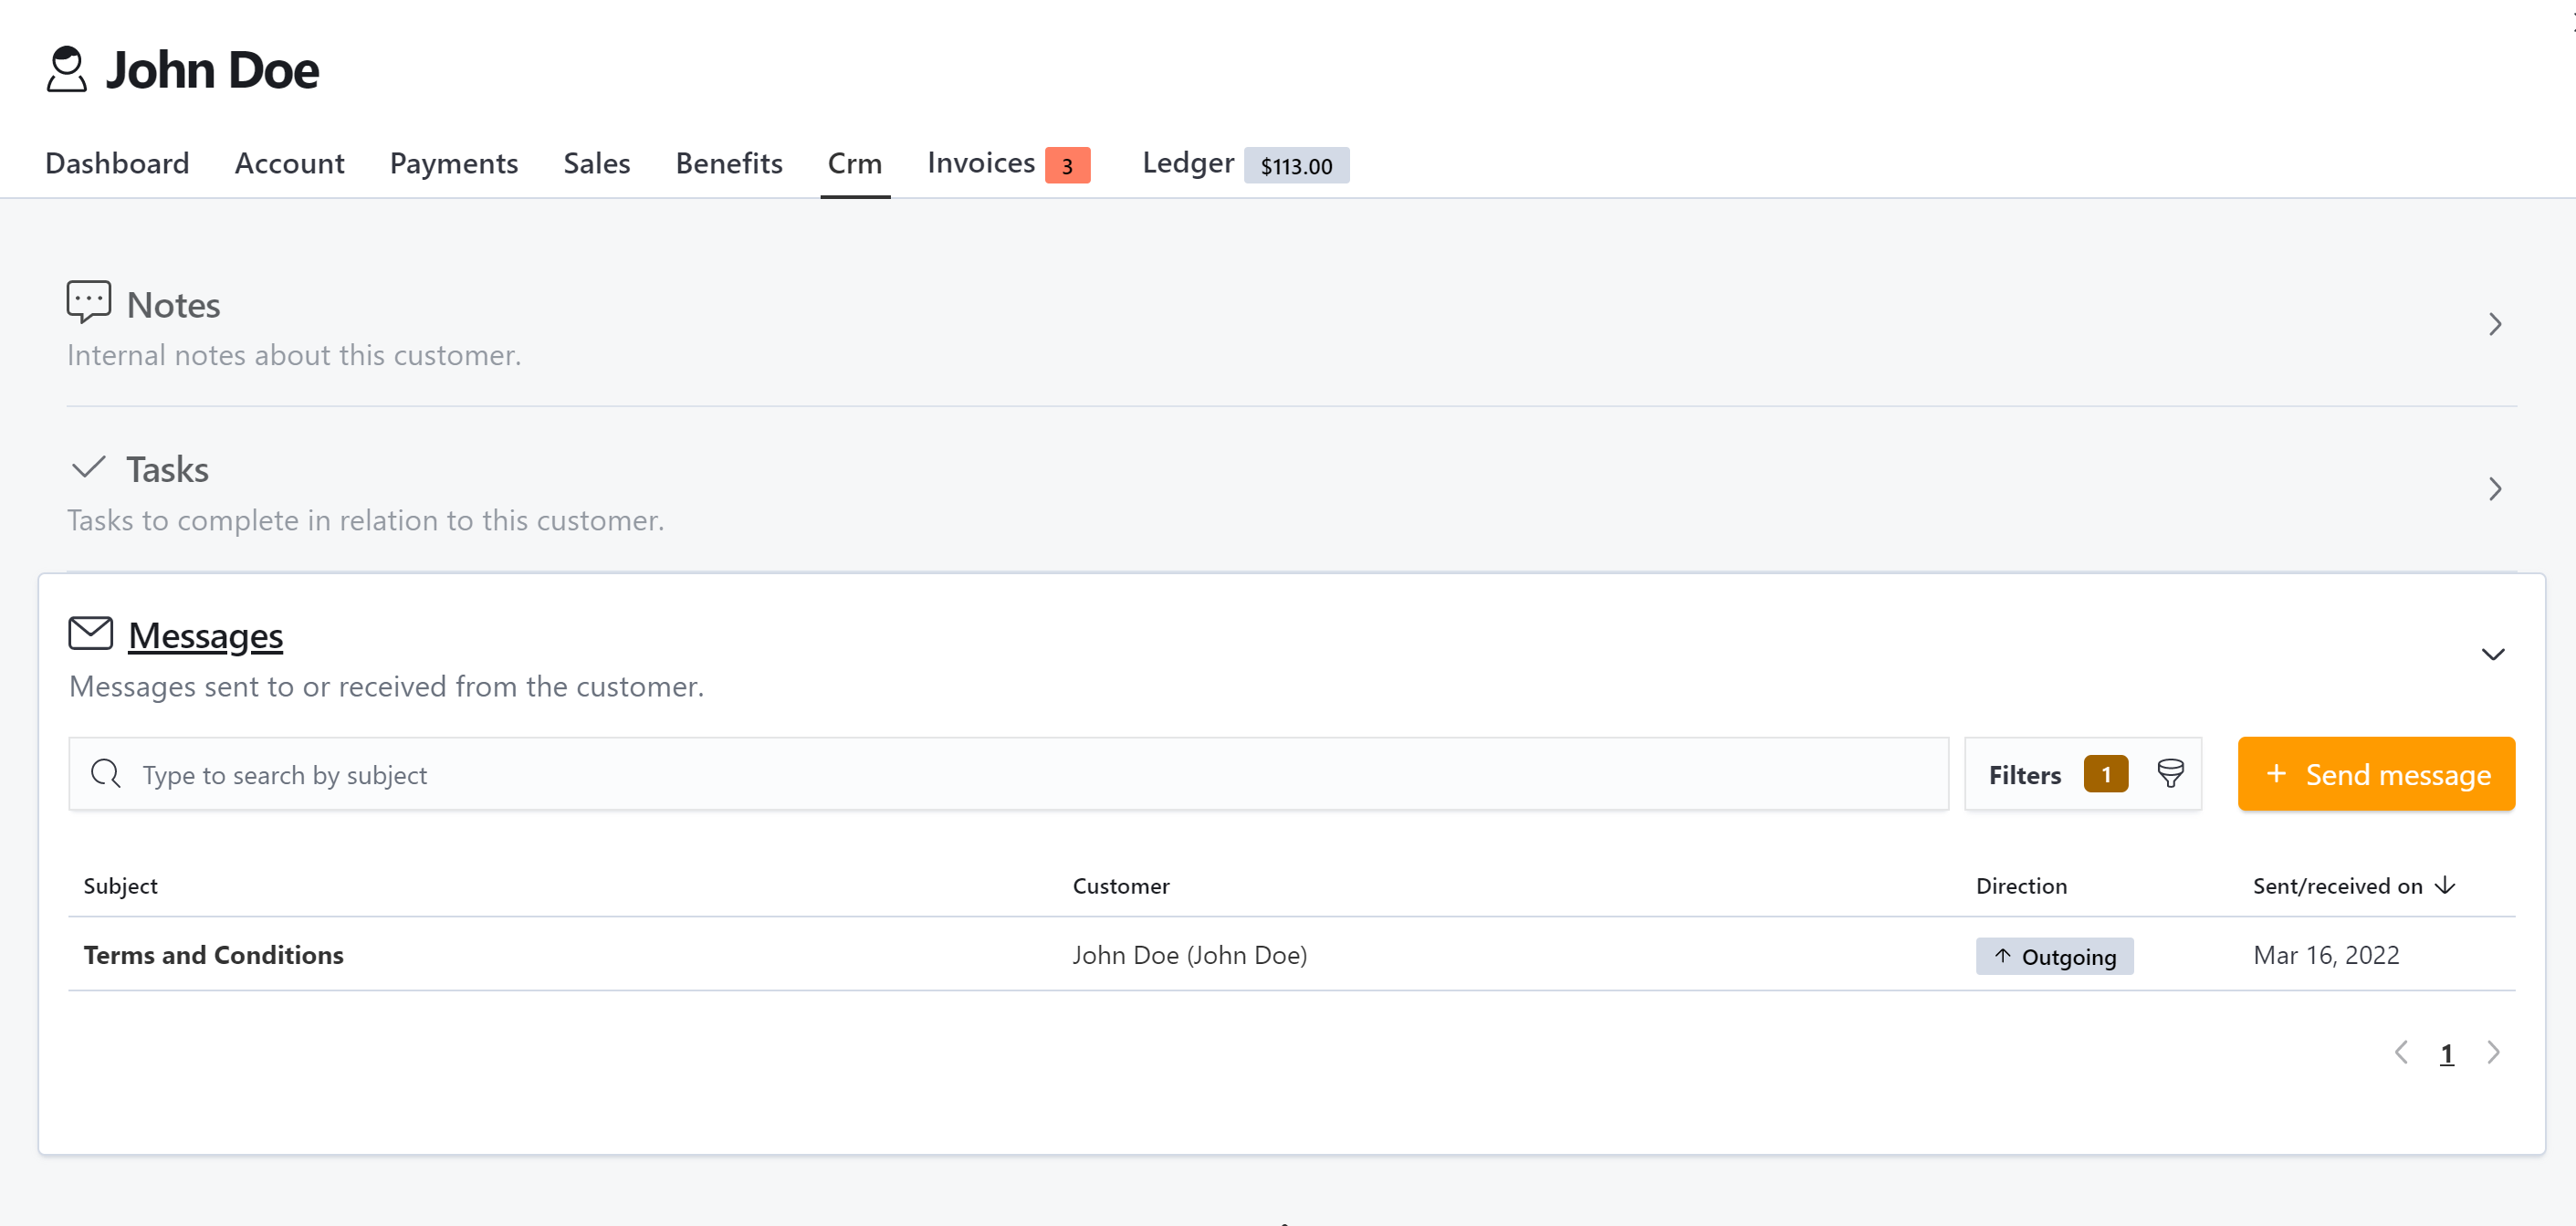
Pushing User Messages
Once the integration is enabled, occupiers receive private messages in Slack whenever you send them from the Admin Panel to their inbox and in Slack automatically.
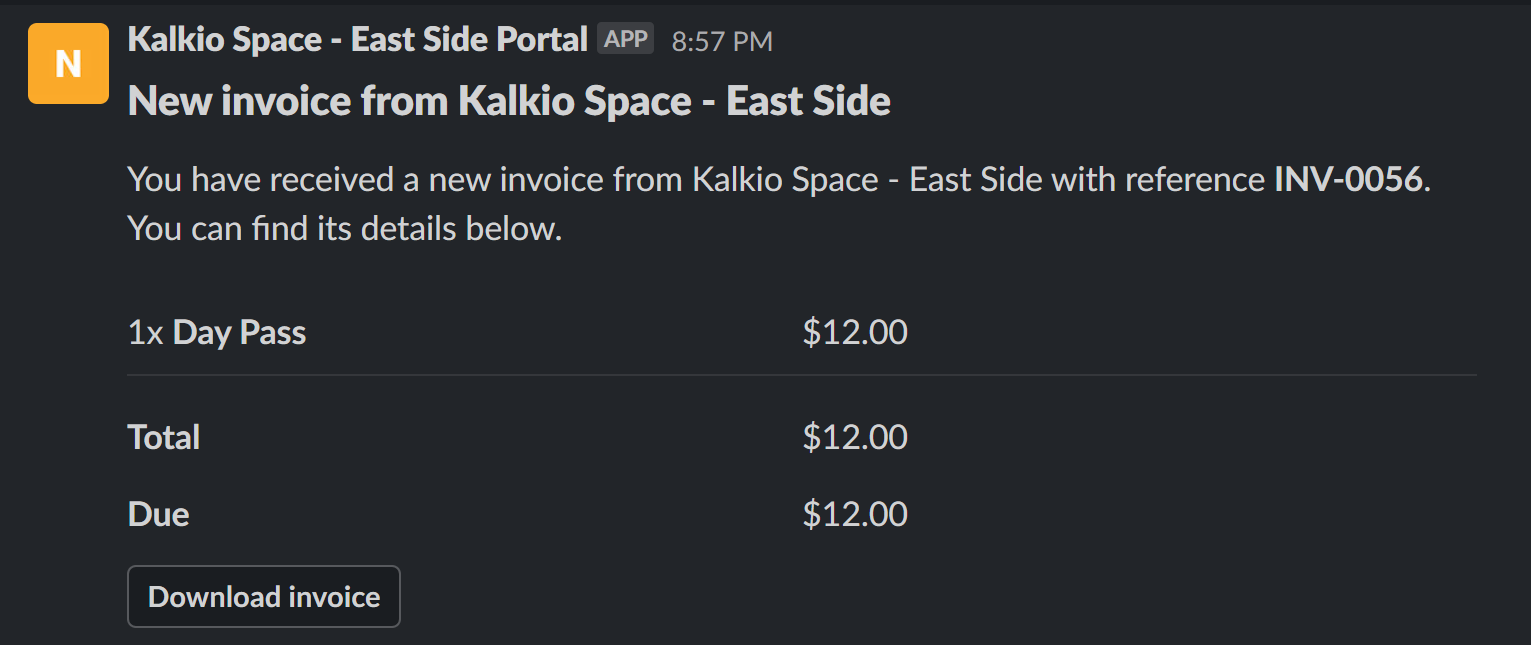
Automated Invoice Notifications for occupiers
Once the integration is enabled, occupiers will receive a private notification in Slack every time they receive an invoice notification via email.
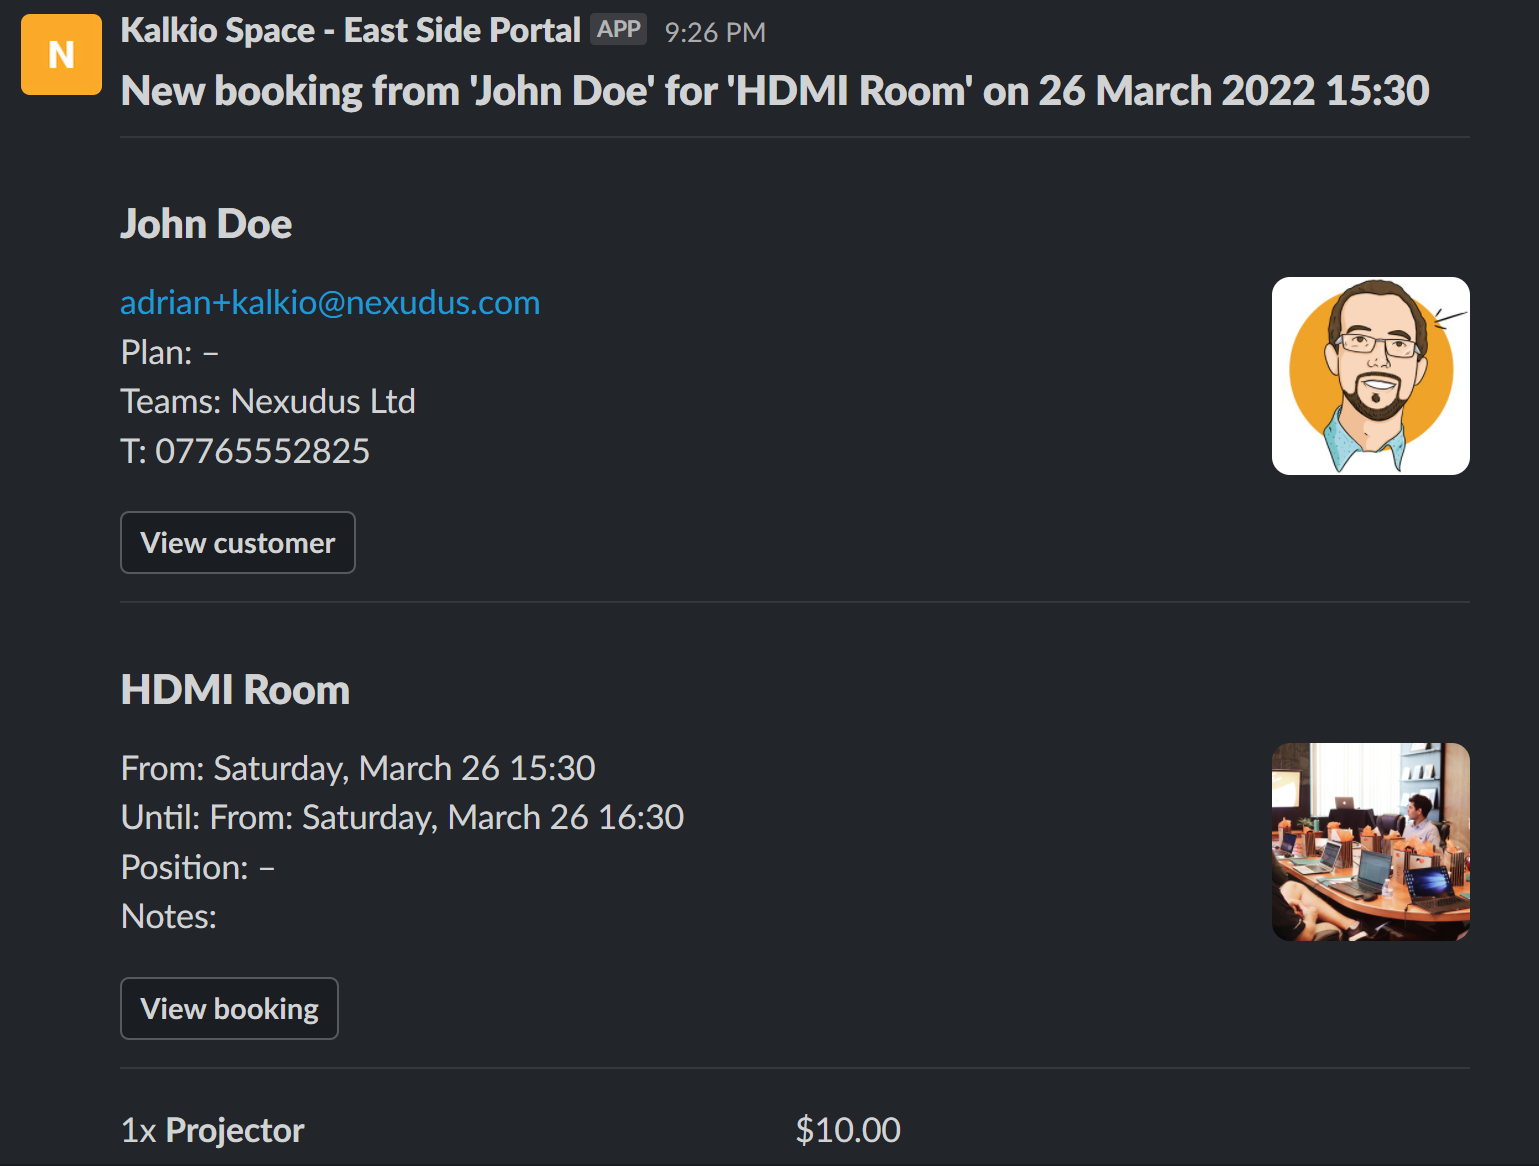
Automated Admin Notifications
Once the integration is enabled, admins will receive a private notification in Slack every time Nexudus sends them an admin notification via email based on their notification preferences.
For more details, check out Managing Admin Notifications.