You can add members in three different ways on the Admin Panel.
- Instant Member
This option lets you create a new member in a few second with a plan starting straight away. - Member
This option lets you create a new member on your own and define every setting, including the contract's start date. - Multiple Members
This option lets you create multiple members in one go. Members created via this wizard will be added to the same team if you select one and get the same plan starting immediately if you select one.
Instant Member
The Instant Member wizard lets you create a new member with an immediate start contract in a couple of clicks.
-
Log in to dashboard.nexudus.com if you aren't already.
-
Click Operations > Members & Contacts.

-
Click Add customer in top right corner of the page.
-
Click on the Instant Customer tile.
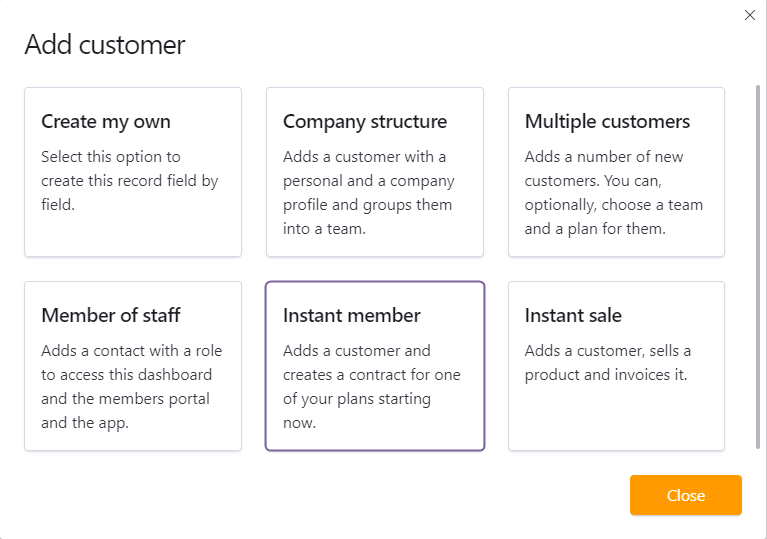
-
Add the member's name and email in the corresponding fields.
-
Select the member's plan.
-
Click Add customer.
The member now appears in the Customers list. They will also receive their first invoice shortly.
Member
This option lets you create a new member from scratch and define every available setting.
-
Log in to dashboard.nexudus.com if you aren't already.
-
Click Operations > Members & Contacts.
-
Click Add customer in top right corner of the page.
-
Click on the Create my own tile.

-
Add at least the new member's Full name and Email to the Account Details section.
-
Set the Send a welcome message to NO if you don't want your new member to automatically get access to your Members Portal.
-
Click on the Plan section and select a plan.
-
Define the customer's contract start date.
- Define a Billing day if you want it to be different from the contract's start date.
For example, if the contract's start date is the 10th, but you want this member to be billed on the 1st of each month.
-
Assign an Office / Desk if you want to include a specific floor plan item to the member's contract.
-
Edit the contract's pricing if needed.
-
Click the Save Changes button.
The new member now appears in the Customers list. They will be invoiced based on their contract's start date.
Multiple Members
The Multiple Customers wizard helps you create multiple members in one go.
-
Add all new members to the same team if you select a team
-
Assign the same plan to all new members with the current date as their contract's start date.
-
Log in to dashboard.nexudus.com if you aren't already.
-
Click Operations > Members & Contacts.
-
Click Add customer in top right corner of the page.
-
Click on the Multiple Customers tile.
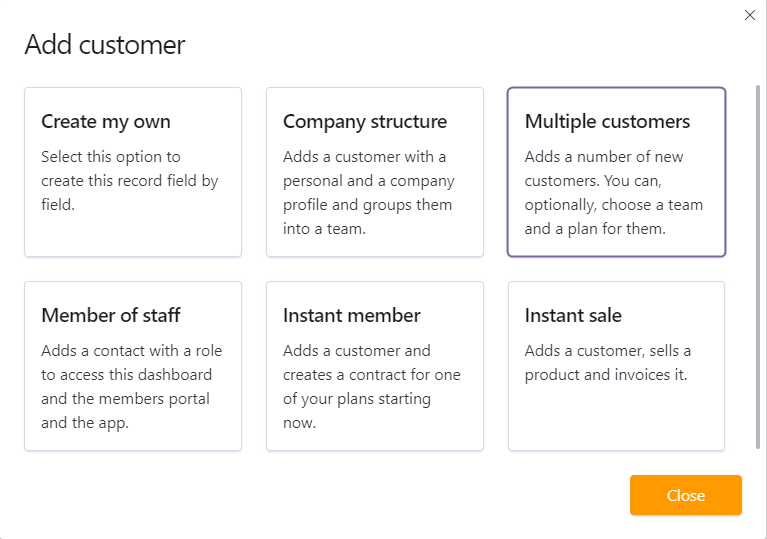
-
Select a team if you want to automatically add all the new members to a team.
-
Select the plan that you want to assign to all the new members.
The plan you select will generate an individual contract for all new members with the current date as its start date.
- Add each new member by typing their full name and their email address, making sure:
- there's a space between the member's name and their email address
- each new member is added as a single line
| Correct | Incorrect |
|---|---|
 |
 |
- Click Add customer.
Your new members now appear in the Customers list. They will also receive their first invoice shortly.