You can easily convert plans to virtual office plans from the Inventory section of the Admin Panel.
If you accidentally convert a plan to a virtual office plan, you'll need to delete the plan and create a new one from scratch.
Customers enrolled in the original plan will instantly become virtual office customers.
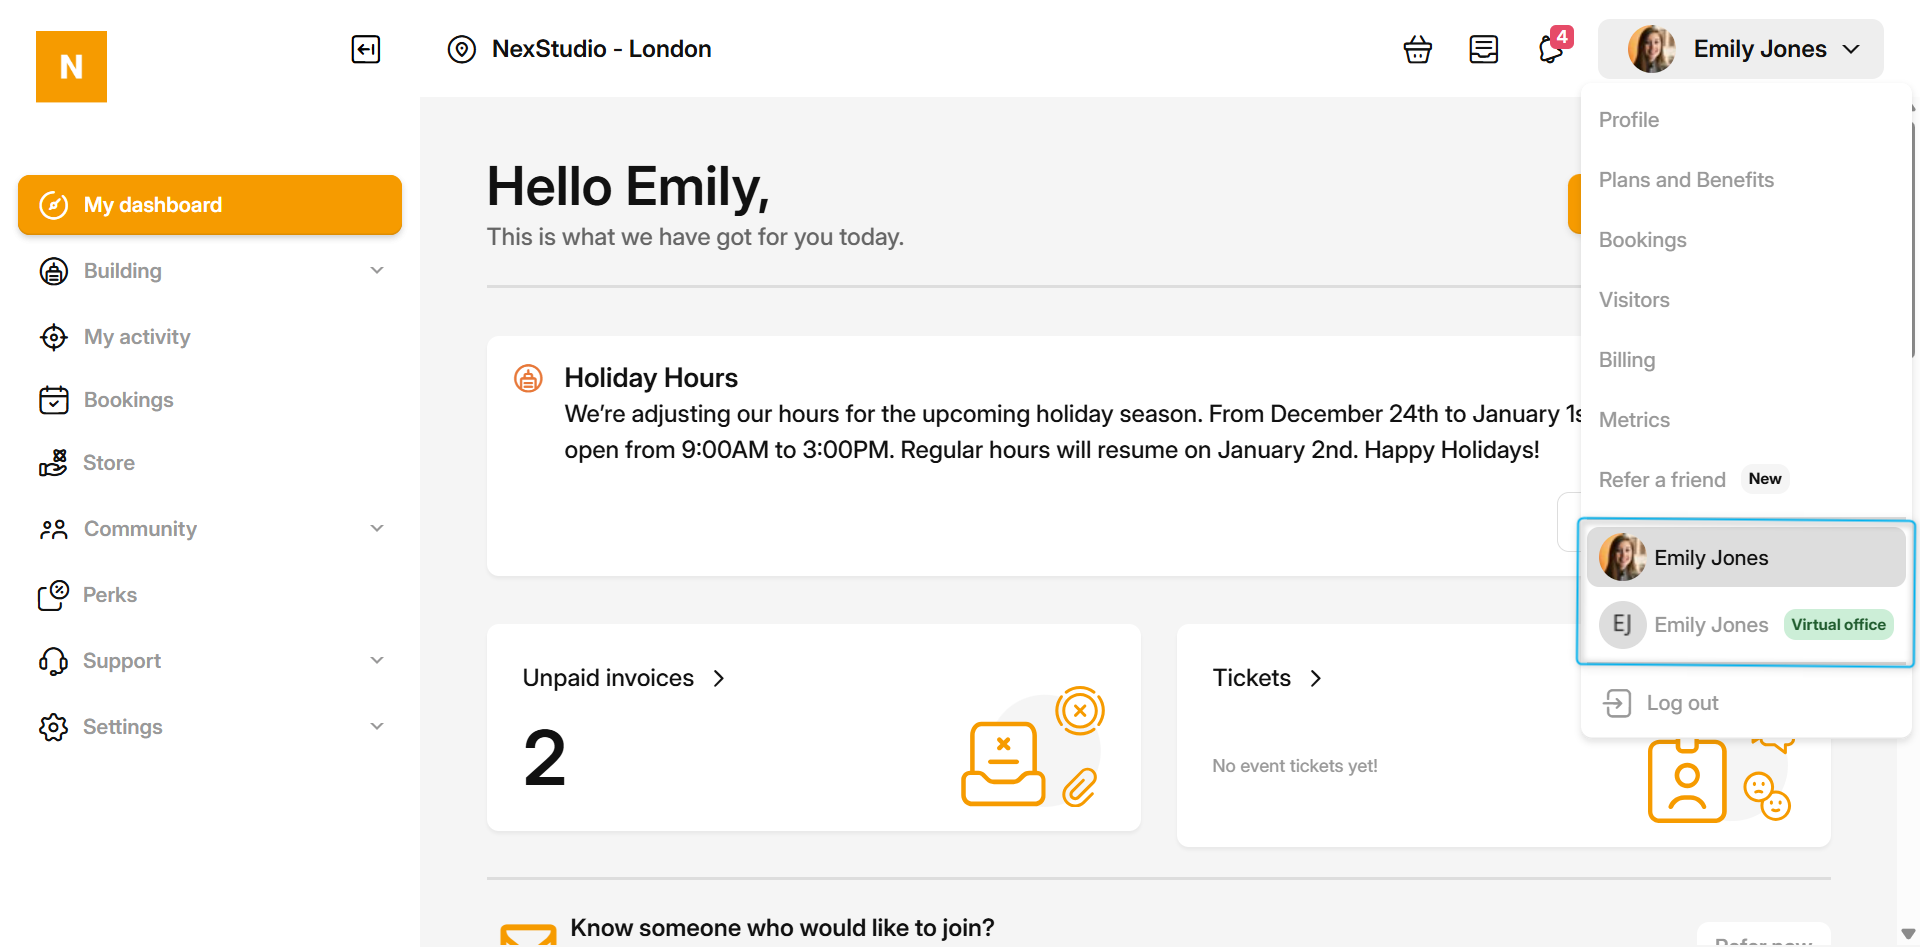
If customers are enrolled in more than one plan, they'll have an additional user profile for their virtual office plan. Their log in credentials will stay the same, and they'll still have access to their original profile.
You can request identity checks when you convert the plan or schedule them for a later date.
Converting plans to virtual office plans is a multi-step process. We strongly recommend completing all four steps to make sure your virtual office plan works as intended.
Step 1. Converting plans to virtual office plans
You can easily convert plans to virtual office plans from the Inventory section of the Admin Panel.
Log in to dashboard.nexudus.com if you aren't already.
- Click on Inventory > Plans.
- Select the plan you'd like to convert.
- Click on More actions.
- Click Update to Virtual Office.
- Select how you'd like customers to verify their identity.
If you'd like to use Stripe Identity or don't want to trigger address checks, select Keep identity checks disabled. You can define your identity check preferences after the plan has been converted.
Click Yes, do it to confirm.
All set! Your plan is now a virtual office plan. The next step is to define identity check preferences.
These settings control:
- identity checks for future members
- onboarding for all members
- repeat identity checks for all members
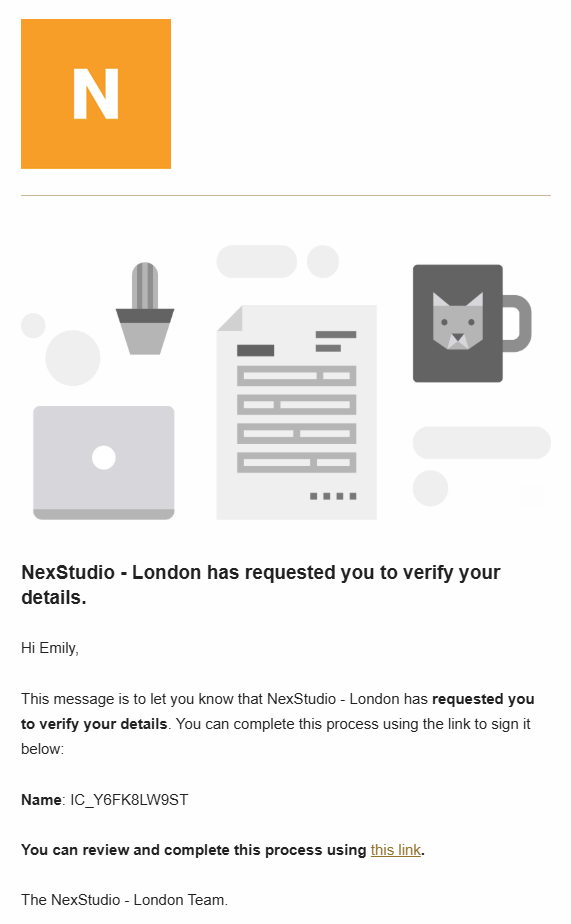
If you requested immediate identity checks, customers will receive an email notification with a link to complete the checks.
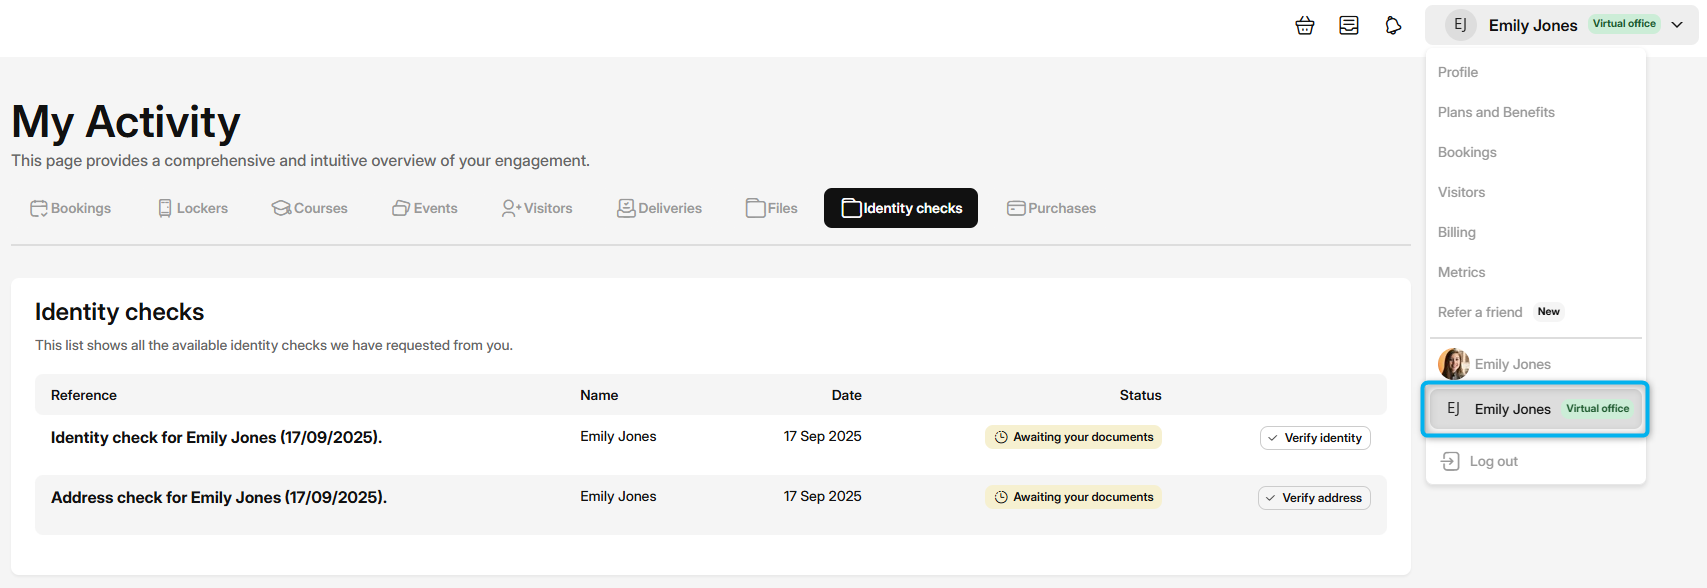
If members are enrolled in multiple plans, they'll need to access the identity checks from their new virtual office profile.
Step 2. Defining identity check preferences
If you selected request identity checks now, changes to these settings won't affect the identity check requests you've just sent.
If you selected schedule identity checks, changes to these settings will apply to the identity checks you've just scheduled and any future identity checks.
This step is broken down into 2 elements: address and identity checks. We strongly recommend implementing at least the identity check and ideally both identity and address checks.
Address check
Address checks are a manual process requiring any customer signing up to this plan to upload a document to prove their address. You define which documents you accept and can schedule additional checks at regular intervals.
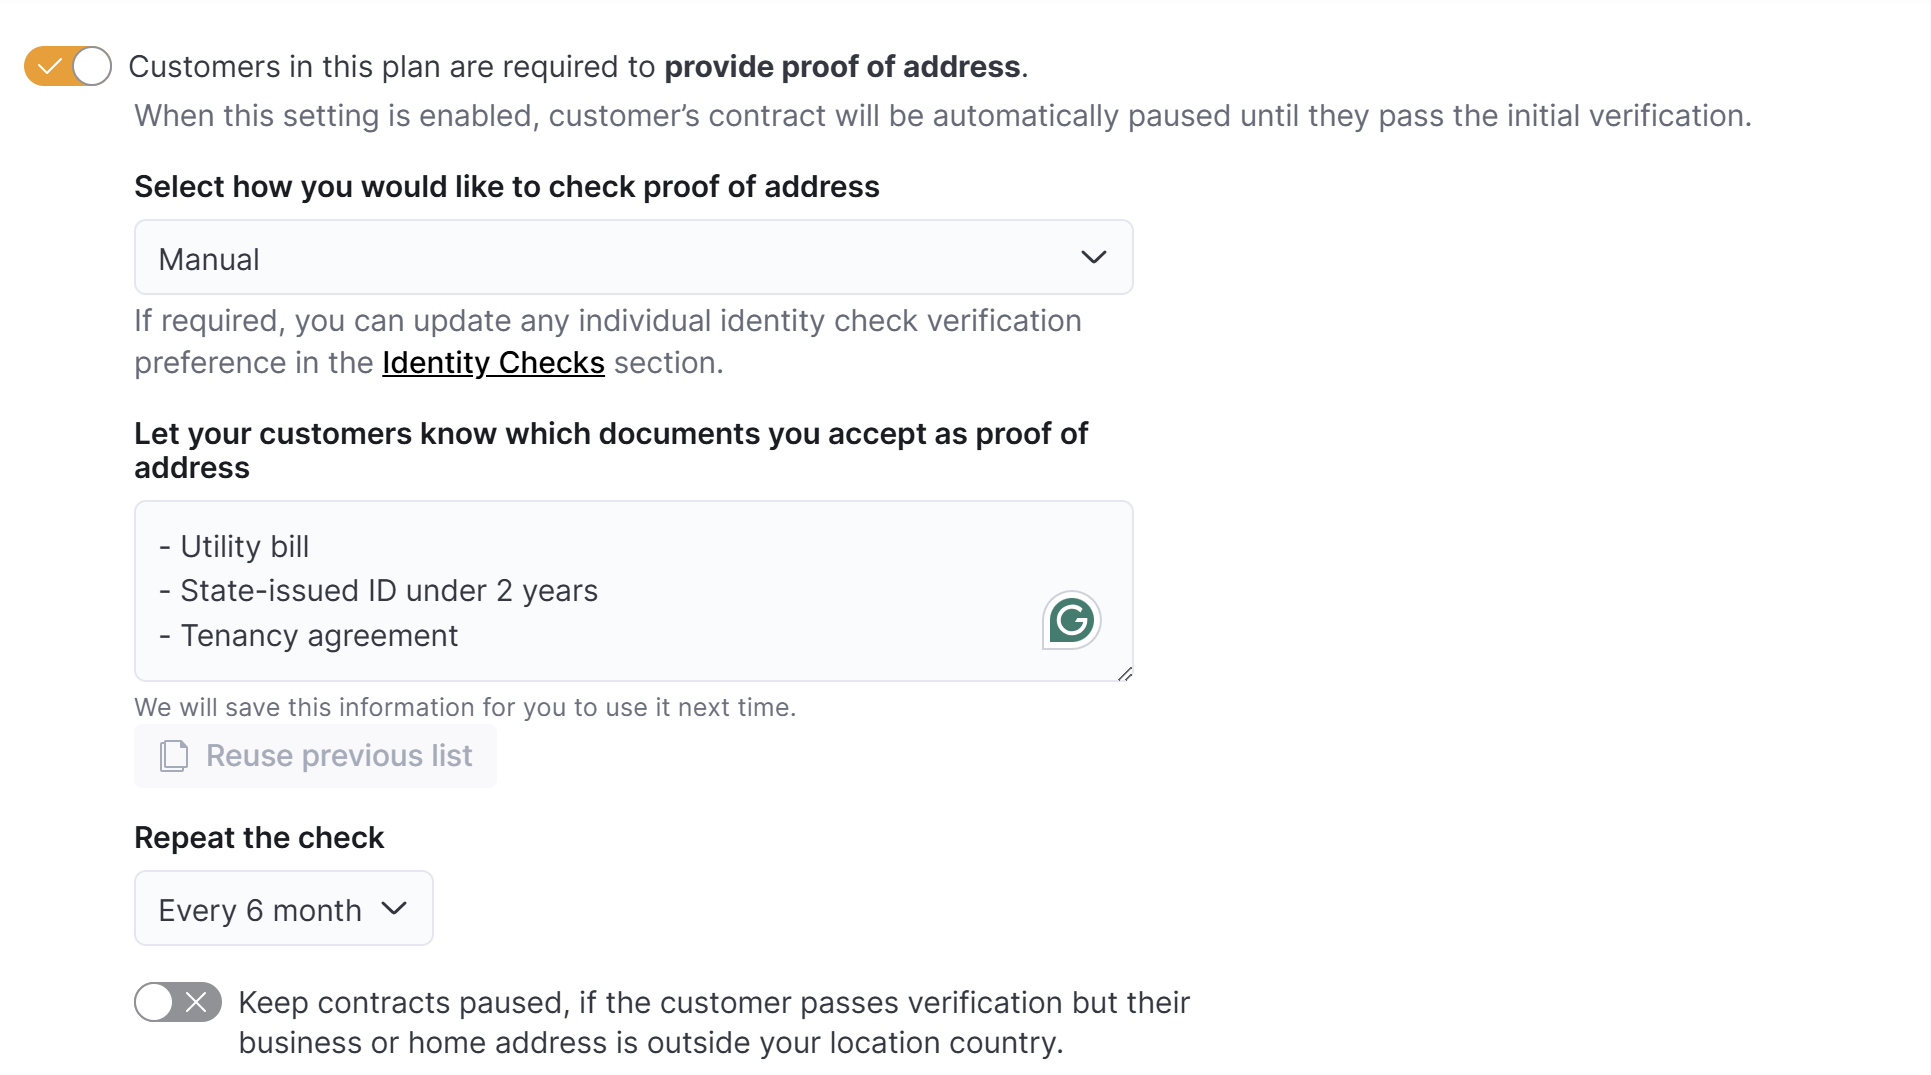
- Click on the Virtual office tab.
- Toggle on Customers in this plan are required to provide proof of address to require customers to provide a proof of address.
- Specify which documents customers can use as proof of address under Let your customers know which documents you accept as proof of address.
- Select how often to Repeat the check of the customer's address.
- If you don't offer international services or have specific terms for them, you can toggle on
Keep contracts paused, if the customer passes verification but their business or home address is outside your location country.
Identity check
Identity checks, whether manual or handled via Stripe Identity, require any customer signing up to this plan to upload a valid proof of ID. You define which documents you accept if using a manual check and schedule additional checks at regular intervals.

- Toggle on Customers in this plan are required to provide proof of ID to require customers to provide a proof of identity.
- Select how you would like to check proof of ID from Manual or with Stripe Identity.
- If using a Manual check, specify which documents customers can use as proof of ID under Let your customers know which documents you accept as proof of ID.
If using Stripe Identity, please refer to their accepted forms of ID. - Select how often to Repeat the check of the customer's ID.
- If you'd like to collect additional details from customers, toggle on
Send custom onboarding form to any customers purchasing this plan. to send them a form. Click the Save Changes button.
All set! The next step is to specify delivery handling options.
Step 3. Specifying delivery handling options
This step helps you define how you'll handle the mail and deliveries customers have sent to your space. You can offer an array of options, from forwarding the mail to opening and storing mail and deliveries for collection.
You can also opt to offer mail collection but not deliveries and vice versa.

- Select delivery handling options for Mail from the list of options.
Click the Save Changes button.
You can click on the trash icon if you do not offer mail handling services for this plan.
Parcels
- Select delivery handling options for Parcels from the list of options.
Click the Save Changes button.
You can click on the trash icon if you do not offer parcel handling services for this plan.
Additionally, you can specify how to handle Publicity and Checks by clicking on Add delivery type(s).

If you wish to charge customers for handling their mail and parcels, you can create a dedicated product for each charge and then select it from the drop-down menus.

All set! The next step is to define contact limits.
Step 4. Defining contact limits
This step lets you define the maximum number of company aliases, recipients, and addresses a customer can add to their virtual office plan.
- Define the Company aliases limit.
- Define the Recipients limit.
- Define the Forwarding Addresses limit.
Click the Save Changes button.
All set! You've successfully converted your plan to a virtual office plan.
You can finish onboarding your customers from the Admin Panel, or they can onboard themselves from the Members Portal.